X
wikiHow is a “wiki,” similar to Wikipedia, which means that many of our articles are co-written by multiple authors. To create this article, 33 people, some anonymous, worked to edit and improve it over time.
The wikiHow Tech Team also followed the article's instructions and verified that they work.
This article has been viewed 246,688 times.
Learn more...
So you want to put a splash page on your webpage? Splash pages are a great way of branding your website. This How-To assumes you know quite a bit of HTML and CSS, and it might help if you also know some basic JavaScript.
Steps
-
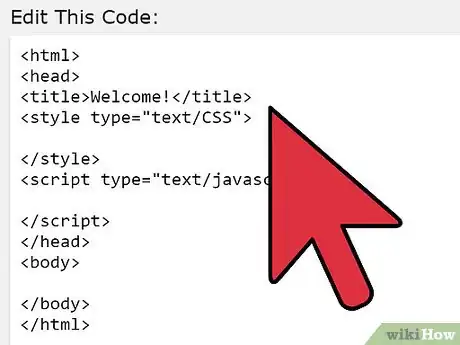
1Create your outline page. You could use an external CSS (Cascading Style Sheet), but in this example we are going to use an internal style sheet. So you need to start off with your basic tags:
<html>
<head>
<title>Welcome!</title>
<style type="text/CSS">
</style>
<script type="text/javascript">
</script>
</head>
<body>
</body>
</html> -
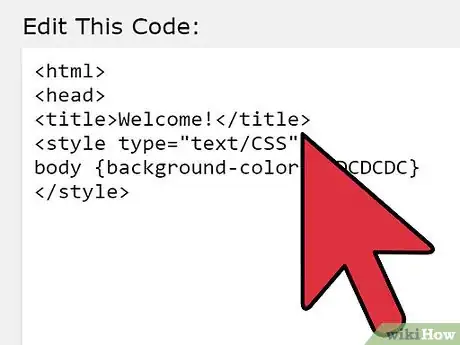
2Fill in the CSS and title information in the <head> section. You will obviously need to change the values to suit your needs:
<html>
<head>
<title>Welcome!</title>
<style type="text/CSS">
body {background-color: #DCDCDC}
</style>
Omitted...
Note: You may want to add a CSS property for the fonts.Advertisement -
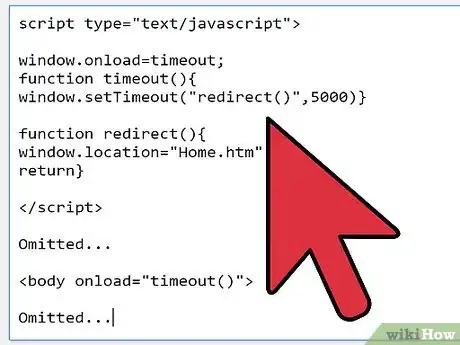
3Add the script to move onto the home page. This section is optional, and you can simply omit it if you do not want it to automatically move on.
Omitted...
<script type="text/javascript">
window.onload=timeout;
function timeout(){
window.setTimeout("redirect()",5000)}
function redirect(){
window.location="Home.htm"
return}
</script>
Omitted...
<body onload="timeout()">
Omitted...
Notes: The number 5000 means 5 seconds. Change this for shorter or longer times. Change the name of the redirect file to the name of your home page. -
4Add in a title. This should probably be the name of your website, and you should enclose it in <h1></h1> tags to make it easy for search engines to find.
-
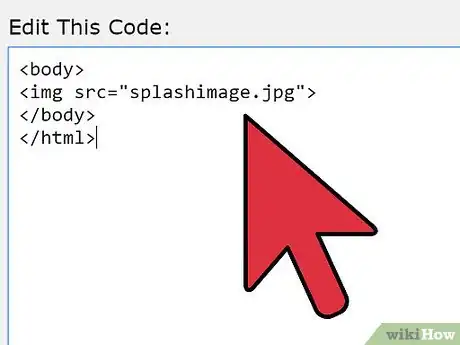
5Add a picture. This should demonstrate what your site is about. Again you can use the <img> tag.
Omitted...
<body>
<img src="splashimage.jpg">
</body>
</html>
Notes: This step assumes that you have saved the title image in the same folder as the .htm file, and that it is named "splashimage.jpg". You can add CSS positioning if you prefer the image to be somewhere else on the screen, such as the center. -
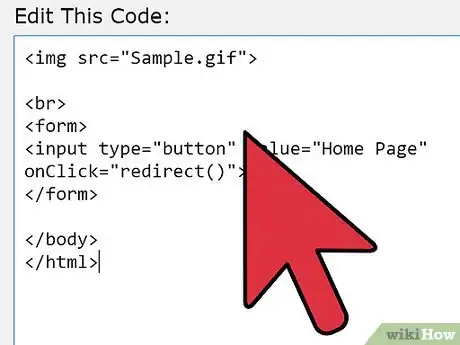
6Add a button. This button will be a way for visitors to get to the home page quicker. When they click it, they are immediately moved on to the home page. You could alternatively simply provide a link to the home page.
Omitted...
<img src="Sample.gif">
<br>
<form>
<input type="button" value="Home Page" onClick="redirect()">
</form>
</body>
</html>
Note: You can change the "value" element to change the text displayed on the button. -
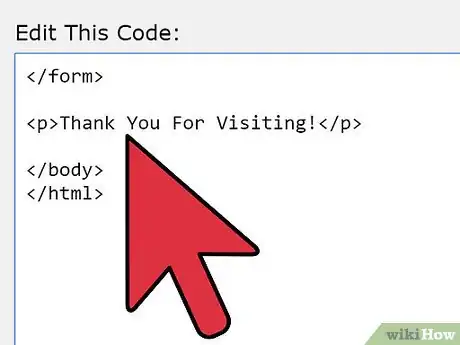
7Add some text. This could be anything you like. Generally it is a "Thank You For Visiting" sort of greeting, or a "Created By..." one.
Omitted...
</form>
<p>Thank You For Visiting!</p>
</body>
</html>
Notes: This is where you could be using the CSS for the text. You could use a heading ( <h1> ) instead if you like. -
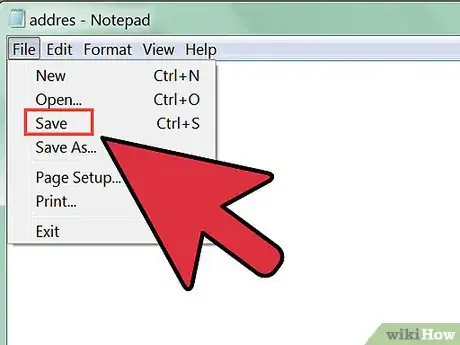
8Now you have a working splash page! Now it's just time to pretty it up using CSS and make it go live!
Advertisement
Warnings
- Splash pages can be annoying, and often not needed. Think about why you want one. Is it because everyone else's site has one, and you think it looks cool? Don't get one. Is it because you need to give visitors important information? Then it is best you put it in. Remember, splash pages slow down your visitor, and it can be a hindrance to have one when it's not needed.⧼thumbs_response⧽
Advertisement
About This Article
Advertisement
