This article was co-authored by Travis Page. Travis Page is the Head of Product at Cinebody. Cinebody is a user-directed video content software company headquartered in Denver, Colorado that empowers brands to create instant, authentic, and engaging video content with anyone on earth. He holds a BS in Finance from the University of Colorado, Denver.
This article has been viewed 254,611 times.
What do you get when you combine awesome pictures and exciting music? A great YouTube video! But how, exactly, can you create the video of your dreams? Luckily, the process way easier than you'd think. We're walking you through everything you need to know below, step by step. So by the end of this article, you'll be an expert. Ready to get started? Scroll down for more.
Steps
Using Windows Movie Maker
-
1Download the Windows Movie Maker. Windows Movie Maker was discontinued by Microsoft on January 10, 2017. The program is no longer available to download from Microsoft, but you can download it from other file hosts. One of the more reputable hosts is FileHippo, which allows you to download the genuine Microsoft installer without any adware.
- Visit the FileHippo download site and click the Download Latest Version button. After a short video ad, the Windows Essentials 2012 installer will download.
-
2Install Windows Movie Maker. Once the installer is finished downloading, click it to run it:
- Click Choose the programs you want to install.
- Uncheck everything except Photo Gallery and Movie Maker.
- Click Install.
- Click Close once the installation is complete.
Advertisement -
3Start Windows Movie Maker. You'll find Windows Movie Maker in the Recently Added section of the Start menu after installing. You can also type "movie maker" while the Start menu is open to quickly find it.
-
4Click Add videos and photos. You'll see this in the Add section of the Home tab.
-
5Browse for the picture you want to use. Locate the picture on your computer that you want to use for the YouTube video. Select it and click Open.
-
6Click the Add music button. Click the musical note part of the button to open the file browser.
-
7Browse for the audio file you want to use. Select the audio file and click the Open button.
-
8Click the Options tab. You'll see this under Music Tools at the top of the window.
-
9Select the End point value and press Ctrl+C. This is the length of the of the audio file in seconds. You'll be using this value to change the duration of the image file.
-
10Click the Edit tab. You'll see this under Video Tools at the top of the window.
-
11Click the Duration field and press Ctrl+V. This will paste the copied song length into the Duration field. You'll need to remove the "s" from the end of the time.
-
12Click the Play button to preview the video. You should see your selected image while the audio file plays from start to finish in the background.
-
13Click the File tab.
-
14Highlight Save movie and then click YouTube. You'll need to scroll down the list to find it.
-
15Give the file a name and click Save.
-
16Wait while Movie Maker renders the video. Movie Maker will create your video file, which may take several minutes to complete.
-
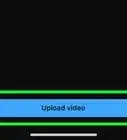
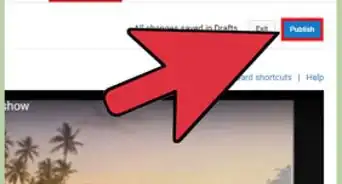
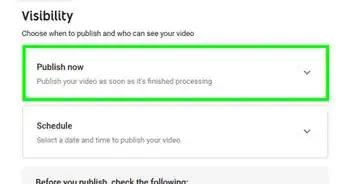
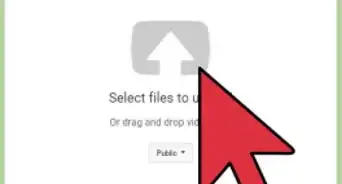
17Upload the video to YouTube. Once the video is finished being saved, you can log into your YouTube account and upload the video.


Using iMovie
-
1Open iMovie. You can find iMovie in your Dock or in your Applications folder. If you haven't installed it yet, you can grab it from the App Store.
-
2Click the Projects button. You'll see this in the upper-left corner of the iMovie window.
-
3Click the + button.
-
4Click Movie.
-
5Select No Theme and click Create.
-
6Type a name for your project. Click OK after entering the name.
-
7Click the Import Media button.
-
8Add the picture you want to use. Browse your computer for the picture file that you want to use and add it to your project.
-
9Add the audio file. Browse your computer for the audio file that you want to use. You can add music from your iTunes library as well.
-
10Double-click the added audio file. This will select the entire length of the file.
-
11Drag the selected audio file to the bottom frame. This adds the file to your work area.
-
12Drag the image file to the bottom frame. This will add the image to the work area with the audio file.
-
13Click and drag the right side of the image. You'll be adjusting the duration of the image so that it matches the length of the audio file.
-
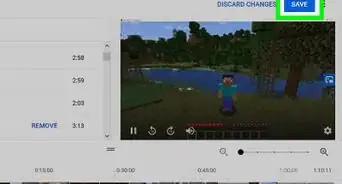
14Drag the edge of the image to match the length of the audio. This will ensure that the image stays on the screen as long as the audio is playing.
-
15Preview your video. Click the Play button to view your image and audio file. Make sure that the entire thing plays without issue.
-
16Click the Share button. You'll see this in the upper-right corner.
-
17Click File. This will create a movie file on your computer.
-
18Use the Compress and Quality menus to adjust the size. Changing the output quality will reduce the file size, making it easier to upload. Since your video is just a still image, you can lower the quality without much worry.
-
19Click Next and save your file. You'll be prompted to choose a location and give the file a name. Choose somewhere that you can find easily when you go to upload the video.
-
20Wait while the video is created. The time this will take will vary depending on the length of the audio file and the speed of your computer.
-
21Upload the video to YouTube. Once the video is created, you can upload it to YouTube.


Using TunesToTube
-
1Visit the TunesToTube website. This site will create a video from an image and an audio file that your provide and then upload it directly to your YouTube account. There is a 50 MB size limit for free accounts, making this best for small files.
- TunesToTube does not have access to your YouTube login information.
-
2Click Sign in with Google.
-
3Sign in with your Google account. Make sure this is the same Google account that you want to use to upload your YouTube video.
-
4Click Allow. If your Google account has multiple channels, you'll be prompted to select the channel you want to use.
-
5Click the Upload Files button.
-
6Browse for the MP3 file you want to upload. You're limited to a file 50 MB or smaller. This should be fine for most songs, but may be problematic for longer broadcasts like podcasts.
- If the file you want to use is too large, you can try compressing it if audio quality isn't super important. If you don't want to compress it, you can use one of the other methods in this article.
-
7Click Upload Files again.
-
8Browse for the image file you want to upload. You can choose from virtually any image format.
-
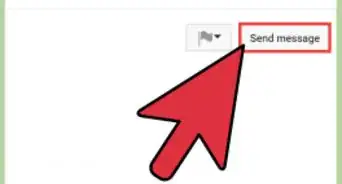
9Enter your video information. You can type in a title, a description, and add tags. A detailed description and tags will help other users find your video.
-
10Select your video size and category. A smaller size will result in a quicker upload, which is usually fine for still images and audio. Choosing the right category will help people find your video.
-
11Click the I'm not a robot box.
-
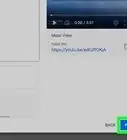
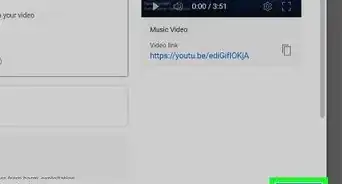
12Click the Create Video button. This button appears once your audio file and image have finished uploading. Once the video has been created, it will be uploaded to your YouTube channel.


Using VirtualDub (Windows)
-
1Visit the VirtualDub website. This is a free, open-source program that you can use to quickly put together a video using an image and an audio file. This program is only available for Windows.
-
2Click the Downloads link. You'll find this in the left menu.
-
3Click the VirtualDub at SourceForge link.
-
4Click the Download V1.10.4 (x86 / 32-bit) link. This will begin downloading the program.
-
5Double-click the downloaded ZIP file.
-
6Click the Extract button. You'll see this at the top of the window when the ZIP file is open.
-
7Open the new folder that was created when extracting the files. You'll find this folder in the same location as the downloaded file, usually in your Downloads folder.
-
8Run the Veedub32.exe file. This will launch VirtualDub.
-
9Click the File menu.
-
10Click Open video file.
-
11Select the image file you want to use and click Open.
-
12Click the Audio menu.
-
13Click Audio from other file.
-
14Select the audio file you want to use and click Open.
-
15Click the Video menu.
-
16Click Frame Rate.
-
17Click Change so video and audio durations match. This will make the image display as long as your audio file.
-
18Click OK.
-
19Click the File menu.
-
20Click Save as AVI.
-
21Select where you want to save the file and give it a name.
-
22Click Save. It may take a few minutes for your video to process.
-
23Test your video. Double-click the video file to test it out. If you can see the image and hear the audio, you're good to go.
-
24Upload the video to YouTube. Once you've tested your video, you can use the YouTube website to upload the video to your channel.


About This Article