This article was co-authored by wikiHow staff writer, Nicole Levine, MFA. Nicole Levine is a Technology Writer and Editor for wikiHow. She has more than 20 years of experience creating technical documentation and leading support teams at major web hosting and software companies. Nicole also holds an MFA in Creative Writing from Portland State University and teaches composition, fiction-writing, and zine-making at various institutions.
This article has been viewed 139,553 times.
Learn more...
Whether it be used as a media center, web server, gaming console, or simply a computer, there are countless reasons why you might need a particular program or script to automatically start when you boot your Raspberry Pi. This wikiHow teaches you how to force a script to start at boot time by either adding it as a service (before the desktop loads), or by adding it to your autostart file (after the desktop loads).
Steps
Adding a Script as a Service
-
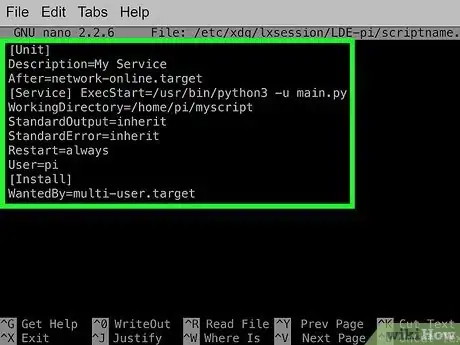
1Create a .service file for your script. This method will teach you how to create a service that runs your script at boot time before LXDE starts. If the script requires dependencies that aren't active immediately (such as networking or anything graphical), the service will tell your script to wait until those processes load. Create a file (called scriptname.service) that follows this structure, replacing the paths and description as needed:
[Unit]
Description=My Service
After=network-online.target
[Service]
ExecStart=/usr/bin/python3 -u main.py
WorkingDirectory=/home/pi/myscript
StandardOutput=inherit
StandardError=inherit
Restart=always
User=pi
[Install]
WantedBy=multi-user.target
-
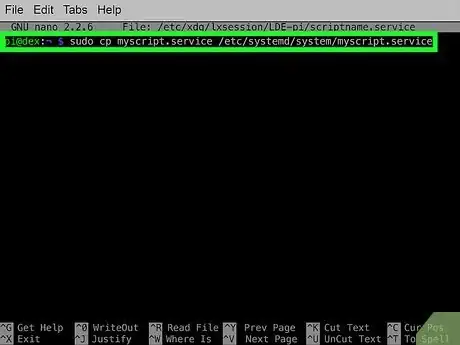
2Copy the service to /etc/system/system. You'll need to do this as root, so use sudo. Here's an example:
- sudo cp myscript.service /etc/systemd/system/myscript.service
Advertisement -
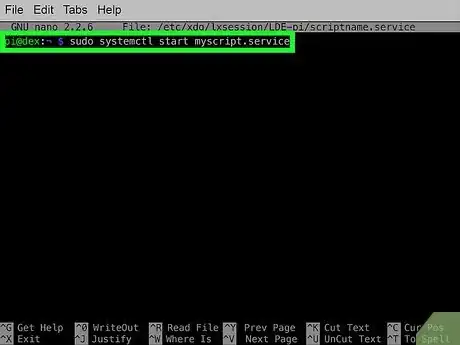
3Test the service by running it. Before setting the service to start automatically, you'll want to make sure the script runs properly when executed. To run the script through the service, you'll use the systemctl command like this:
- sudo systemctl start myscript.service
- You can stop the service if necessary by running the same command, replacing start with stop.
-
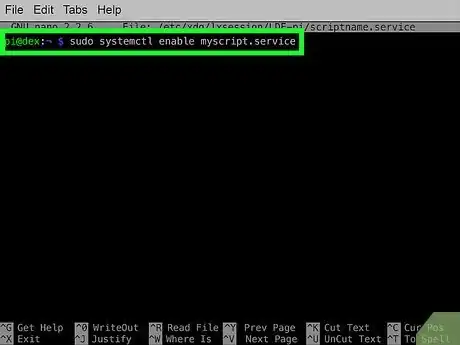
4Set the service to run at boot time. As long as the script executes without error, you can run the command that ensures the script runs at boot time:
- sudo systemctl enable myscript.service
Using the Autostart File
-
1Understand the requirements and how it works. This method requires the PIXEL desktop environment with the latest version of the Raspbian operating system. It is achieved by editing an "autostart" file that runs commands at startup in the LXDE desktop environment, which is the framework the Raspberry Pi's PIXEL desktop is built on. This method is preferred in scenarios where:
- Your script requires the desktop environment to run
- Your script needs to run from a terminal window
- You want to specify which users the script will autostart for
-
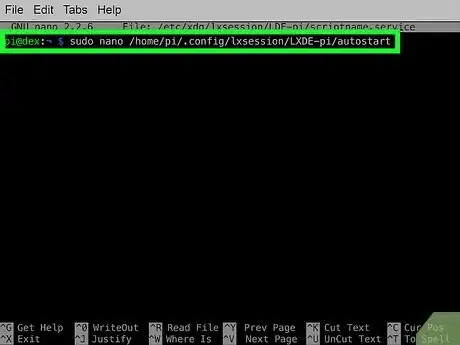
2Open the autostart file in the nano text editor. In a new terminal window, run the following command:[1]
- sudo nano /home/pi/.config/lxsession/LXDE-pi/autostart
-
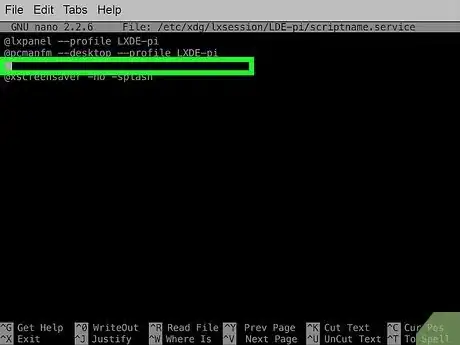
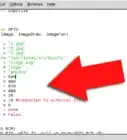
3Use the arrow keys to navigate to the end of the second line and press ↵ Enter. This will created a new line above the @xscreensaver -no-splash entry. Many users have reported that commands added below this line do not run successfully so it's common practice to add your custom commands above the @xscreensaver entry.
-
4Add a command to launch your script. This is where you have the most options as you can enter any terminal command you would normally use to launch your script. For example, to run a bash script called "myscript.sh" which is located in the home directory of the user "pi" one would enter the command: /home/pi/myscript.sh. Likewise, if superuser permissions are required to run the script you can even preface the command with sudo.
-
5Include the full paths to every filename. For example, to run a Python script that requires superuser permissions called "myscript.py" which is located in the home directory of the user "pi", you would enter the full path to both the Python script itself and the Python interpreter, such as sudo /usr/bin/python /home/pi/myscript.py.
-
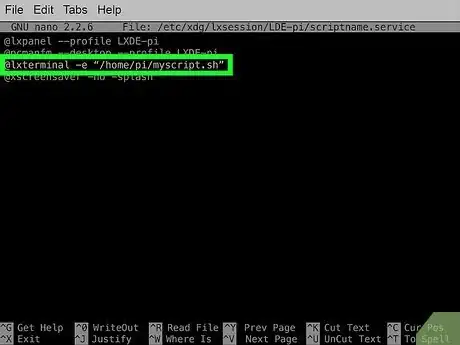
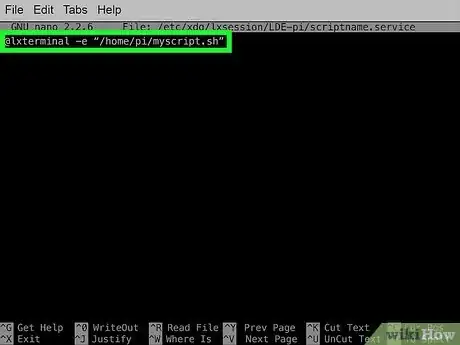
6Decide if you wish to run your script in a new terminal window on startup. For this, you can use the @lxterminal command with the -e modifier followed by the full path of your script in quotes. For example:
- This will execute the script from a new terminal window.
@lxterminal -e "/home/pi/myscript.sh"
-
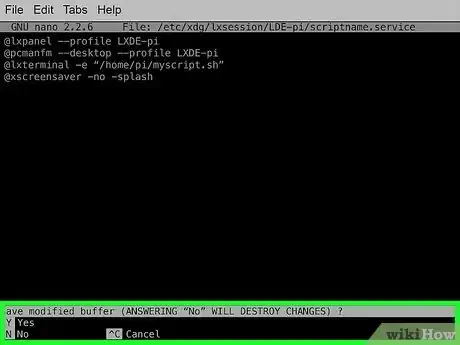
7Enter the proper commands to launch your script. Once entered, press Ctrl+X, and then follow the on-screen instructions to save your changes.
- If you don't want your script to run on startup any longer, simply edit the autostart file once again, only this time delete the lines you added previously. Once you save and exit, your script will no longer run automatically on startup.
-
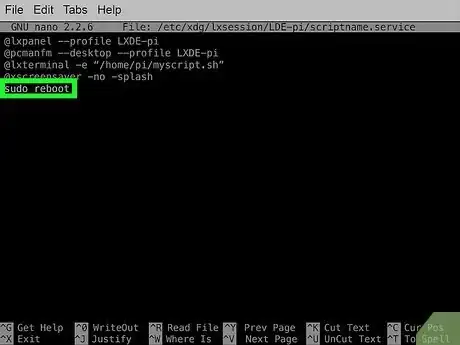
8Reboot to test. Use sudo reboot to reboot your Raspberry Pi. If the script works as designed, it will launch one the window manager starts up.
References
About This Article
1. Create a .service file for your script.
2. Copy the file to /etc/systemd/system.
3. Test the script by starting the service.
4. Use systemctl to launch at boot time.

-Electric-Shock-Step-9.webp)




-Electric-Shock-Step-9.webp)


