This article was co-authored by wikiHow staff writer, Darlene Antonelli, MA. Darlene Antonelli is a Technology Writer and Editor for wikiHow. Darlene has experience teaching college courses, writing technology-related articles, and working hands-on in the technology field. She earned an MA in Writing from Rowan University in 2012 and wrote her thesis on online communities and the personalities curated in such communities.
This article has been viewed 29,044 times.
Learn more...
Are you running out of storage for games and apps on your Xbox One? Since the Xbox One is expandable, it's easy to increase your storage by adding extra disk space. We'll show you how to connect a USB 3.0 external hard drive to your Xbox One for a massive memory upgrade.
Steps
-
1Purchase an external hard drive. Your Xbox One will only recognize your external drive if it's larger than 256GB and supports USB 3.0. There are two USB 3.0 ports available, so you could purchase two separate hard drives if you want to, but they each have to be 256GB or larger.
-
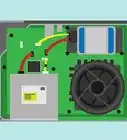
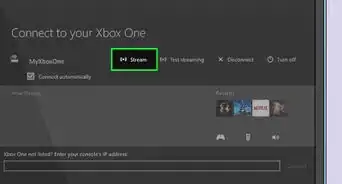
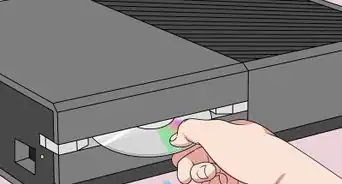
2Connect the external hard drive to your Xbox One. You should see the USB ports on the back of your console that the cable from the external hard drive will plug into.Advertisement
-
3Turn on your Xbox One (if it isn't already). If your Xbox One is already powered on, skip this step.
-
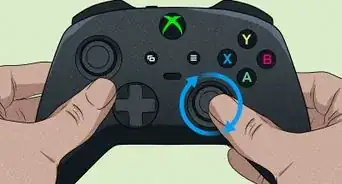
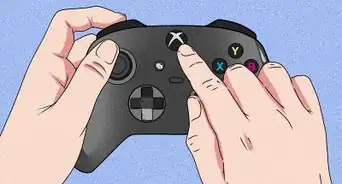
4Press the Xbox button on your controller. This is the large circular button in the middle of your controller.
- If your Xbox pops up a window, select Cancel to continue with these steps.
-
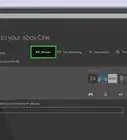
5Navigate to the Settings tab. Use the left thumbstick to navigate to the gear icon and you'll see more settings options.
-
6Navigate to Settings and press A. Use the left thumbstick again to navigate down one menu listing for "Settings."
-
7Navigate to System. Using the left thumbstick, press down until System" is highlighted.
-
8Navigate to Storage and press A. You might see "Manage Storage" instead of "Storage."
- You should see your internal storage on the left side of the screen and your external storage on the right side.
- If you see only your internal storage, your Xbox One does not detect your external drive. Make sure it's at least 256GB and that it is plugged in correctly. If you can, try a different USB cable.
-
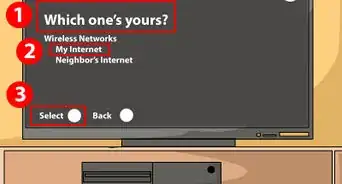
9Navigate to your external storage. It will highlight and you'll see a menu that you can choose from.
-
10Navigate to Format for Games & Apps and press A. If you're given the option, select "Format Storage Device."
-
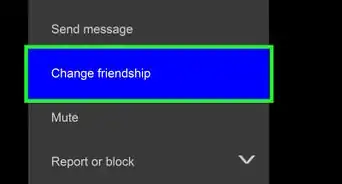
11Follow the on-screen prompts to select options for your drive. You'll be able to name it if you'd like. You can also choose if you want to use the external hard drive instead of the internal as your default storage management. You can always change this later if you want to by going to Settings > System > Storage.
- If you opt to use your internal storage as default, your Xbox One will use the internal storage until it's full, then start using your external.
-
12Select Format Storage Device. This will apply all the settings and format your hard drive so it'll save games as well as video, photos, and music.[1]


References
About This Article

1. Purchase an external hard drive.
2. Connect the external hard drive to your Xbox One.
3. Turn on your Xbox One (if it isn't already)..
4. Press the Xbox button on your controller.
5. Navigate to the gear icon.
6. Navigate to Settings and press A.
7. Navigate to System.
8. Navigate to Storage and press A.
9. Navigate to your external storage.
10. Navigate to Format for Games & Apps and press A.
11. Follow the on-screen prompts to select options for your external drive.
12. Select Format Storage Device.