This article was co-authored by wikiHow staff writer, Travis Boylls. Travis Boylls is a Technology Writer and Editor for wikiHow. Travis has experience writing technology-related articles, providing software customer service, and in graphic design. He specializes in Windows, macOS, Android, iOS, and Linux platforms. He studied graphic design at Pikes Peak Community College.
This article has been viewed 8,087 times.
Learn more...
Do you have some disposable camera photos you want to transfer to your Android or iPhone? Even though most people now use digital cameras and their smartphones to capture memories, disposable cameras are still useful for things like underwater photography, social gatherings, and experimental photography.[1] While you can't transfer the photos to your phone digitally, there are a few easy ways to get disposable photos onto your phone once they have been developed. This wikiHow article teaches you the easiest ways to pictures from your disposable camera onto your smartphone.
Things You Should Know
- Most places that develop film give you the option of receiving your prints in a digital format, such as a CD or DVD.
- Once you develop the photos, you can also scan them with a flatbed scanner or photograph them using your phone's camera.
- If you scan the photos to your computer or receive them on a disc, you can transfer the digital photos to your phone using your phone's charging cable.
Steps
Using a CD or Digital Media
-
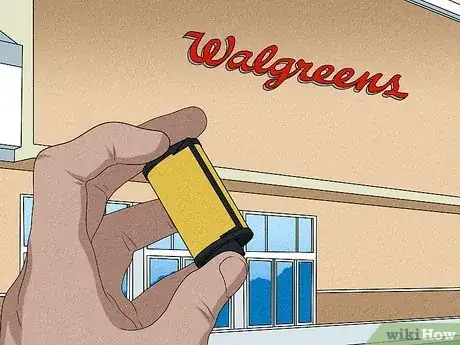
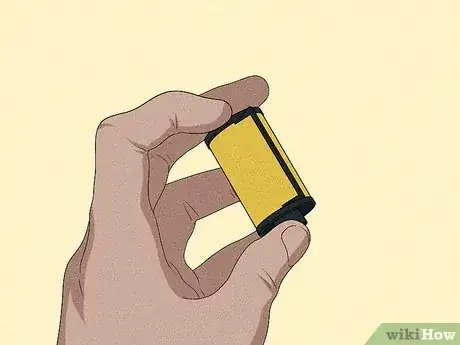
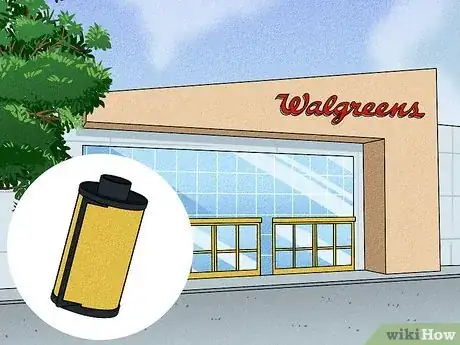
1Take your film to be developed. The first step in getting your disposable camera photos on your phone is to have your film developed. Take your disposable camera to a photo lab to have it developed. Many local pharmacy stores, like Walgreens and CVS, develop film.
-
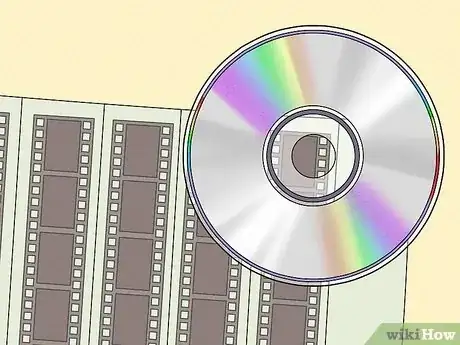
2Ask for a CD or other digital media. When you take your film to get developed, many photo labs offer you the option to receive your prints on a digital media format, such as CD, DVD, or another digital format. Ask the clerk what digital media formats they offer when you drop off your film to be developed.[2]
- Many newer computers and laptops don't have a CD or DVD drive. You can purchase an USB DVD ROM drive to connect to your computer, or ask the photo lab if they can provide your prints on a USB thumb drive.
- You may need to purchase a USB thumb drive or provide one of your own.
Advertisement -
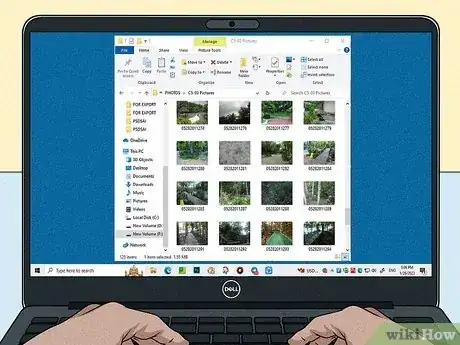
3Copy the photos to your computer. Not all computers have a disc drive. If your computer or laptop does not have an optical disc reader, you can purchase an external one that connects to your computer via a USB cable. To do so, insert your CD, DVD, or USB drive. Then:
- Open the CD/DVD/thumb drive location in Windows Explorer or Finder on Mac.
- Press Ctrl + A (PC) (or Command + A (Mac) to select all the photos.
- Press Ctrl + C (PC) or Command + C (Mac) to copy the photos.
- Navigate to another folder you want to store your photos and press Ctrl + V (PC) or Command + V (Mac) to paste your photos.
-
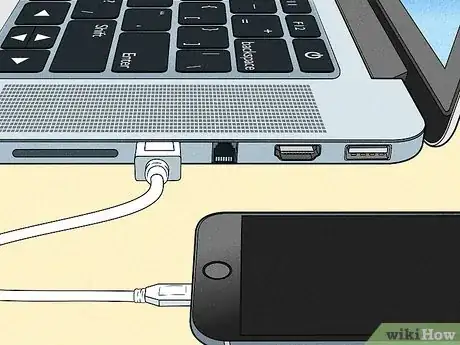
4Transfer the photos to your phone. After copying the photos from a CD or other digital media to your computer, connect your phone to your computer using a USB charging cable. Open your phone's internal memory in File Explorer (PC) or Finder (Mac) and copy and paste all the photos from your disposable camera from your computer to your phone.
- If this is your first time connecting your phone to your computer, you may be asked if you want your phone to trust this computer, tap Yes on your phone screen to trust this computer.
- On Android phones, the folder your photos are usually stored in is the "DCIM" folder.
- Alternatively, if you have an Android, you might want to sync your photos to Google Photos, which will make the photos accessible in your phone's Google Photos app.
- If you're using a Mac and have an iPhone, use iCloud to sync your photos. Then, the photos will be available in the Photos app.
- You could also use a cloud storage service like Google Drive, iCloud Drive, Dropbox, or OneDrive.
Using Your Phone's Camera
-
1Take your film to be developed. The first step in getting your disposable camera photos on your phone is to have your film developed. Take your disposable camera to a photo lab to have it developed. Many local pharmacy stores, like Walgreens and CVS, develop film.
-
2Find a well-lit area with a smooth surface. To take pictures of the photos with your phone, find an area that is well-lit with a smooth surface. Make sure you are not casting any shadows on your photos.
-
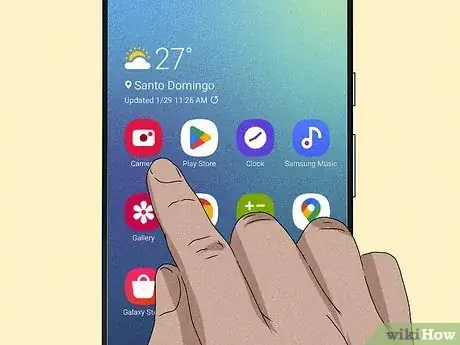
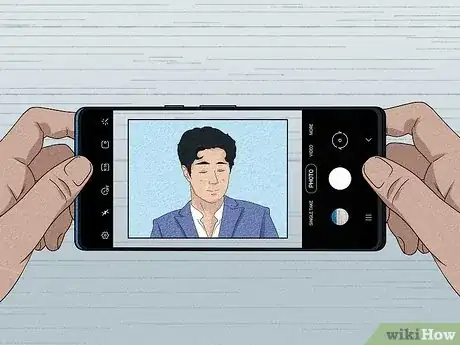
3Open the Camera app on your phone. It generally has an icon that resembles a camera.
- Alternatively, you can use document-scanning apps like Google PhotoScan or the Dropbox app to scan your photos with your phone.
- If you have an iPhone, you can use the scanning feature built into the Notes app for a great-quality scan.[3]
-
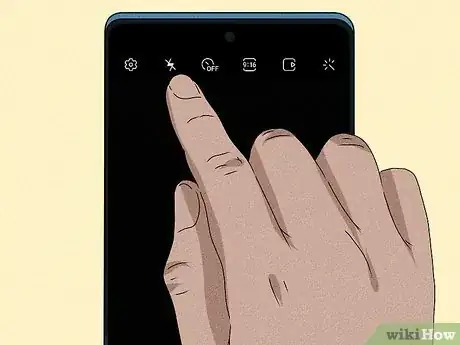
4Disable the flash on your phone. To do so, tap the icon with a lightning bolt at the top of the screen. Then tap Off or tap the icon that resembles a lightning bolt with a line through it.
-
5Hold the phone over the image. Hold your phone directly above the image and hold it as still as possible. Try to make sure the photo takes up as much of your phone's screen as possible without cutting off any of the photo's edges.
-
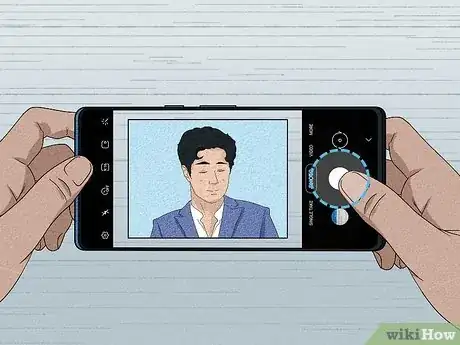
6Tap the capture button. When you are ready to take a picture, tap the large white button at the bottom of the screen.
- Alternatively, if your phone highlights the image and gives you the option to scan the photo, you can tap the option to scan the photo. This will photograph only the photo and not the surface it is sitting on. This eliminates the need to crop the photo.
-
7Preview and edit the photo. After taking a picture of the photo, you will want to preview it to make sure it didn't turn out blurry or anything. Depending on your phone, you may also be able to make some final edits before moving on to the next photo.
- If you want, you can crop the photo so it only shows the photo and not just the surface it's sitting on. Tap the pencil icon or Edit, depending on your phone, and look for an icon that resembles a square with a curved arrow around it. Tap and drag the corners of the photo inward so that the white square lines up with the edges of the image in the photo, then save your edit.
-
8Repeat for the rest of your photos. Once you are happy with how one photo looks, repeat with the rest of the photos from your disposable camera.
Using a Scanner
-
1Take your film to be developed. The first step in getting your disposable camera photos on your phone is to have your film developed. Take your disposable camera to a photo lab to have it developed. Many local pharmacy stores, like Walgreens and CVS, develop film.
-
2Place one of the photos on your scanner. If you have a scanner connected to your computer, you can place a photo face down on your scanner. Make sure the image is lined up as indicated by your scanner, then close the lid.
- You will usually place images in the upper-right corner. Make sure the edges of the photo are lined up with the edges of the scanner bed.
- If you have an iPhone, you can use the Notes app to scan photos directly into a new note.
- If you have an Android, use the Google Drive app to scan the photos into Google Drive.
-
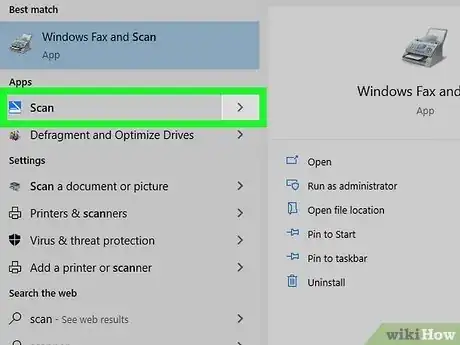
3Open the scanning app on your computer. Each scanner is going to have a different program that comes with it that you can use to scan photos. Open the scanner program that came with your scanner.
-
4Select the option to scan the image to a file. Each scanner and scanning program is going to have a different layout. Look for the option to scan the image and save it as an image file, such as JPEG or PNG photo.
-
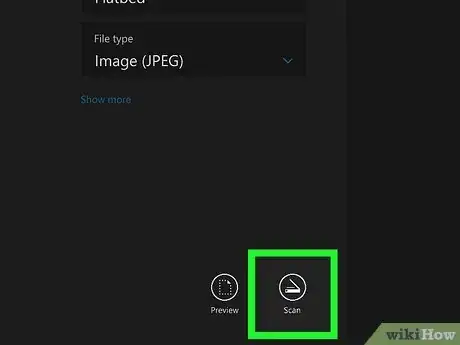
5Select the option to scan the photo. When you are ready, click the option to scan the photo.
- You may have the option to preview the photo when it is finished scanning. It may also give you the option to adjust the color, contrast, exposure, etc. Go ahead and make preview the photo and make any adjustments you want.
-
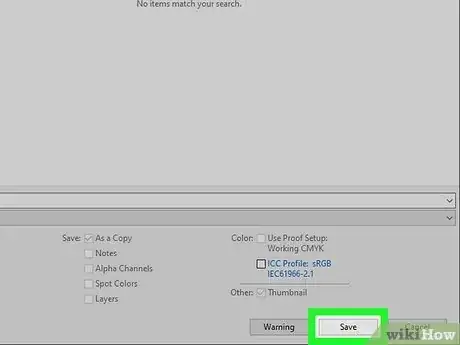
6Select the option to save the photo. When you are happy with how the photo looks, click the option to save the photo. Make sure you save it to a location you can easily find, such as your Photos folder.
- Repeat these steps for all of the photos you'd like to scan.
-
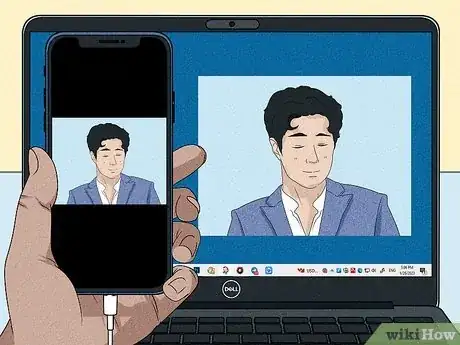
7Transfer the disposable photos to your phone. After scanning all the photos with your scanner, connect your phone to your computer using a USB charging cable. Open your phone's internal memory in Windows Explorer or Finder on Mac and copy and paste all the photos from your disposable camera from your computer to your phone.
- If this is your first time connecting your phone to your computer, you may be asked if you want your phone to trust this computer. Tap Yes on your phone screen to trust this computer.
- On Android phones, the folder your photos are usually stored in is the "DCIM" folder.
- Alternatively, you can upload your photos to a cloud storage service website like Google Drive, iCloud, Dropbox, or OneDrive. Then you can either download or view the photos on your phone using the cloud storage app.
References
About This Article
1. Take your photos to be developed.
2. Ask for your photos on a CD or thumb drive.
3. Copy the photos from the CD or thumb drive to your computer, or scan them with a scanner.
4. Connect your phone to your computer using a USB charging cable.
5. Transfer the photos from your computer to your phone.
