This article was co-authored by wikiHow staff writer, Jack Lloyd. Jack Lloyd is a Technology Writer and Editor for wikiHow. He has over two years of experience writing and editing technology-related articles. He is technology enthusiast and an English teacher.
The wikiHow Tech Team also followed the article's instructions and verified that they work.
This article has been viewed 176,227 times.
Learn more...
This wikiHow teaches you how to hide one or more files inside of an image file on a computer. You can do this on both Windows and Mac computers.
Steps
On Windows
-
1Copy the file(s) and the image to your desktop. Select the files you want to hide, press Ctrl+C, go to your desktop, and press Ctrl+V, then do the same with the image you want to use.
-
2Select the file(s) you want to hide. Click and drag your mouse cursor across the list of files you want to hide.
- If you're just hiding one file, click once the file to select it.
Advertisement -
3Right-click a selected file. Doing so will prompt a drop-down menu.
- If your mouse doesn't have a right-click button, click the right side of the mouse, or use two fingers to click the mouse.
- If your computer uses a trackpad instead of a mouse, use two fingers to tap the trackpad or press the bottom-right side of the trackpad.
-
4Select Send to. It's near the middle of the drop-down menu. A pop-out menu will appear.
-
5Click Compressed (zipped) folder. This option is near the top of the pop-out menu. Doing this creates a new ZIP folder with your files inside.
-
6Enter a name for the ZIP folder. After the ZIP folder appears, type in whatever you want to name the ZIP folder and press ↵ Enter.
- It's best if you choose a one-word name for the ZIP folder.
-
7Right-click the image. A drop-down menu will appear.
-
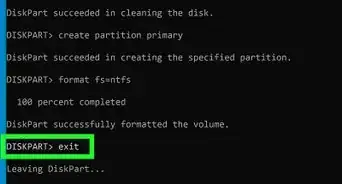
8Click Properties. It's at the bottom of the drop-down menu.
-
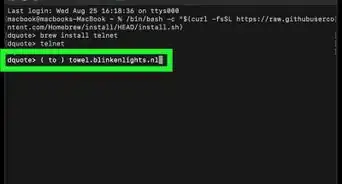
9Check the image's extension. In the parentheses next to the "Type of file" heading, you'll see the type of file your image is (this will usually be either ".jpg" or ".png").
-
10Copy the image's location. Click and drag your mouse cursor across the address to the right of the "Location" heading, then press Ctrl+C. This will ensure that you enter the path to your files correctly.
- You can close the Properties window after doing this.
-
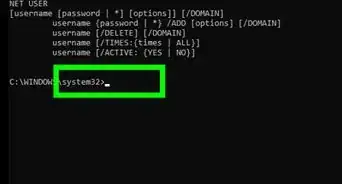
11
-
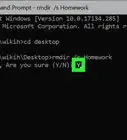
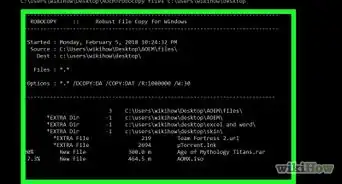
12Change the directory to your desktop. Type in cd and press the spacebar, then press Ctrl+V to paste in the copied address and press ↵ Enter. This will change Command Prompt's focus to use the desktop.
-
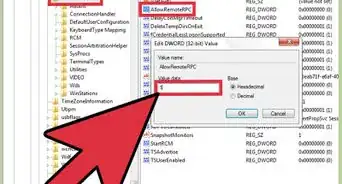
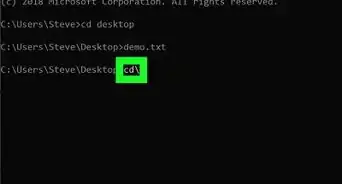
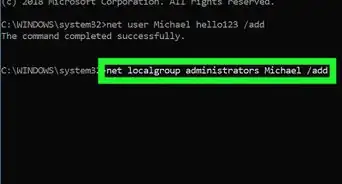
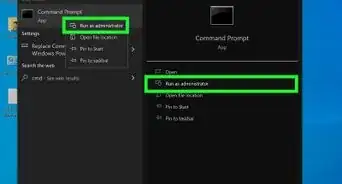
13Type in the "Copy" command. The command to place the file(s) in your image is as follows: copy /b image.extension+folder.zip image.extension where "image.extension" is replaced by the image's name and its extension (e.g., "hello.jpg") and "folder.zip" is replaced by the ZIP folder's name and extension (e.g., "hi.zip").
- For example, if your ZIP folder is named "Secret" and your image is a JPG named "Hide", you would type in copy /b Hide.jpg+Secret.zip Hide.jpg here.
-
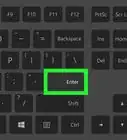
14Press ↵ Enter. Doing so runs the command and places the ZIP folder inside of the image.
-
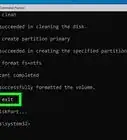
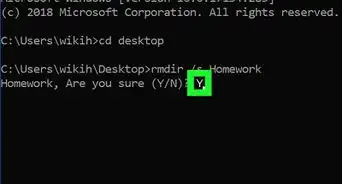
15View your hidden files. Once your image contains the ZIP folder, you can double-click the image file to open the image as-is; however, if you want to view the image's hidden files, do the following:
- Install WinRAR if you don't have it.
- Open File Explorer .
- Click the View tab.
- Check the "File extensions" box in the "Show/hide" section.
- Go to the image file you used, right-click it, and click Rename.
- Replace the image file's extension with "rar" (e.g., "Hide.jpg" would become "Hide.rar").
- Press ↵ Enter, then click Yes when prompted.
- Double-click the image file to open it in WinRAR.


On Mac
-
1Copy the the file(s) and the image to your desktop. Select the files you want to hide, press ⌘ Command+C, go to your desktop, and press ⌘ Command+V, then do the same with the image you want to use.
-
2Select the file(s) you want to hide. Click and drag your mouse cursor across the list of files you want to hide.
- If you're just hiding one file, click once the file to select it.
-
3Control-click one of the selected files. Doing so will prompt a drop-down menu to appear.
- You can also use two fingers to press the mouse button.
-
4Click Compress Items. It's in the drop-down menu; you should see the number of items you've selected there as well (e.g., Compress 4 Items). Doing so creates a ZIP folder named "Archive".[1]
- If you're only compressing on file, you'll click Compress [file name] here.
-
5Check your image's extension. Before you can hide your ZIP folder in the image, you'll need to know your image's extension:
- Click once the image to select it.
- Click File.
- Click Get Info.
- Look at the tag after the period in the file's name at the top of the Get Info window.
-
6
-
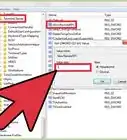
7Change to the desktop directory. Type in cd Desktop and press ⏎ Return to do so.
-
8Enter the "Hide" command. The command for hiding a ZIP folder inside of an image is as follows: cat image.extension Archive.zip > image2.extension where "image.extension" is your image's name and extension (e.g., "Hide.jpg"), "Archive.zip" is your ZIP folder's name and extension (in most cases, it literally will be "Archive.zip), and "image2.extension" is whatever you want your output image's name and extension to be.
- For example, if your image file is a JPG named "Secret" and your ZIP folder is named "Archive.zip", you would create a hidden file image named "Normal" by typing cat Secret.jpg Archive.zip > Normal.jpg here.
-
9Press ⏎ Return. Doing so runs the command and places the ZIP folder inside of the output image.
-
10View the hidden files. While double-clicking the output image will open the image like usual, you can view the image's hidden files by doing the following:[2]
- Place the image on your desktop if it isn't already there.
- Open Terminal and type in cd Desktop.
- Type in unzip image.extension where "image.extension" is your output image's name and extension.
- Press ⏎ Return.
- Follow any in-Terminal prompts.
- Open the folder that appears on your Mac's Desktop to view the files.


Community Q&A
-
QuestionHow do you detect a file hidden in an image?
 Community AnswerTypically there is no easy way, but if the file that is hidden is particularly large (over a few MB), the file size gives it away.
 -
QuestionCan my game still work if files are hidden in there?
 Community AnswerYes, it should work.
 -
QuestionWhat should I do if my antivirus flagged the newly created file as malware?Community AnswerThis probably happened since many viruses hide in image files, so they don't seem dangerous when you download them. You can temporarily disable your antivirus while working with your file.
Warnings
- If you don't have administrator rights on your computer, you may not be able to hide files inside of an image.⧼thumbs_response⧽

-Step-9-Version-3.webp)
-Files-in-Command-Prompt-Step-6.webp)
References
About This Article
1. Copy the files and the image to your desktop.
2. Right-click the file you want to hide.
3. Select Send to > Compressed (zipped) folder.
4. Enter a name for the zipped folder and press Enter.
5. Open the command prompt.
6. Change the directory to your desktop.
7. Type "copy /b IMAGEFILE.jpg+ZIPFILE.zip IMAGEFILE.jpg".
8. Press Enter.