X
This article was co-authored by Luigi Oppido. Luigi Oppido is the Owner and Operator of Pleasure Point Computers in Santa Cruz, California. Luigi has over 25 years of experience in general computer repair, data recovery, virus removal, and upgrades. He is also the host of the Computer Man Show! broadcasted on KSQD covering central California for over two years.
This article has been viewed 56,891 times.
Do you ever find problems with your computer? Uninstalled and reinstalled software and find there's still something wrong? This article will tell you how to identify and resolve issues regarding computer hardware failure if you're using a Windows operating system.
Steps
Method 1
Method 1 of 7:
Checking the Hard Drive
-
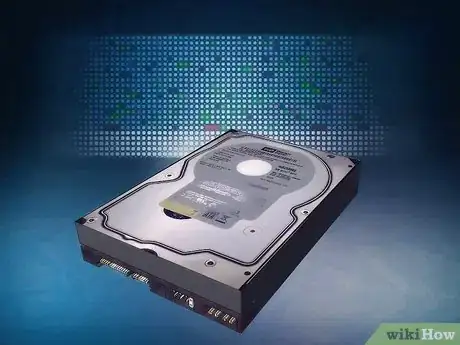
1Try to identify bad sectors. Bad sectors are sectors on a hard drive that can no longer be used. This may be due to permanent damage or the inability of the OS to access them. If you find your system freezing, getting stop errors, or other errors this may be due to bad sectors. Use chkdsk and repair these problems.
-
2Running chkdsk. To do that, click on Start (in the bottom left-hand corner), and then you would see several options and select computer.
- Right-click the volume that you wish to check and click on properties.
- In the Properties dialogue box, click on the Tools tab.
- Under Error-Checking there is a button that says Check Now. Click on this to start chkdsk.
- In the Check Disk dialogue box, select the options you wish to run. To attempt to fix bad sectors you must check the second option, Scan For and Attempt Recovery of Bad Sectors.
- If you are checking the system volume, you will see the message “Windows can’t check the disk while it’s in use. Do you want to check for hard disk errors the next time you start your computer?” Click Schedule Disk Check to run the check next time you start your computer.
Advertisement -
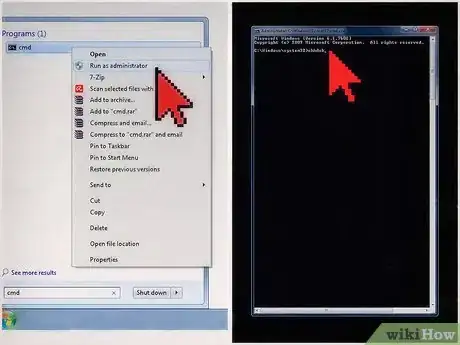
3Running chkdsk from the command line: Click Start, type cmd, then right click cmd and select Run as Administrator.
- Type chkdsk without parameters to see the status of the disk.
- Chkdsk /? Will display all of the possible parameters.
- Type chkdsk c: \f \v to check and repair the disk as well as displaying any clean-up messages. 5. If you wish to check a volume other than c: change to the appropriate letter.
- If you are checking your system volume, you will see a message saying:
- “The type of file system is NTFS. Cannot lock current drive. Chkdsk cannot run because the volume is in use by another process. Would you to schedule this volume to be checked the next time the system restarts? (Y/N)”
- Type Y, and then restart your computer. A message will appear saying that chkdsk is running. When this finishes, Windows will start automatically.
Advertisement
Method 2
Method 2 of 7:
Checking the Memory
-
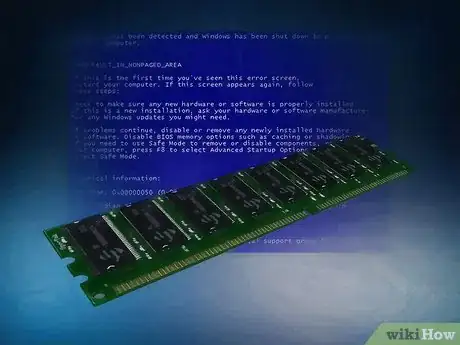
1Diagnose memory issues. A faulty RAM can cause problems with a system. Some of the more common signs of a memory problem are stop errors of the system failing to start.
-
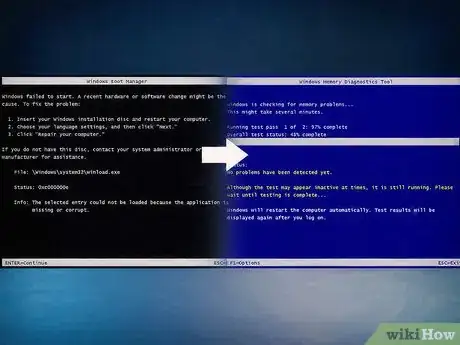
2If the system fails to start, the first thing that you should try is Startup Repair. This will attempt to resolve any errors on the hard disk, or problems with software configuration that may stop the computer from starting normally. If the computer still fails to start after this, launch the Windows Memory Diagnostic in Windows Boot Manager.
-
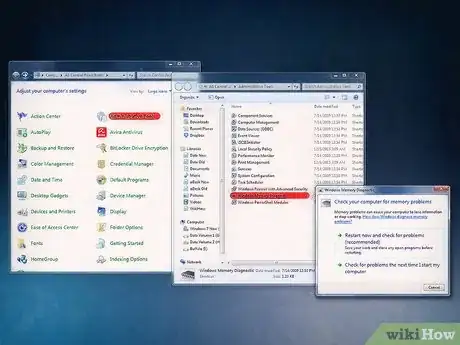
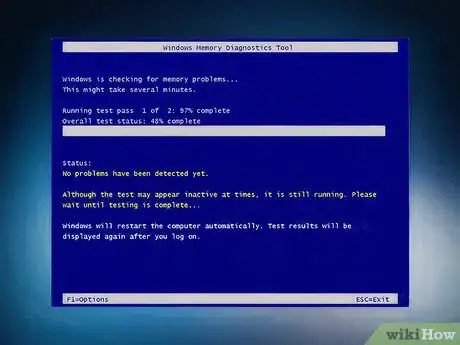
3Note that Windows Memory Diagnostic cannot be run while Windows in running. Thus, you can schedule it to run the next time you start your computer. To do this, go to Control Panel, click on System and Security, and then on Administrative tools. Double click on Windows Memory Diagnostic, and then select the appropriate option.
-
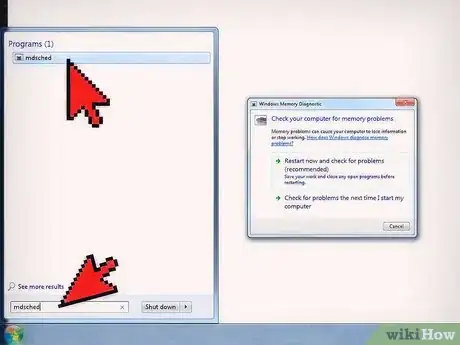
4Open the Windows memory Diagnostic Scheduler. Type mdsched at the command prompt, or by clicking Start and typing mdssched.
-
5Start Windows Memory Diagnostic through Windows Boot Manager if your computer is not winning. To access this, repeatedly press the space bar as the system starts.
- Press Tab to select Windows Memory Diagnostic is also available through System Recovery Options.
-
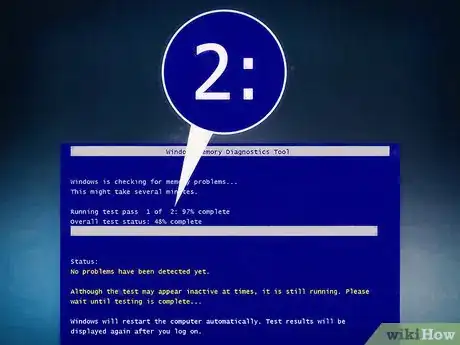
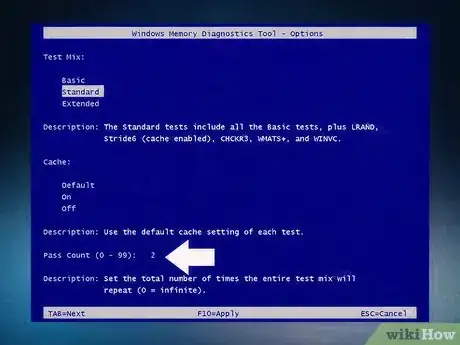
6Note that, by default, Windows Memory Diagnostic runs a standard test with two passes. There are three levels of testing, Basic, Standard, and Extended.
-
7Choose the number of passes that are performed by the tests. More passes takes longer, but it more likely to find any intermittent memory problems.
Advertisement
Method 3
Method 3 of 7:
Checking the Power Supply
-
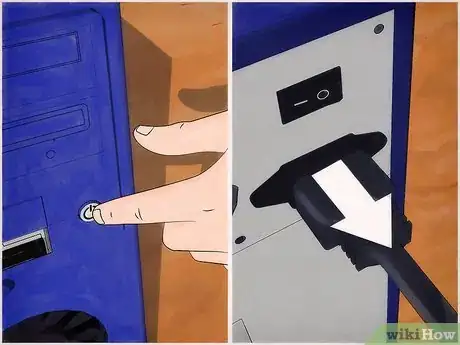
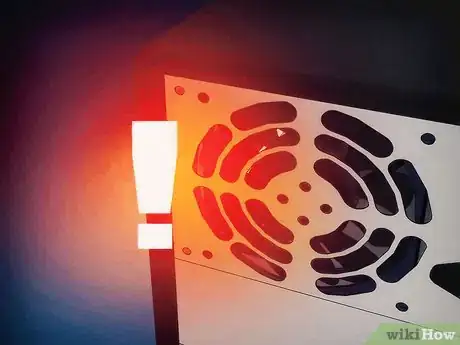
1Power down and unplug the computer immediately if there is smoke coming out of it. Use a fire extinguisher if necessary. Make sure that the fire extinguisher is approved for use on electrical devices.
-
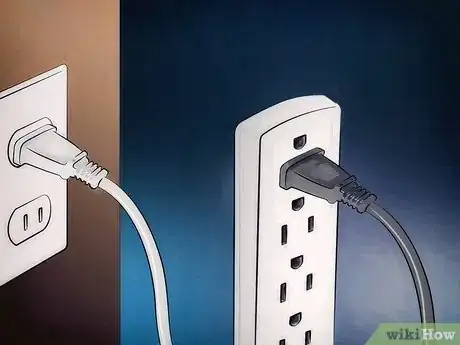
2If the computer doesn’t do anything when you have pressed the power button, the first thing to do is check that it is plugged in and the wall outlet is switched on.
- Check that the wall outlet is working. You can do this by plugging in something that you know works and seeing if it will power on.
-
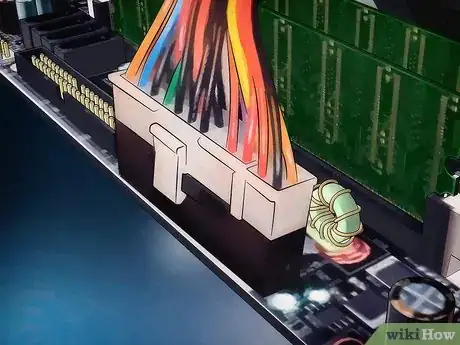
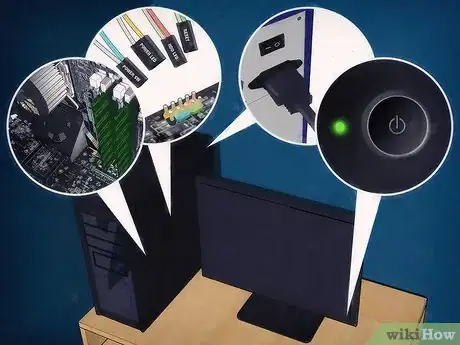
3Ensure that the power cords are connected to the motherboard.
-
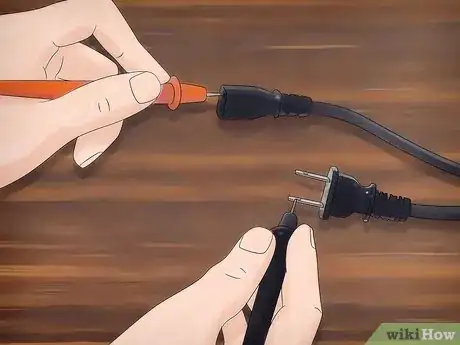
4Check that the power cable works properly. You can do this using a multimeter or by just swapping the cable for one that you know works.
-
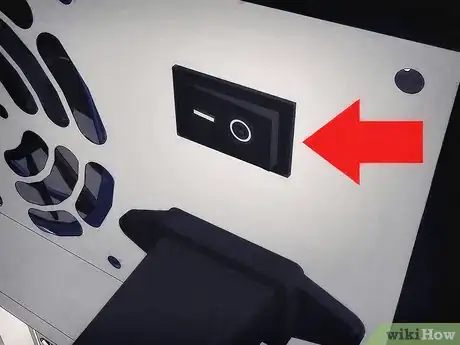
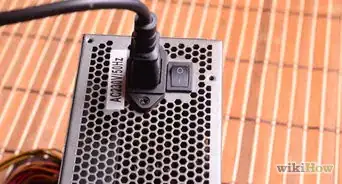
5Check that any internal or external power switches are turned on.
-
6Check that the voltage is set correctly on the power supply.
-
7Test the power supply by using it in another computer. It is fails to work then replace it.
-
8If the computer freezes before the operating system starts, it is possible that the power supply may not be powerful enough. Check that the power supply provides the necessary wattage to power the machine.
-
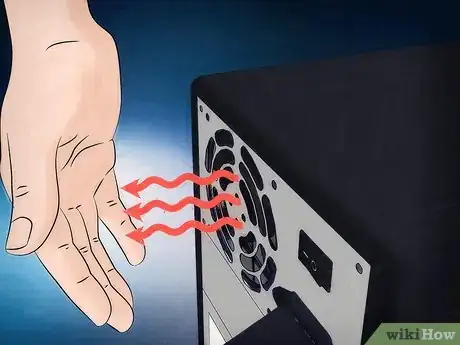
9Note that, if the computer shuts down at random intervals, the problem may be with the power supply fan. Verify that the fan is working.
-
10Check that the fan on the motherboard is working correctly. The system may be shutting down because it is overheating. Make sure that your system is clean of dust, if necessary, replace the fan.
Advertisement
Method 4
Method 4 of 7:
Fixing the Motherboard
-
1Run the motherboard's diagnostic software (if supplied by manufacturer) to ensure that the motherboard isn’t faulty.
-
2Troubleshoot when you do not hear beep codes of see any video:
- Ensure that the computer is receiving power and that the monitor is switched on and connected.
- Remove all external accessories such as wireless cards or external drives.
- Check that the power supply fan is running. If it is not then the problem is most likely to be with the power supply.
- Open the computer and visually inspect the motherboard. If it is blackened or melted, replace the motherboard.
- Ensure that all necessary power connectors are plugged in to the motherboard and that any internal power switch is power turned on. Also check that the power supply is set to the correct voltage.
- Ensure that the motherboard, RAM, and CPU are seated properly.
- If there are any jumpers on the motherboard, check the manual to make sure that they are in the correct position.
-
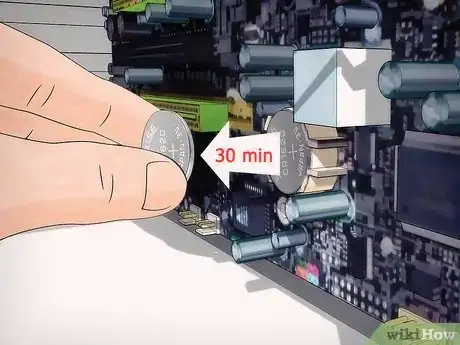
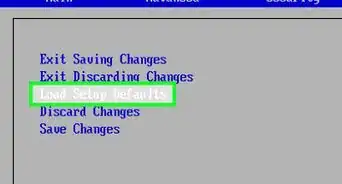
3If none of these steps have worked, set the BIOS back to its default settings by removing the battery from the motherboard for 30 minutes.
-
4Take action if you are hearing beep codes but the computer does not start:
- Remove all external accessories such as wireless cared or external drives. Just leave the monitor, keyboard and mouse connected. By doing this you're singling out the devices that could be causing the beep codes.
- Refer to the manual or manufacturer website to check the meaning of the beep code that you hear.
Advertisement
Method 5
Method 5 of 7:
Stop Overheating
-
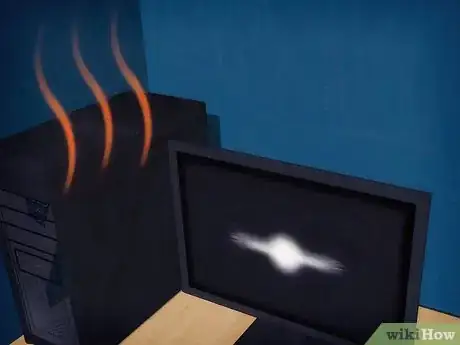
1Losing power after a few minutes of running is a symptom of overheating.
-
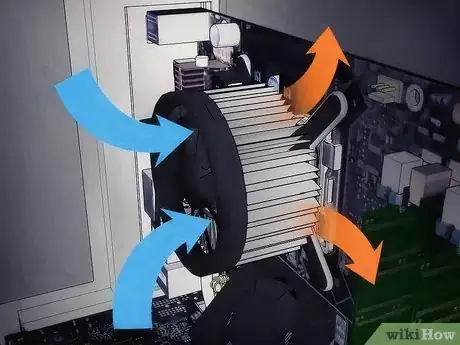
2Check that the CPU fan is working.
-
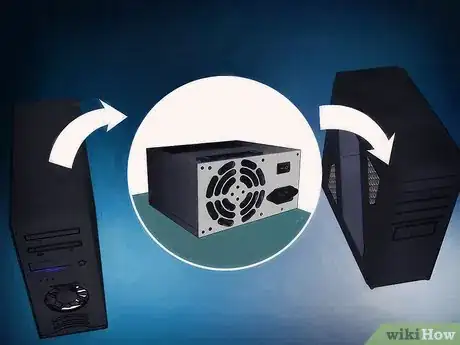
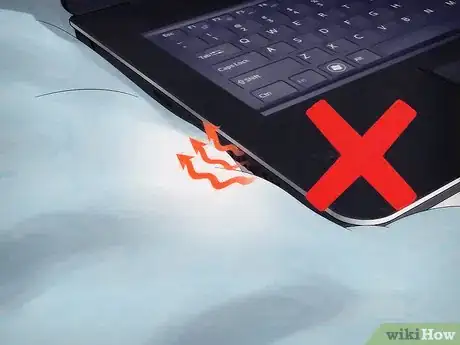
3Change the position of the computer to make sure that air can circulate around it. This especially important with laptops, make sure that none of the cooling ports are blocked.
-
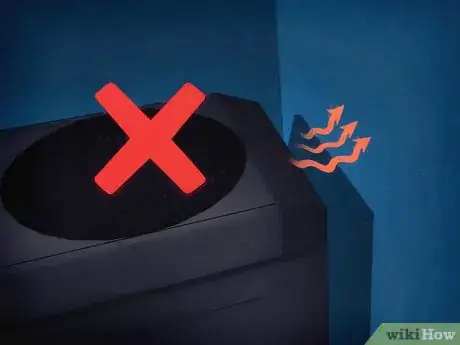
4Make sure that none of the fans are blocked. This will obviously cause the cooled area to overheat. The fan can also burn out.
-
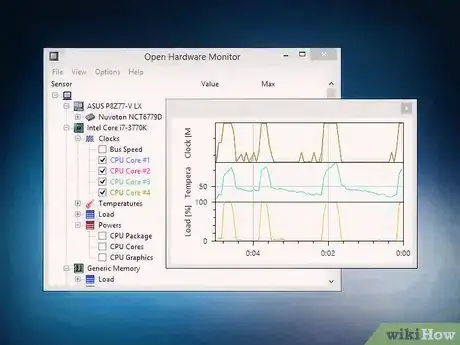
5If possible, check the computer's temperatures from the BIOS or a diagnostic program.
-
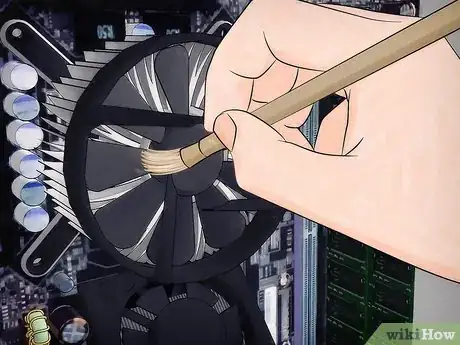
6Remove any dust build-up inside the computer.
Advertisement
Method 6
Method 6 of 7:
Random Shutdowns
Expert Q&A
-
QuestionHow do I know if my power supply is bad?
 Luigi OppidoLuigi Oppido is the Owner and Operator of Pleasure Point Computers in Santa Cruz, California. Luigi has over 25 years of experience in general computer repair, data recovery, virus removal, and upgrades. He is also the host of the Computer Man Show! broadcasted on KSQD covering central California for over two years.
Computer & Tech Specialist Almost any symptom on your machine can be a sign of a power supply failure. It could be weird hard drive symptoms, it could be your CD ROM drives not working correctly, it could be all sorts of RAM restarts, or it could be cue errors.
 -
QuestionHow long does the BIOS battery last and can it prevent the PC from powering up?
 Community AnswerUsually they will last for 5 years or more; they save the settings for the BIOS and the clock. As to whether they will cause the computer to not power up, that's based on the design. Usually it just causes you to lose all of your settings if you disconnect the computer from AC power, but it could also cause the computer to not boot up if your BIOS is completely dependent on it.
Advertisement
About This Article
Advertisement
