This article was co-authored by wikiHow staff writer, Darlene Antonelli, MA. Darlene Antonelli is a Technology Writer and Editor for wikiHow. Darlene has experience teaching college courses, writing technology-related articles, and working hands-on in the technology field. She earned an MA in Writing from Rowan University in 2012 and wrote her thesis on online communities and the personalities curated in such communities.
The wikiHow Tech Team also followed the article's instructions and verified that they work.
This article has been viewed 220,182 times.
Learn more...
This wikiHow will show you how to install Chromium OS. Chromium OS is the open-source version of Google's closed-source Chrome OS that is only available on Chromebooks. It's available for download for any computer, but might not be compatible with all computers out there and may cause software issues. This guide is intended for people who are familiar with how to install an operating system and have more than basic computer skills.
Steps
Installing Chromium OS to a Computer Using CloudReady
-
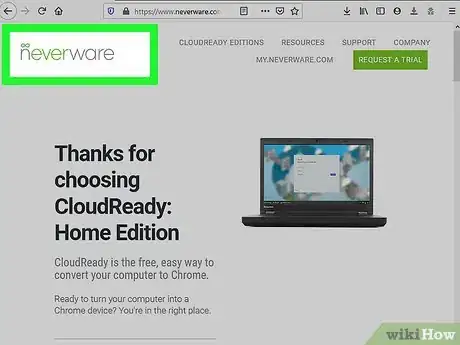
1Download and install CloudReady from https://www.neverware.com/freedownload/. CloudReady is the easiest method to install Chromium OS on your computer, and the links to download are under step 2. You'll need to download the correct version for the OS you're currently using.
- For example, if you're using a Windows 10 machine, you'll need to click the Download USB Maker button.
- If you're using a Mac, click either the 32-bit or 64-bit download button, then go to https://guide.neverware.com/build-installer/working-mac-os/#download-cloudready to follow the instructions for installing CloudReady.
- If you're having issues downloading CloudReady, you might need to update your BIOS, erase your disk, or disable fast boot and secure boot on your Linux.
-
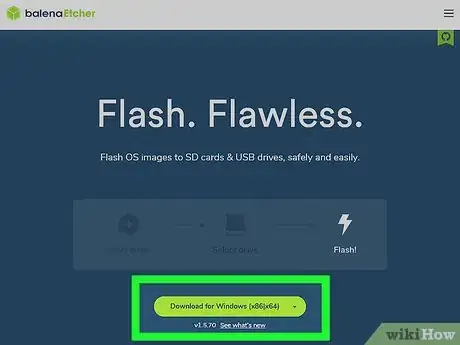
2Download Etcher from https://www.balena.io/etcher/. You'll want to click the green download button to change the download version if you need to.
- Etcher helps you flash OS images to SD cards & USB drives.
- Install Etcher once it downloads by running the Installer wizard and either following the on-screen prompts (Windows) or by dragging and dropping the program icon into the Applications folder (Mac).
Advertisement -
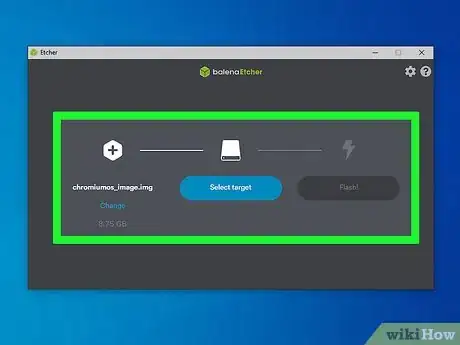
3Flash CloudReady to USB drive. You can find Etcher in your Start Menu or Applications folder.
- Select Select Image and choose the CloudReady downloaded file.
- Select Select Drive and choose the formatted USB drive.
- Select Flash! and the process will begin. It might take around 10 minutes to completely flash CloudReady onto the USB, but make sure Etcher says it's 100% completed before you close the program.
-
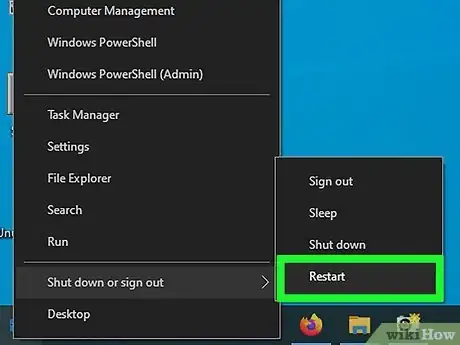
4Restart your computer and boot from the USB drive. This can usually be done using a keyboard command such as F12 (Windows) or Opt (Mac) while your computer is rebooting.
- If you're using Windows and can't boot from the USB drive, see this wikiHow to learn how to check (and change) the boot order.
-
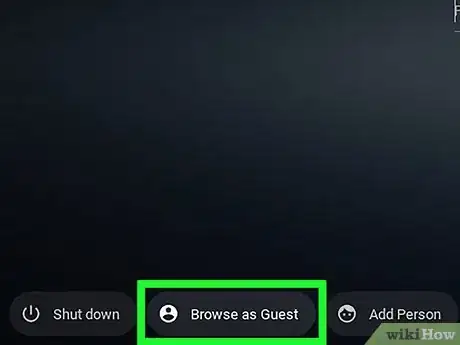
5Log in as a guest. Even if you are prompted to log in with your Google account, you can find the guest login at the bottom left corner of your screen.
-
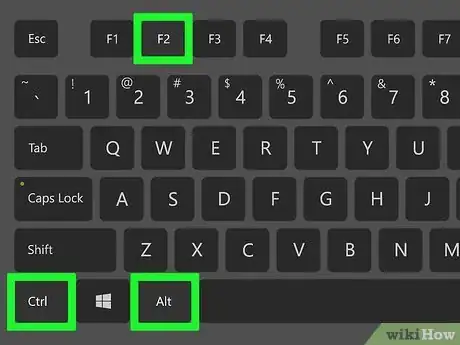
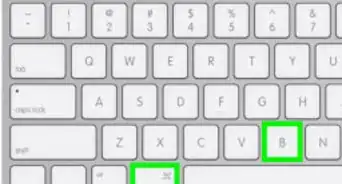
6Press Ctrl+Alt+F2 (Windows) or Ctrl+⌘ Cmd+F2 (Mac). A Terminal/command line prompt will open.
-
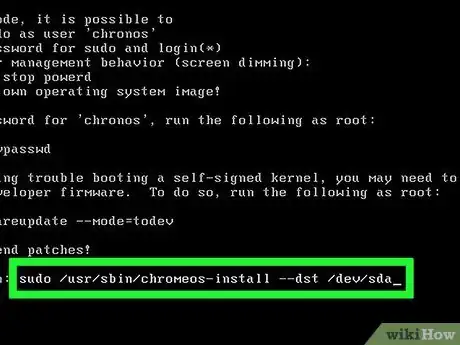
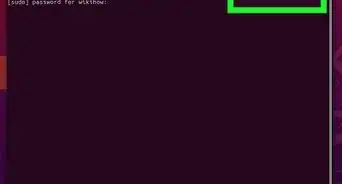
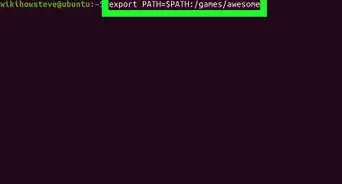
7Enter sudo /usr/sbin/chromeos-install --dst /dev/sda. This command will install Chrome OS to your computer's storage drive.[1]
- This command will erase everything on your hard drive and install Chromium OS.
- If you're prompted for a username and password, use "chronos" as your login and "chrome" as the password.
-
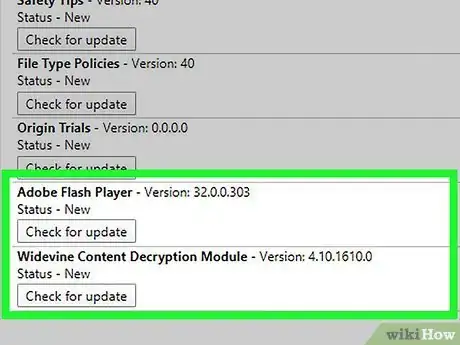
8Enable Proprietary Services for Netflix. By default, CloudReady does not include support for Flash or DRM protection schemes like Wildvine. To install these, open Settings and navigate to Plugins. Press Install next to Wildvine Content Decryption Module, Adobe Flash, and Proprietary Media Components.[2]
- If you're running into issues, you can always go to the CloudReady troubleshooting page for answers.
Running Chromium OS from a USB drive in Live Mode
-
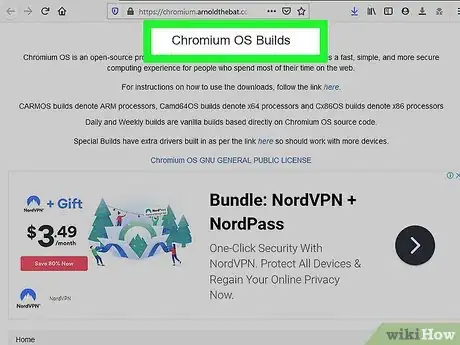
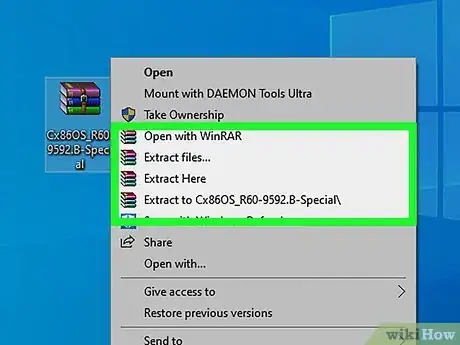
1Download Chromium OS build from http://chromium.arnoldthebat.co.uk. You'll want to download the latest daily Chromium build. The builds are usually listed from most recent, so the first listing should be the download you want.
-
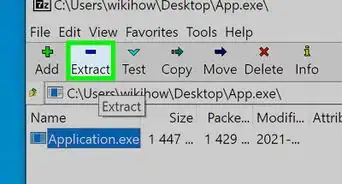
2
-
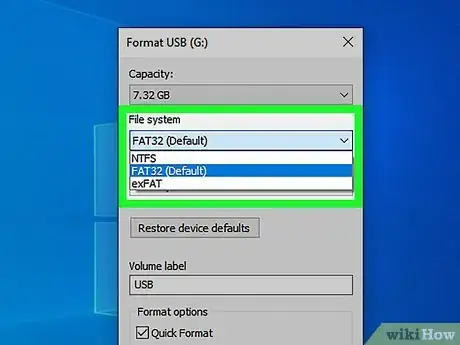
3Format the USB drive to FAT32. If you see "MS-DOS FAT" instead, it's the same thing as FAT32.[3]
- In Windows, you can format your drive by navigating to your USB drive File Explorer, then clicking Manage and selecting Format. In the window that pops us, select Fat32 from the drop-down list in "File System" and click Start and OK. All the information on that drive will be deleted as it formats.
- With Macs, you need to access Disk Utility from the Utilities folder in Finder, select your USB drive, then click the Erase tab. Make sure the window next to "Format" says "MS-DOS (FAT)" before clicking Erase.
-
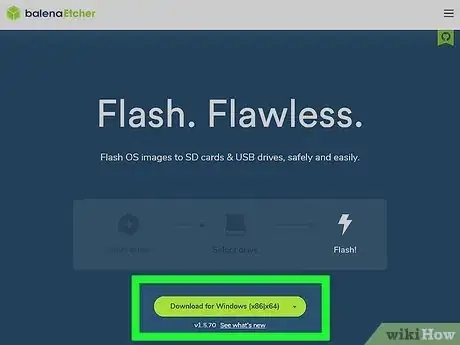
4Download Etcher from https://www.balena.io/etcher/. You'll want to click the green download button to change the download version if you need to.
- Etcher helps you flash OS images to SD cards & USB drives.
- Install Etcher once it downloads by running the Installer wizard and either following the on-screen prompts (Windows) or by dragging and dropping the program icon into the Applications folder (Mac).
-
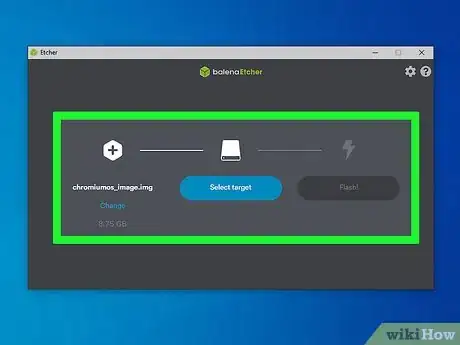
5Flash the installed images from your computer to the USB. You'll find Etcher in your Start Menu or Applications folder.
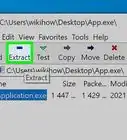
- Click Select Image and select the Chromium OS image file.
- Click Select Drive and choose the USB drive you formatted.
- Click Flash to begin the process of flashing the image to your USB drive. Once the flash is complete, Etcher will begin validating the final product.
- Do not close the program until you see it's 100% finished.
-
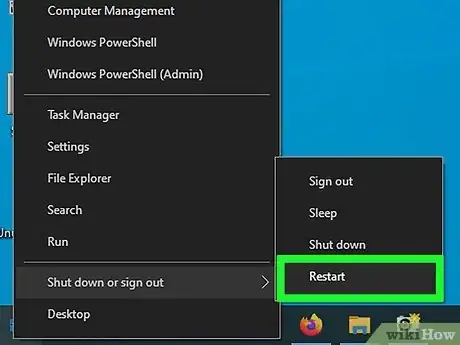
6Restart your computer and boot from the USB drive. This can usually be done using a keyboard command such as F12 (Windows) or Option (Mac) as the computer reboots.
- If you're using Windows and can't boot from the USB drive, see this wikiHow to learn how to check (and change) the boot order.
- Make sure the computer boots from the USB drive to boot with Chromium OS.
- Make sure you connect to a WiFi network once Chromium OS has booted so you can log in to your guest or Google account to access all the features available to the web-based OS.[4]
Community Q&A
-
QuestionCan I use an internal hard drive for storage when installing Chromium?
 Renato ZXCommunity AnswerYes. Also you can use a USB flash drive or SD/micro SD card. It supports Fat32, NTFS and EXT4 file systems.
 -
QuestionHow do I install Chromium OS on my Chromebook?
 Community AnswerChrome OS and Chromium OS are roughly the same thing. Chromebooks come with Chrome OS, so there is no need to install Chromium OS.
 -
QuestionHow do I install it in VirtualBox or QEMU?
 Community AnswerYou can't install Chromium OS in VirtualBox because of graphics issues. With QEMU/KVM, AFAIK you have to build Chromium OS from source, though it will work fine if you do. You can also download VM images from Cloudready, which will work in VMWare player.
Warnings
- Everything on the computer's hard drive will be erased (documents, pictures, files, videos) if you decide to install Chromium OS to your computer. If you want to keep your information, it is recommended to use a spare computer that you have available for testing.⧼thumbs_response⧽
Things You'll Need
- USB drive 4GB or larger
- Spare computer (optional)
- Computer
- Internet connection (CloudReady doesn't work without the Internet)
References
About This Article
1. Download and install CloudReady from https://www.neverware.com/freedownload/..
2. Download Etcher from https://www.balena.io/etcher/.
3. Flash CloudReady to USB drive.
4. Restart your computer and boot from the USB drive.
5. Log in as a guest.
6. Press Ctrl+Alt+F2.
7. Enter "sudo /usr/sbin/chromeos-install --dst /dev/sda".
8. Enable Proprietary Services for Netflix.
