This article was co-authored by Marvin Woo and by wikiHow staff writer, Hunter Rising. Marvin Woo is a licensed electrician and the Owner of Woo's Electrical & Appliance based in East O’ahu. With over two decades of experience, he specializes in troubleshooting issues and maintaining residential electrical systems. Marvin is both licensed and insured to complete electrical work in the state of Hawaii.
There are 9 references cited in this article, which can be found at the bottom of the page.
This article has been viewed 52,109 times.
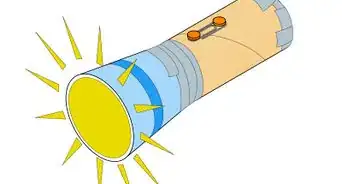
LED strips are common light sources since they last a long time and use up very little energy compared to incandescent bulbs. The strips are versatile so they can be placed nearly anywhere you have an electrical connection. Whether you need to add extra lighting under cabinets or in your car, you can install LED strips with ease!
Steps
Hanging Lights under Your Cabinets
-
1Hang the strips under the cabinet with tape to see what areas it will light. Use painters tape or masking tape to position your lights to see what locations work best. Experiment with various positions before you commit to the final installation.
- Place lights on the bottom side of the cabinet if you want the light to focus on your countertops, though glossy counters will reflect the lights.
- Put the lights on the backside of the bottom lip to have the lights point towards your walls.
-
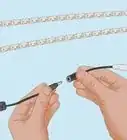
2Cut the strips along the black lines to make them fit better. Find the black cut lines along the strip marked with the scissors icons. These areas are safe to cut so the strips will fit the length of your cabinet perfectly. Use a pair of scissors or a sharp knife to cut along the lines.[1]
- LED strips come in various cutting lengths, with common sizes being 2 inches (5.1 cm), 4 inches (10 cm), and 6 inches (15 cm).
Advertisement -
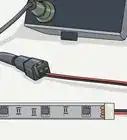
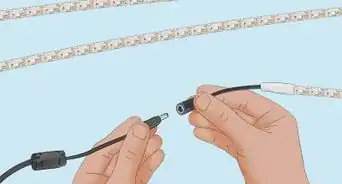
3Use connector pieces to keep the strips flush in the corners. Use a sharp knife to make a slit along the black lines between the light and the end of the LED strip. Peel the top layer off to expose the ends. Slide the end of the strip into one end of a connector clip and snap it shut. Place a connector in the other side of the clip so the strip can lay flush along the corners.[2]
- Connectors come either L- or T-shaped to link 1 or 2 more strips respectively.
- You can also bend the tape in the corners if you don’t want to use connectors.
-
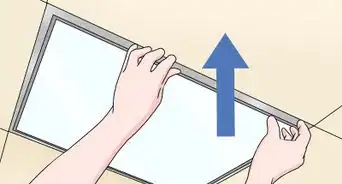
4Drill holes through the cabinet lip moulding to use a long, continuous strip. If your cabinets have moulding on their undersides, make a hole slightly larger than the LED strip through the moulding using an electric drill. Run the strip through the holes so you don’t have to use multiple sets of LED strips with multiple power sources.
- Alternatively, use a saw to make small slits in the lips that you can slide the strips into.
-
5Clean the bottoms of your cabinets so the lights stick firmly. Make a cleaning solution that’s 1 part vinegar and 1 part warm water. Use a clean rag to wipe the areas where you want to hang the lights and dry them off promptly.
- Any wood cleaner will work for this.
-
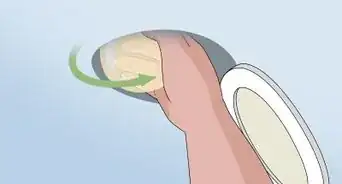
6Remove the adhesive backing to stick the LEDs onto your cabinets. Pull the back off of the strip to reveal the adhesive. Slowly and carefully push the strip up against the cabinet surface so it sticks to the wood in the right location. Press the strip firmly so the adhesive has a tight grip.[3]
- If your LED strip doesn’t stick to the cabinet, you can screw in guides or brackets to hold the strip in place.[4]
-
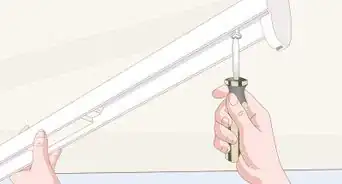
7Hide the power source under the cabinets with adhesive strips. Place 1 or 2 double-sided adhesive Command strips on the back of the power source. Remove the tape from the other side of the strip and press the block firmly against the underside of the cabinet. Hold the power source there for 60 seconds so the adhesive has time to set. Afterward, plug in or turn on your LEDs to light them.
- If the power source is large, drill a hole in the bottom of your cabinet. Place the power block inside at the back of your cabinet and feed the wires through the hole.


Putting LEDs in Your Car
-
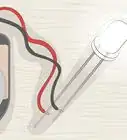
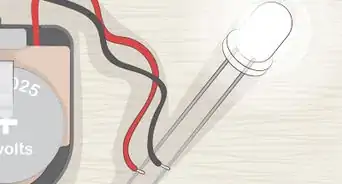
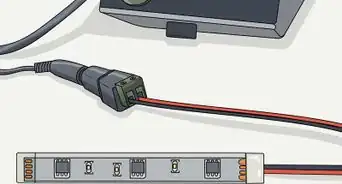
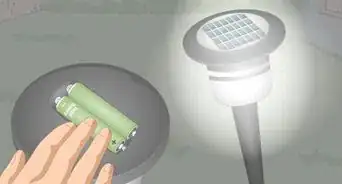
1Get LED strips that plug into the cigarette lighter. To avoid wiring any of the LEDs directly to your vehicle’s fuse box, search for lights that use the power from your cigarette lighter. As long as the lighter gives off 12 volts of power, it will be able to power your light strips.[5]
- Get USB-powered LED strips and plug them into your phone’s car charger for another solution.
- If you want more control over the length of the LED strips, purchase ribbon-style lights where you can cut them shorter or longer to better fit your needs.
-
2Clean the hard surfaces where you plan to hang your lights. Spray a hard-surface cleaner or window cleaning solution onto a rag and thoroughly wipe the areas clean. This will help the adhesives stick better.[6]
- A solution of 1 part vinegar and 1 part warm water will work as a homemade cleaner.
- Common places for LED strips in cars are in the footwells and along the gear shift in the center console.
-
3Line the strips along the surface to light the area up. Remove the tape protecting the adhesive from the backs of the LED strips. Press the strip firmly against the surface and hold it there for 30 seconds so the adhesive can bind completely.[7]
-
4Tuck the wires in along the interior liner of your car so they don’t hang down. Gently lift up the edges of the cloth liner and press the wires inside to keep them snug. Keep the wires taut or else they have more chances of falling down. Run the cords back towards the cigarette lighter so they can easily be plugged in and lit.[8]
- If you’re worried about the wires falling or don’t have a cloth liner, use clear or black electrical tape to hold the wires in place.
- If you cut the LED light strips, leave some extra conductors so that you can solder them.[9]


Expert Q&A
-
QuestionCan you reconnect LED Strip Lights after cutting them?
 Marvin WooMarvin Woo is a licensed electrician and the Owner of Woo's Electrical & Appliance based in East O’ahu. With over two decades of experience, he specializes in troubleshooting issues and maintaining residential electrical systems. Marvin is both licensed and insured to complete electrical work in the state of Hawaii.
Licensed ElectricianLED light strips usually aren't designed to be reconnected at the cut end. Soldering might be possible if you can manage to leave some extra conductor to solder onto.
Things You’ll Need
Hanging Lights under Your Cabinets
- Painters or masking tape
- Scissors
- Drill
- Adhesive strips
Putting LEDs in Your Car
- Cigarette lighter
- Cleaning solution
- Clean rag
- Clear tape or electrical tape


References
- ↑ https://youtu.be/bc6CLs0NBRQ?t=3m29s
- ↑ https://youtu.be/bc6CLs0NBRQ?t=4m23s
- ↑ https://youtu.be/bTRLt-fzTwg?t=6m26s
- ↑ https://youtu.be/bTRLt-fzTwg?t=6m35s
- ↑ https://youtu.be/0CbdGHE_AM8?t=2m9s
- ↑ https://youtu.be/0CbdGHE_AM8?t=4m57s
- ↑ https://youtu.be/0CbdGHE_AM8?t=7m36s
- ↑ https://youtu.be/xwD8Ilk-MHU?t=1m29s
- ↑ Marvin Woo. Licensed Electrician. Expert Interview. 31 January 2022.
About This Article

If you want to install LED light strips in your car, make sure to purchase strips that plug into the cigarette lighter so you don’t have wire them directly to the fuse box. Before installing your lights, clean the surface where you’ll hang them with a window cleaning solution or a mixture of vinegar and warm water. Once the surface is dry, remove the tape on the back of the LED strips and press the lights firmly against the surface. With the lights in place, hold them there for 30 seconds so the adhesive can bind completely. To hide the wires, tuck them under your car’s interior liner. If your car doesn’t have a liner, use electrical tape to hold the wires in place. For more tips, like how to install LED light strips under your cabinets at home, read on!