X
wikiHow is a “wiki,” similar to Wikipedia, which means that many of our articles are co-written by multiple authors. To create this article, 9 people, some anonymous, worked to edit and improve it over time.
This article has been viewed 103,808 times.
Learn more...
If your printer didn't automatically get recognized when you booted up your computer, you will need to install it manually. This article will walk you through that.
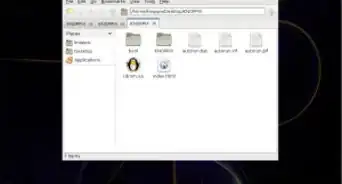
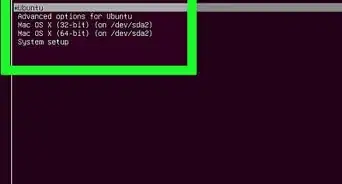
Steps
-
1Search on the Internet. Your printer might need special software. If you don't have to, do the following.
-
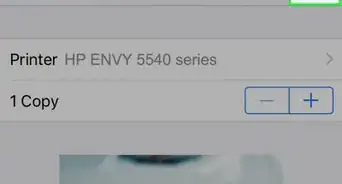
2Be sure that your printer is connected, either directly with your PC or in your network.Advertisement
-
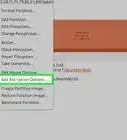
3Click on System settings >> Printers. This will take you to the Add Printer screen.
-
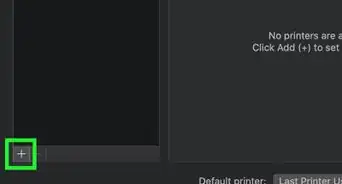
4Click on Add.
-
5Click on printer URI and give link for local printer.
-
6If it is a network printer, click on Network printer and search for host of your printer in network.


Advertisement
Community Q&A
-
QuestionHow do I install a canon WiFi printer on a Linux operating system laptop?
 Community AnswerYou will have plug in the printer to the computer with the USB cable that came with the printer. Turn on the printer, go to settings on the computer, click on printer, click on add and wait a few seconds for the name of your printer show up on top. It will say "a printer is connected at port", or something like that. A window will pop up with the description of your printer and computer, then click apply on the bottom right. It is recommended to connect the printer with the cable to establish a hard connection so everything can get transferred in order to let the WiFi work properly.
Advertisement


About This Article
Advertisement