This article was co-authored by Luba Lee, FNP-BC, MS and by wikiHow staff writer, Christopher M. Osborne, PhD. Luba Lee, FNP-BC is a Board-Certified Family Nurse Practitioner (FNP) and educator in Tennessee with over a decade of clinical experience. Luba has certifications in Pediatric Advanced Life Support (PALS), Emergency Medicine, Advanced Cardiac Life Support (ACLS), Team Building, and Critical Care Nursing. She received her Master of Science in Nursing (MSN) from the University of Tennessee in 2006.
There are 8 references cited in this article, which can be found at the bottom of the page.
This article has been viewed 58,560 times.
If you’ve had the misfortune of coming across someone’s used bandage at the beach, in the pool, or in the shower at the gym, you’re all too aware that adhesive bandages often lose their stickiness when wet. In reality, this isn’t the worst property, because bandages should be replaced regularly to aid in healing. But there are certainly times when you’d like that bandage on your finger or knee to stay put when wet. Luckily, there are several options worth trying.
Steps
Getting the Best Adhesion
-
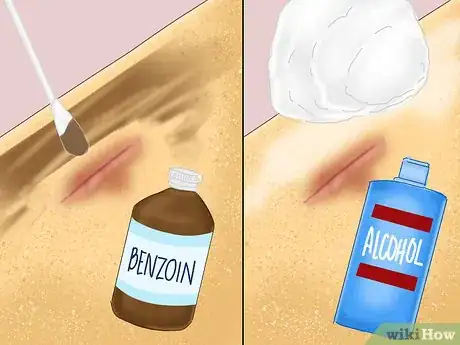
1Apply a skin prep. If you can get the bandage to stick better to your skin in the first place, the chances of it staying in place when wet will improve. This might make it harder to remove the bandage painlessly, but there are wikiHow approved methods for dealing with that problem. Apply a small amount of a skin prep solution, such as tincture of benzoin, to the area around the wound and let it dry for a few minutes.[1]
- Tincture of benzoin is available at most drugstores. It is often used in medical settings to ensure adhesion of heart monitor pads and the like.
- Before applying the benzoin, rinse the area with clean water and pat it dry. This will also help the bandage stick better, since it will get rid of oils, dirt, and moisture on the skin.
-
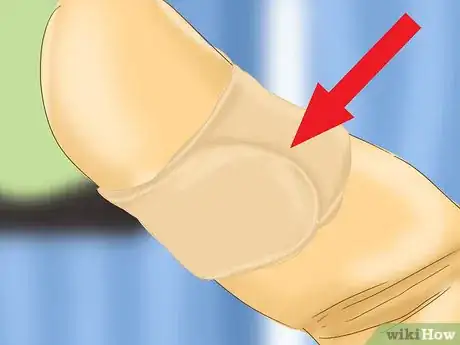
2Maximize the overlap when possible. No matter how well you prepare your skin, a bandage invariably sticks better to itself than it will to your flesh. Your odds of keeping a wet bandage in place will improve any time that you are able to overlap the ends of the adhesive strips.
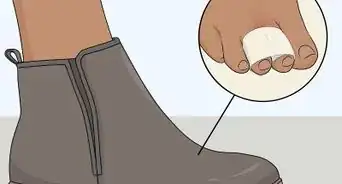
- The most likely spot for an overlapping bandage is, of course, a finger. However, a bandage that is stuck to itself can still easily slide off a finger. To reduce this possibility, make sure to wrap the bandage tightly, though not so much that it restricts blood flow. If your fingertip turns purple or starts to hurt, it’s too tight.
- Another trick for keeping a bandage on the finger in place involves cutting into the adhesive strips on either side of the pad, then creating a criss-cross pattern with the 4 adhesive strips you now have.
Advertisement -
3Try waterproof bandages. Few, if any, of the many brands of so-called waterproof bandages can actually make good on that claim, so their effectiveness at keeping waterborne dirt and germs out of a wound is questionable at best. However, they do tend to stick around a bit better than regular bandages.[2]
- Waterproof bandages tend to have a stronger adhesive, which can help keep them in place longer when exposed to moisture. In fact, some brands tend to leave some adhesive residue on the skin when removed.
- Keep in mind, though, that the main task of a bandage is to keep germs out, and standard waterproof adhesive bandages tend to fail at keeping potentially germ-filled liquids from reaching a covered wound. They need to be regularly replaced, just like a normal adhesive bandage, even if they do stick better.
-
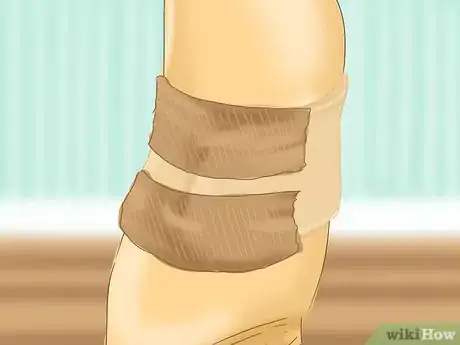
4Reinforce your bandage. If you really want to hold a bandage in place and aren’t concerned with concealing its existence, you can reinforce its positioning with either adhesive or non-adhesive wrappings.[3]
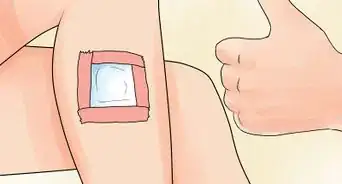
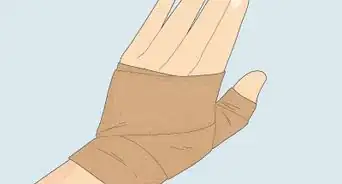
- For a larger bandage on a knee, for instance, you might try a roller bandage made of stretchy fabric. Wrap it snugly around the adhesive bandage (but not so tight that it hinders blood flow), then hold it in place with some medical tape (or similar fabric tape).
- For smaller bandages, use the fabric adhesive tape alone to help hold the bandage in place. This could make removal uncomfortable, however, so remember the tips for removing bandages with less pain.
- Once again, however, do not use this reinforcement as an excuse not to replace your bandage frequently, especially once it gets substantially wet.
Practicing Proper Wound Care
-
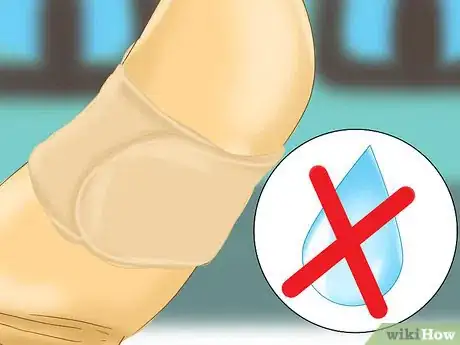
1Keep the wound moist, but the bandage dry. Some people still believe that it is better to let a minor cut or scrape dry out and scab over, but that has been proven false. A moist, protected wound heals better, so the job of the bandage is to keep the wound from drying out and keep external moisture (which can carry germs) from getting in.[4]
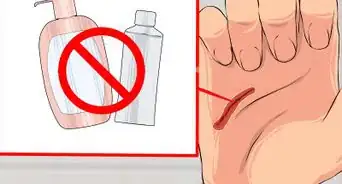
- When you have a minor cut or scrape, clean the area thoroughly with soap and water only, then pat it dry with a clean cloth and apply a bandage that covers the entire wound (with some room to spare) and fits snugly over it.
- Apply an antibiotic ointment or petroleum jelly to the wound before putting the bandage on to help lock in moisture.[5]
- The effectiveness of your bandage in sealing out germs reduces substantially when it gets wet, since moisture can seep through or underneath the bandage. Try to keep the bandage dry whenever possible, and change it if it gets wet or dirty.
-
2Replace bandages regularly. Even if you shudder at the thought of ripping that bandage off your forearm (along with a tuft of arm hair), you should replace any bandage at least once a day. Just because a bandage is still stuck in place after 24 hours doesn’t mean it is wise to let it stick around longer.[6]
- Replace a bandage as soon as practical whenever it gets dirty or soaking wet. Most of the tips here for keeping a wet bandage in place should only really be used as temporary measures until you have the opportunity to replace the bandage.
- Replacing bandages frequently not only helps reduce germ infiltration, it lets you keep track of the healing process. That way, you won’t keep a bandage on any longer than necessary.
-
3Cover up your bandages. When it is practical to do so, the best way to keep a bandage (and the wound underneath) dry is to place a barrier between it and external moisture.[7] If you’re going to be outside in wet conditions, even items of clothing like long pants or wide-brimmed hats can offer some assistance.
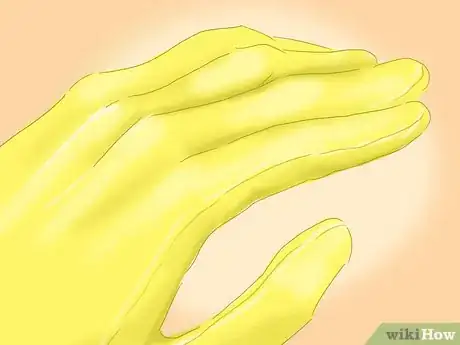
- For a wound on your hand, for instance, you can put on a disposable glove while preparing food. You could also try it while showering, or even resort to a plastic bag cinched up at the wrist.
- You could try out the plastic bag in the shower for a foot or lower leg bandage as well. It won’t keep all the water out, but it will deflect much of it.
-
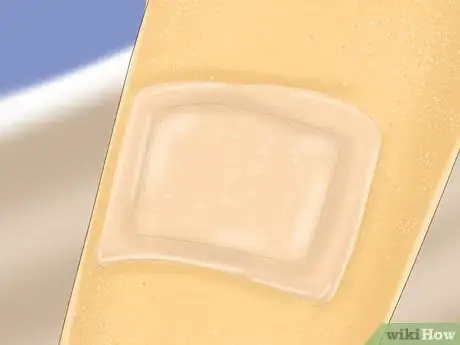
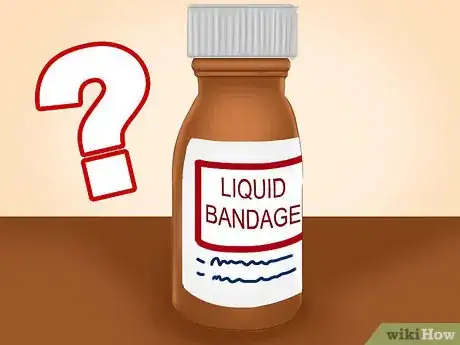
4Explore bandaging options. If you can’t avoid getting the bandaged area wet, and you can’t get your regular or waterproof bandages to stay in place, there are other options to consider. Using them may buy you some extra time between re-bandaging applications.
- Hydrocolloid dressings create a water-tight seal around the wound, which keeps more germs out and tends to keep them in place longer.[8] They are often used in hospital settings to keep IV lines in place and for post-surgical care, but can also be purchased for home use.
- Liquid bandages (such as cyanoacrylate) work almost like a waterproof glue placed over the wound. This treatment may not be practical for all wounds, but will stay put and do its job well for most minor cuts and scrapes.[9]
Expert Q&A
-
QuestionMy skin splits on my hand, and I need to keep it covered. How do I get the plaster to stick?
 Luba Lee, FNP-BC, MSLuba Lee, FNP-BC is a Board-Certified Family Nurse Practitioner (FNP) and educator in Tennessee with over a decade of clinical experience. Luba has certifications in Pediatric Advanced Life Support (PALS), Emergency Medicine, Advanced Cardiac Life Support (ACLS), Team Building, and Critical Care Nursing. She received her Master of Science in Nursing (MSN) from the University of Tennessee in 2006.
Board-Certified Family Nurse Practitioner 1) Clean your abrasion. 2) Apply an antibiotic ointment or petroleum jelly on the area where the skin splits. 3) Dry the area around the splitting skin. 4) Put on a band-aid of an appropriate size to cover the area of the splitting skin. 5) Wrap your hand with a soft, light-weight, stretchable bandage to reinforce the band-aid and to help keep it in place. 6) Change band-aid once a day.
References
- ↑ https://www.ncbi.nlm.nih.gov/pmc/articles/PMC6691423/
- ↑ https://www.consumerreports.org/cro/2012/12/few-waterproof-bandages-make-the-cut/index.htm
- ↑ http://www.stjohn.org.nz/First-Aid/First-Aid-Library/Immediate-First-Aid1/Dressings-and-Bandages/
- ↑ https://www.aafp.org/afp/2002/0715/p315.html
- ↑ https://www.upmcmyhealthmatters.com/cuts-heal-faster-bandage/
- ↑ https://www.consumerreports.org/cro/2012/12/few-waterproof-bandages-make-the-cut/index.htm
- ↑ https://www.normanregional.com/blog/8-tips-to-wound-healing
- ↑ https://pubmed.ncbi.nlm.nih.gov/8509607/
- ↑ http://www.ncbi.nlm.nih.gov/pubmed/11553164









Medical Disclaimer
The content of this article is not intended to be a substitute for professional medical advice, examination, diagnosis, or treatment. You should always contact your doctor or other qualified healthcare professional before starting, changing, or stopping any kind of health treatment.
Read More...