wikiHow is a “wiki,” similar to Wikipedia, which means that many of our articles are co-written by multiple authors. To create this article, volunteer authors worked to edit and improve it over time.
This article has been viewed 88,616 times.
Learn more...
An interesting way to display your collection of really anything flat is to encase it inside a table using poured resin. From concert tickets to pennies, nearly anything you want to show off can be easily displayed using this creative medium. For example, if you have a bottle cap collection, you could create a lively surface or table using your collection and resin. This may also be ideal for a home bar where you can show off the beers of the world you’ve imbibed through the years.
Steps
Assemble Supplies
-
1Assess your collection. For full coverage, you will most likely need a vast collection that that will provide full coverage. When using bottle caps look for caps that are not rusted and still in decent shape. Consider only using bottle caps that hold meaning or significance to you--or just look really cool.[1]
-
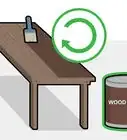
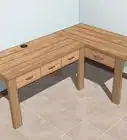
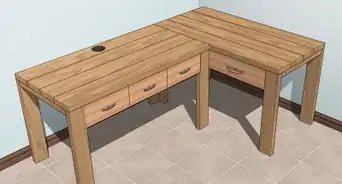
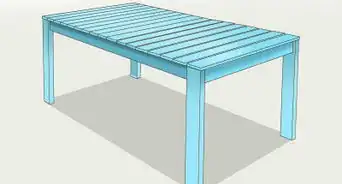
2Find the right table. Depending upon your collection you may be either looking for a table that can simply display your collection or you may be looking for pure decorative function and plan to cover a piece of necessary furniture. Either way, your collection must be able to completely cover the table top.[2]Advertisement
-
3Purchase glue to hold bottle caps or your collection in place. Liquid Nails or Super Glue work well or you could use contact cement for a very permanent solution.[3]
-
4Assemble supplies that will help you build a barrier around the perimeter of your table. When you pour the resin, you don’t want it to run off the sides of the table so building a barrier is imperative. Barrier materials can include heavy cardboard, aluminum foil, duct tape and/or any other material that will help you keep the resin on the table and off the floor. Also, locating an exacto knife or box cutter will help you trim away the barrier once the resin has dried.[4]
-
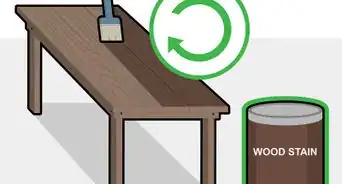
5Purchase resin. Most hardware or home improvement stores will carry pourable resin. Look for something with high gloss in order to give the table that polished finish.[5]


Create the Table
-
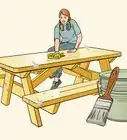
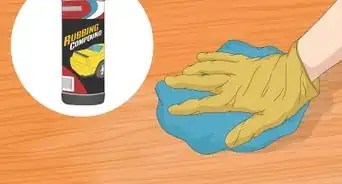
1Lay out collection on clean tabletop surface. Make sure the table is free of debris, dust or dirt before beginning the project. Lay out bottle caps or your collection so you can determine if you like the design.[6]
-
2Glue bottle caps and/or your collection in place. Once you are happy with the design, glue the caps in place so they won’t move when you pour the resin. Allow ample dry time before proceeding to the next step.
-
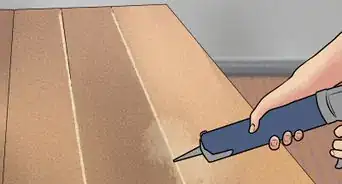
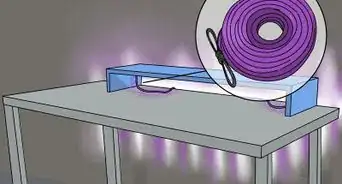
3Build a barrier around the perimeter of the table. Secure the base of the barrier with duct tape and/or painter’s tape. You don’t want any gaps so the resin could drip out. Make sure the barrier is high enough around the sides to hold the poured resin.[7]
-
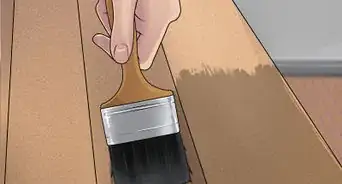
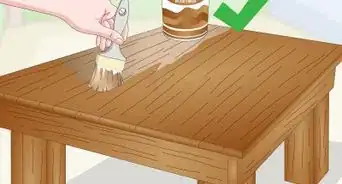
4Mix and pour resin. Follow the instructions on the resin box for mixing and then slowly pour over the tabletop. If the resin is not getting between the bottle cap gaps, use a knife to gently spread it over the tops and in between the gaps.[8]
- Allow the resin to set and dry for up to eight hours (or according to the resin box directions).
-
5Remove barrier and tape using your knife. Carefully run the knife around the edges of the barrier to release the tape. Be careful not to scratch the table as you remove the tape and barrier.


Community Q&A
-
QuestionI glued all the beer caps to the table, then poured the resin on it. I was a little short on resin and some of the caps are not fully covered. Can I apply another coat of resin on top of the dried resin?
 Community AnswerYes, you can apply more resin on top of the dried resin. I've done it on my table, and as long as it was completely cured when I poured the second layer I had no problems.
 -
QuestionHow do I build a temporary barrier when making a bottle cap table with resin surface?
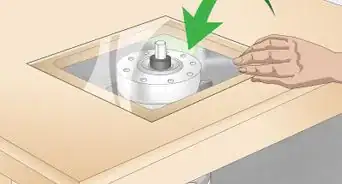
 Luke BrunsCommunity AnswerBuild a wood barrier to frame only the perimeter of the table. You could put a small screw though the wood perimeter into the pre-existing table. Or, when cutting the wood for the barrier, be sure when you secure them together, they fit tightly onto the table, so as to not put holes into the table. After you have all of that made, cover the barriers in a resin release compound.
 -
QuestionWhat if I want the resin to go over the edge?
 Community AnswerPut the resin on a piece of plastic, then peel it off and use clear Gorilla Glue to glue it down.


-Step-9.webp)
References
- ↑ https://www.youtube.com/watch?v=mnESlTEzLDI
- ↑ https://www.youtube.com/watch?v=CsVLhk55pWM
- ↑ https://www.simplemost.com/make-table-using-beer-bottle-caps/
- ↑ https://addicted2diy.com/diy-bottle-cap-table/
- ↑ https://addicted2diy.com/diy-bottle-cap-table/
- ↑ https://www.guidepatterns.com/18-diy-beer-bottle-cap-table-designs.php
- ↑ https://ourpastimes.com/how-to-make-a-beer-cap-coffee-table-12167974.html
- ↑ https://ourpastimes.com/how-to-make-a-beer-cap-coffee-table-12167974.html
About This Article
To make your own resin bottle cap table, you'll just need super glue, duct tape, a box cutter, and some high gloss resin. First, layout your bottle caps on the surface of your table. When you’re happy with the layout, glue the bottle caps in place. Then, build a barrier around the table with duct tape to prevent the resin from dripping out. Follow the instructions for mixing the resin, then slowly pour it over the tabletop. Make sure it spreads between the bottle caps so there are no gaps. Finally, let the resin dry for at least 8 hours before cutting away the duct tape barrier. To learn how to prevent dust from settling on your resin, read on!