X
wikiHow is a “wiki,” similar to Wikipedia, which means that many of our articles are co-written by multiple authors. To create this article, volunteer authors worked to edit and improve it over time.
This article has been viewed 80,601 times.
Learn more...
To protect the privacy of group members’ posts, discussions, photos, or files, you can make your group closed for a particular school, class, location, or other community. This can be done both when creating a new group, or by changing the privacy settings of an old group.
Steps
Method 1
Method 1 of 2:
Creating a Closed Facebook Group
-
1Log into your Facebook user account. To create a group on Facebook, you must be a registered user and sign into your user account to have the access to creating a group.
- Go to Facebook’s home page.
- Enter your registered email address and password in the fields at the top right corner of the home page. Click on the “Log in” button to access to your user account.
-
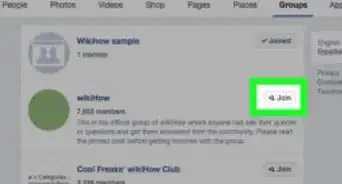
2Create a Facebook group. Scroll down your News Feed to find the “Groups” tab on left sidebar.
- Click on the “Create Group” button and a “Create New Group” box will appear on your screen. You can also click on the “Create Group” button at the top right corner by visiting the Group page directly.
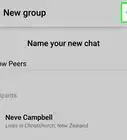
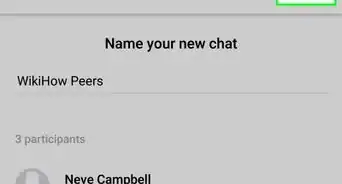
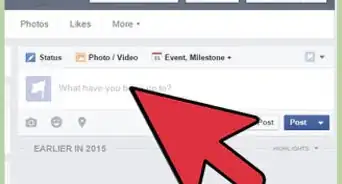
- Enter the required group information. On the “Create New Group” box, type in the group’s name in the “Group Name” field. Then, enter the name of your friends in the “Members” field to add them as members of the group. You must add at least one additional member to create the group.
Advertisement -
3Choose the privacy setting. You will be able to change your group privacy settings later whenever you like.
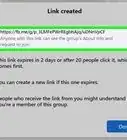
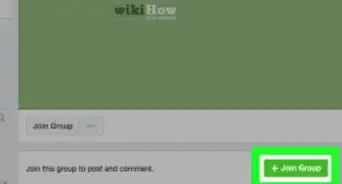
- To make a closed group, click on the second radio button next to the “Closed” option. In a closed group, non-members will not be able to see your group posts or the feed. The public, however, will be able to find your closed group if they search for it, and can view the list of members in your group along. They can also request to join the group.
-
4Set other options for the group. These are optional, though, and you can skip these and decide later.
- Click on any one of the icons suitable for your group on the “Choose an icon” dialog box. The selected icon will be displayed before your group name. You can change this icon later. However, if you do not want to choose an icon at this moment, click the “Skip” button at the bottom left corner of the dialog box.
- Click on the “OK” button at the bottom right corner of the dialog box to finish creating the group, and you will be taken to your group’s home page.
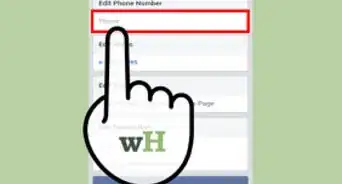
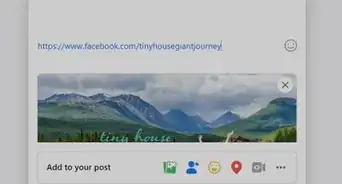
- Click the “Add a description” and “Add a cover photo” tabs under the group header area to complete the group information and cover photo, respectively. You can edit and add more information to your group by clicking on the “Menu” button at the bottom right corner of the group cover image and selecting the “Edit group settings” tab in drop-down menu.


Advertisement
Method 2
Method 2 of 2:
Making an Existing Group Closed
-
1Log into your Facebook user account. Go to Facebook’s home page.
- Enter your registered email address and password in the fields at the top right corner of the home page. Then click on the “Log in” button to access to your user account.
-
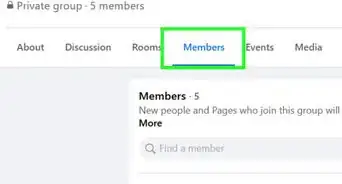
2Browse your list of existing groups. To make an existing group closed, you need to browse the homepage of that group and edit the privacy settings. Remember, a group consisting of 250 members or more can change its privacy setting from “Open” to “Closed,” but not “Secret” to “Closed.”
- Go to Your Group page. You will find here the list of all the groups you created at the top, under the “Groups You Manage” title.
- Click on the selected group name link to browse its home page.
-
3Access the group’s privacy setting. To make an existing group “Closed,” you must access to the Group Settings page. You can reach at the Group Settings page of a group either from the Your Groups page or from the group’s home page.
- To go to the Group Settings page of a group from the Your Groups page, click on the setting icon on the right side, next to the “Add to favorite” button. Click on the “Edit group settings” tab in drop-down menu to reach at the Group settings page.
- To go to the Group Settings page from the group home page, click on “Menu” button at the bottom right corner of the group cover image and select the “Edit group settings” tab in drop-down menu.
-
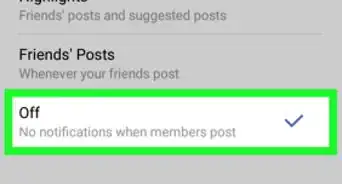
4Edit the privacy settings of the group. On Group Settings page, click on the “Closed” radio button under “Privacy.”
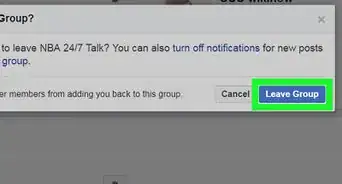
- When you are done, click on the “Save” button at the bottom of the page to make this group “Closed.” The setting will be updated with a notification “Your changes have been saved” at the top of the page.


Advertisement
Community Q&A
-
QuestionTo belong to a closed group, does the administrator need access to your personal Facebook page?
 Community AnswerNot at all. They can only check your profile if you're already friends with them. Being accepted into a group is only a matter of the admin saying yes.
Advertisement


About This Article
Advertisement