X
wikiHow is a “wiki,” similar to Wikipedia, which means that many of our articles are co-written by multiple authors. To create this article, volunteer authors worked to edit and improve it over time.
This article has been viewed 26,017 times.
Learn more...
Acer laptop BIOS can be started in Advanced/Debug mode which makes few additional options available which are otherwise hidden by default.
Tested on Acer Nitro 5 AN515-53.
Steps
-
1Boot into the BIOS. To do this, tap F2 on your keyboard when the laptop is first restarted or powered on.
- There is usually only a short window of time when you can enter the BIOS. If you miss it and the system starts as normal, just restart and try again.
-
2Force shutdown using the power button. Hold the power button on BIOS screen till force shutdown occurs (takes around 5 seconds).Advertisement
-
3Type the advanced mode keycode. While the laptop is off, press the following keys on the laptop keyboard in order: F4, 4, R, F, V, F5, 5, T, G, B, F6, 6, Y, H, N
-
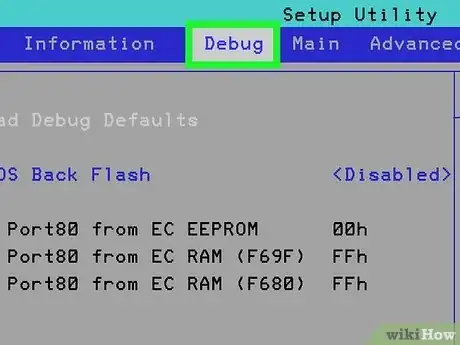
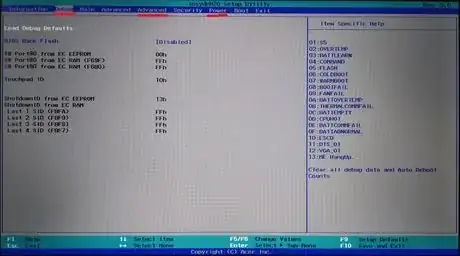
4Boot into the BIOS again. Press the power button to start the laptop and tap F2 to boot into the BIOS again.
-
5
-
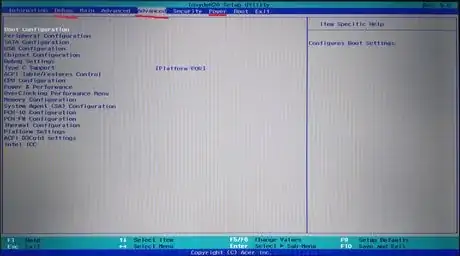
6Make changes and Save. You can now make the changes as required, then save. On restart the BIOS will revert back to default mode.
Advertisement
Warnings
- Don't change settings or values you don't understand, as it may cause cause changes not intended by the manufacturer.⧼thumbs_response⧽
Advertisement
References
About This Article
Advertisement


