This article was co-authored by wikiHow staff writer, Rain Kengly. Rain Kengly is a wikiHow Technology Writer. As a storytelling enthusiast with a penchant for technology, they hope to create long-lasting connections with readers from all around the globe. Rain graduated from San Francisco State University with a BA in Cinema.
This article has been viewed 618,371 times.
Learn more...
If your PC laptop or MacBook has a built-in webcam, you can use it to take a photo. You can easily do this by using the Camera app in Windows 10 or by using the Photo Booth app on a Mac. Whether you want to take a selfie or catalogue certain objects, you'll only need to follow a few simple steps to snap a photo using your laptop's built-in camera. This wikiHow will teach you two simple ways to use your Windows or Mac computer's webcam to take a picture.
Things You Should Know
- Most laptops have built-in web cameras. If you don't have a camera in your laptop, you can connect an external USB camera.
- You can only take photos of objects facing your built-in webcam unless you have an external webcam that can be adjusted.
- Webcam photos tends to be much lower quality than smartphone, tablet, or DSLR pictures.
Steps
On a Windows Laptop
-
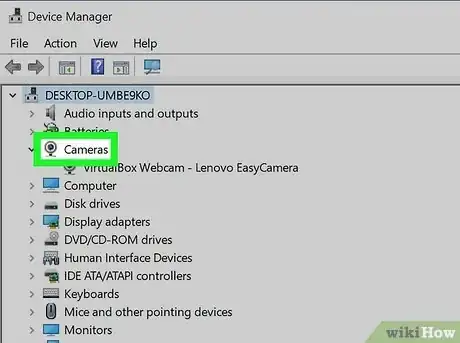
1Make sure your computer has a webcam. If your laptop has a built-in webcam as most do, you can easily take a photo. If not, however, you'll need to install a webcam on your computer before continuing.[1]
- Some laptops have a physical shutter that you can toggle back and forth across the lens. Before taking a photo, check the camera lens (typically at the top-center part of the screen) and make sure the shutter is open.
-
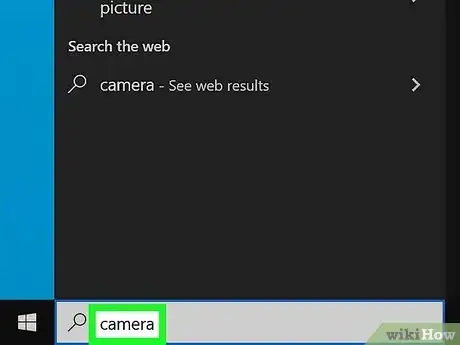
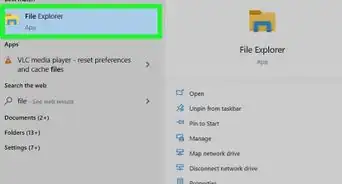
2Open Start . Click the Windows logo in the bottom-left corner of the screen, or press the Windows key on your keyboard.Advertisement
-
3Type camera into Start. This will search your computer for the Camera app, which allows you to take a photo with any attached camera.
-
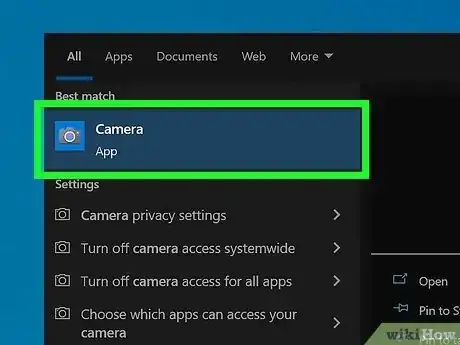
4Click Camera. It's a white, camera-shaped icon at the top of the Start window. Doing so will open your Windows Camera app.
- Make sure to activate your camera with the proper permissions.
-
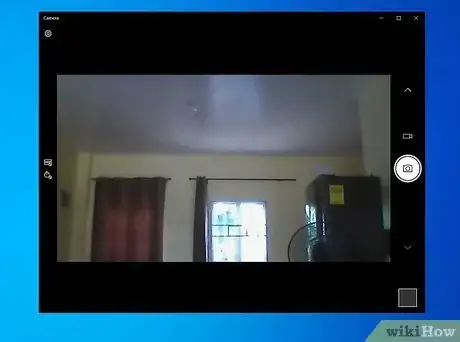
5Wait for your computer's camera to turn on. A light next to your camera should come on once the camera is on, and you should see yourself in the Camera app's window.
-
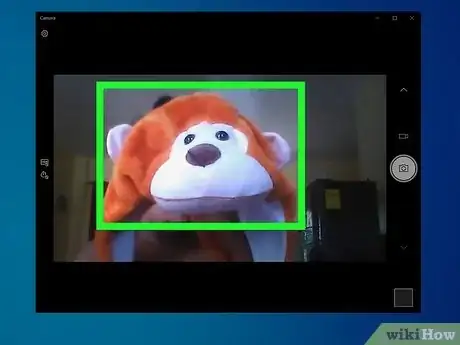
6Face your computer toward whatever you want to photograph. You should see your photograph subject's image on the screen.
-
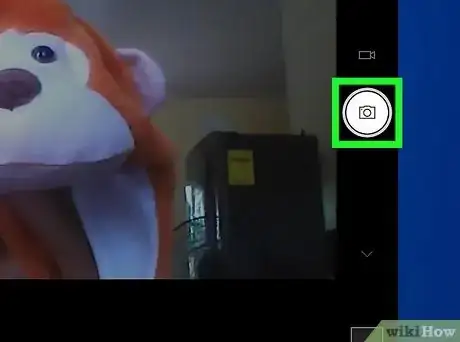
7Click the "Capture" button. This camera-shaped icon is at the bottom of the Camera app window. Doing so will take a photo and save it to your Windows computer's Photographs app.
On a MacBook
-
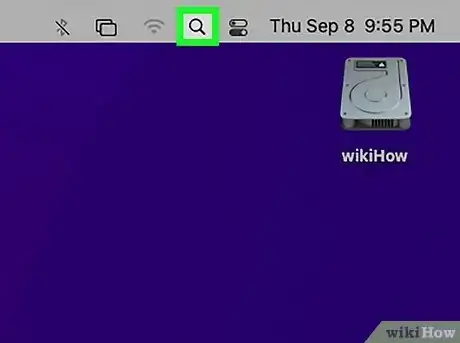
1Open Spotlight . Click the magnifying glass icon in the top-right corner of the screen.[2]
-
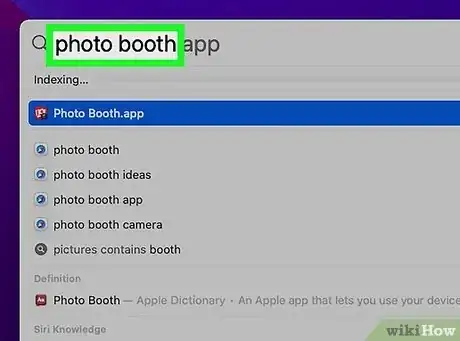
2Type photo booth into Spotlight. This will search your Mac for the Photo Booth app.
-
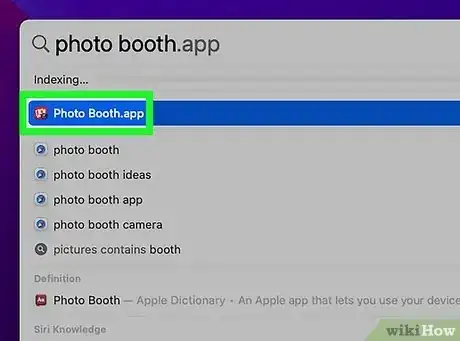
3Click Photo Booth. It's the top result beneath the Spotlight search bar. Doing so will open your Mac's Photo Booth.
-
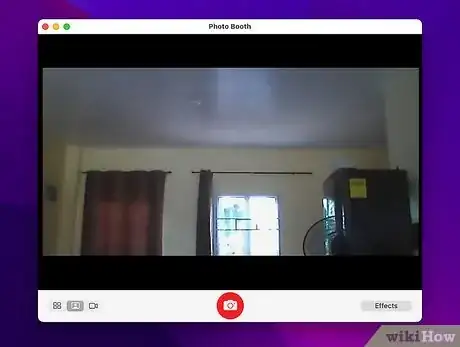
4Wait for your Mac's camera to turn on. When your Mac's camera is on, there will be a green light next to it.
- You should also see yourself appear on-screen in Photo Booth once the camera is on.
-
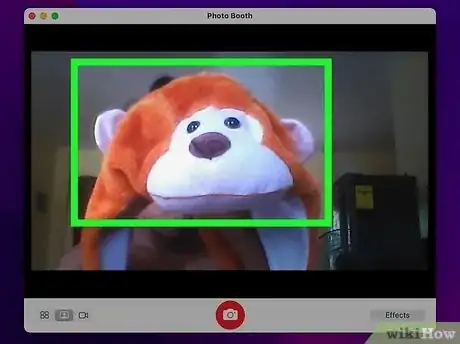
5Face the Mac's screen toward whatever you want to photograph. Anything that appears in the main Photo Booth window will be a part of your photo, so feel free to adjust as needed based on what shows in the Photo Booth window.
-
6Click the "Capture" button. This red-and-white camera button is at the bottom of the page. Doing so will take the picture and add it to your Mac's Photos app.
- If you have an iPhone or iPad with Photo Stream enabled, the photo will also appear on your iPhone or iPad.
- You can add extra effects in Photo Booth such as a customized background.
Community Q&A
-
QuestionAre there any apps that will take a photograph of whomever turns on my laptop?
 Alfonso.is.writeCommunity AnswerTry out Mouse Lock. It takes a picture of whoever tries to intrude your privacy and sends it to your gmail account.
 -
QuestionMy camera on my laptop takes a picture of me, but how do I take pictures of things in front of me?
 Community AnswerMost laptops do not have an outward-facing camera, so you would have to turn your laptop around so that the screen was facing whatever you wanted to take a picture of.
 -
QuestionHow do I connect my camera to a laptop?
 Community AnswerTo connect your camera to a laptop, you'll need to use the USB cable that came with your camera. Connect the mini-USB end of the cable to the USB port on your digital camera. Then, plug the other end of the cable into one of the USB ports on your laptop. Most laptops will detect connected devices automatically, prompting you with options on how to proceed. If the laptop does not detect the camera automatically, you can open your media management software to access the media on the camera.
References
About This Article
To take a photo using your Windows laptop camera, first open the Camera program by searching for it in the Start menu. When you’re ready to take a picture, click the camera-shaped “Capture” button at the bottom of the app window. To take a photo using a MacBook, open "Photo Booth" from your applications. Once your Mac's webcam comes on and you see yourself on the viewfinder, click the red "Capture" button to take a photo. For more tips, including how to locate the photos you take on your Windows laptop or MacBook, read on!




-Step-19.webp)







-Step-19.webp)
