This article was co-authored by wikiHow staff writer, Nicole Levine, MFA. Nicole Levine is a Technology Writer and Editor for wikiHow. She has more than 20 years of experience creating technical documentation and leading support teams at major web hosting and software companies. Nicole also holds an MFA in Creative Writing from Portland State University and teaches composition, fiction-writing, and zine-making at various institutions.
The wikiHow Tech Team also followed the article's instructions and verified that they work.
This article has been viewed 759,021 times.
Learn more...
This wikiHow teaches you how to protect an area of your website with a username and password. The steps to password-protect a website vary depending on where your site is hosted. If you write your code on the server itself or upload code from your computer, you can password-protect a directory using a file called .htaccess. If you use an online site builder like Squarespace or Wix, you can set passwords for individual areas of the page in the admin panel. And if you're using a more advanced hosting solution that allows you to create user accounts, check with your web host for instructions.
Steps
Using an HTAccess File
-
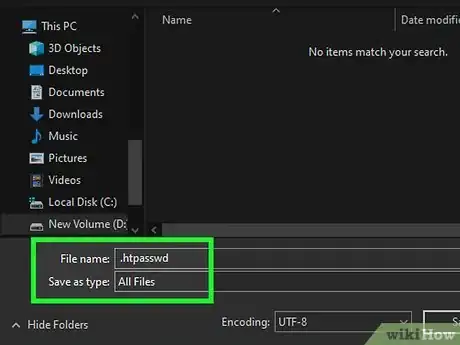
1Create a text file called .htpasswd. This is the file in which you'll be storing the username and password combo(s) that people use to access the page. You can do this on your computer if you plan to upload it to your web server via FTP. If you can log in to your web hosting server via SSH or some other method, you can use the server's text editor to create the file—just make sure you do not store it in a folder that's accessible via the web, as it will contain sensitive password information.[1]
- For example, let's say you want users who visit your website at https://www.wikihow.com/test to have to enter a password before they can see what's there. Let's also say you upload your web files to this location on your web server: /www/sites/www.wikihow.com. Do not put .htpasswd in that directory. Instead, put it in your home directory (eg., /usr/home/yourusername).
- If you don't have access to your regular non-web home directory, contact your web hosting support and tell them that you need to be able to store an .htpasswd file outside of your web directory. They'll know what you're talking about!
-
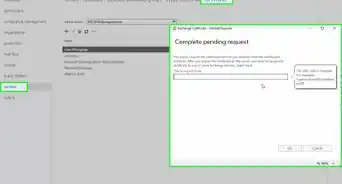
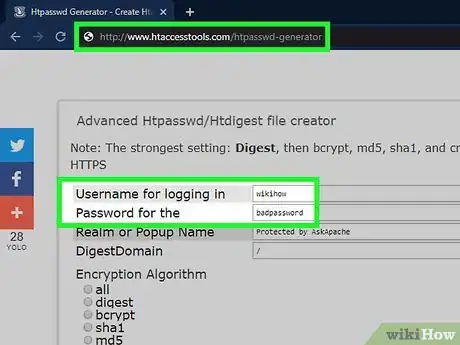
2Create an encrypted password at http://www.htaccesstools.com/htpasswd-generator. Storing passwords in plain text is unsafe, so you'll need to use an online encryption tool to create a password.[2] Here's what you'll do:
- Enter a username into the "Username" field. This is the name the person or people accessing the site will enter when logging in.
- Enter a password for this username.
- Click Create .htpasswd file.
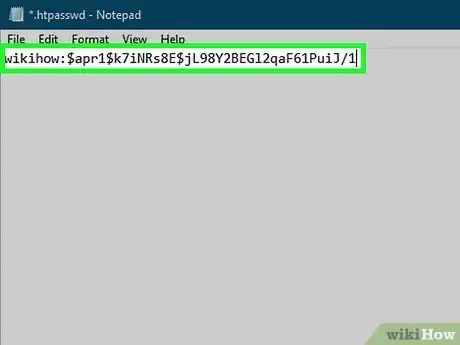
- You'll now see the username and encrypted password separated by a colon. For example, if you entered wikihow as the username and badpassword as the password, you'd see: wikihow:$apr1$k7iNRs8E$jL98Y2BEGl2qaF61PuiJ/1.
- Highlight the entire line with the mouse, right-click the highlighted text, and then click Copy.
- The encrypted password is not the password the user will enter to access the site. They'll enter the plain text version. The encryption is only for the server end.
Advertisement -
3Paste the copied text into the file. You can do this by right-clicking the first line of the blank file and selecting Paste.
- The .htpasswd file can contain multiple usernames and passwords. Just put each new username and password combo on its own line.
-
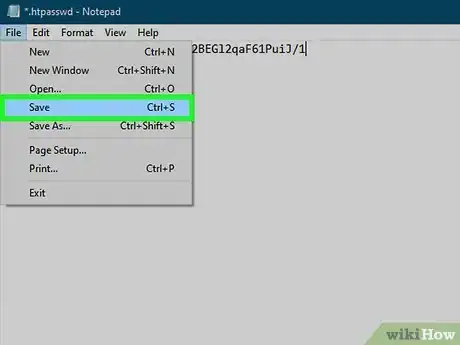
4Save and exit the file. If you created the file on your computer, upload it to your server now. Again, don't store it in a directory that's accessible on the web.
-
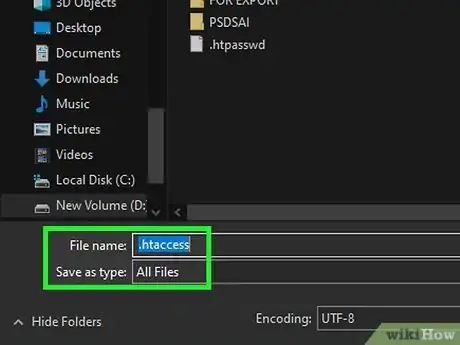
5Create a new text file called .htaccess. As with the previous file, you can do this on your computer if you plan to upload it to your web server via FTP, or directly on your web server. Unlike the .htpasswd file, .htaccess must be stored in the directory you want to password-protect.
- For example, if you want to protect https://www.wikihow.com/test with a password, place the .htaccess file in the /test/ subfolder (e.g., /www/sites/www.wikihow.com/test/.
-
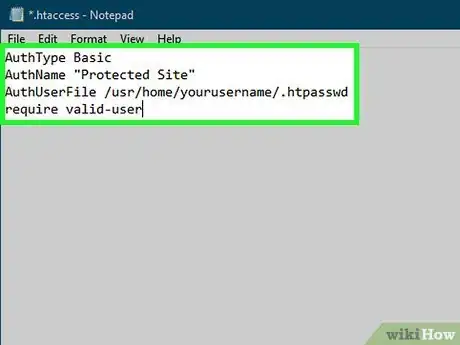
6Paste the code into the file. The sample code below assumes that your .htpasswd file is stored in a directory called /usr/home/yourusername. Replace that path with the actual path to your .htpasswd file.
AuthType Basic
AuthName "Protected Site"
AuthUserFile /usr/home/yourusername/.htpasswd
require valid-user
-
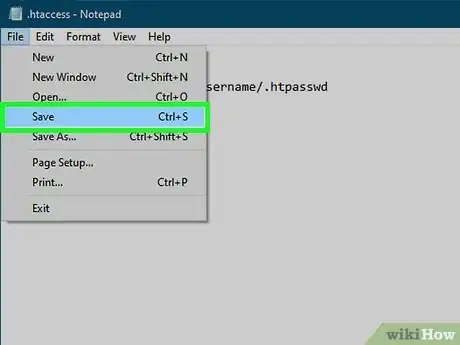
7Save and exit the file. If you created the files on the server, you're done. If you edited this file on your computer, upload it to the directory you want to password protect now.
-
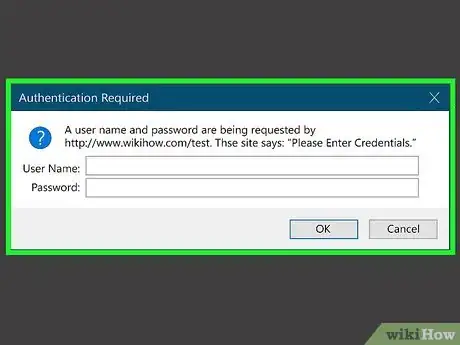
8Test it out in a web browser. When you visit the protected page in your browser, you'll be asked to log in. Enter the username and password (not the encrypted version—the regular one) to log in. Try both incorrect and correct passwords to see what happens.
Using an Online Site Builder
-
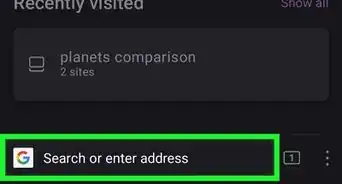
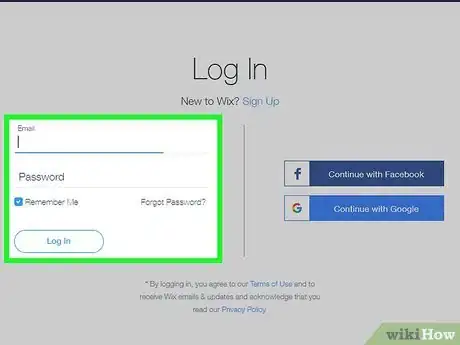
1Log in to your website's administrative panel. If you edit your website through an online site builder like Squarespace or Wix, you can use your site editor to password-protect areas of your website.
- Some services may require you to upgrade to a higher tier for password-protection. Other sites may not offer password-protection at all.
- The steps to create a password for your website varies by host.
-
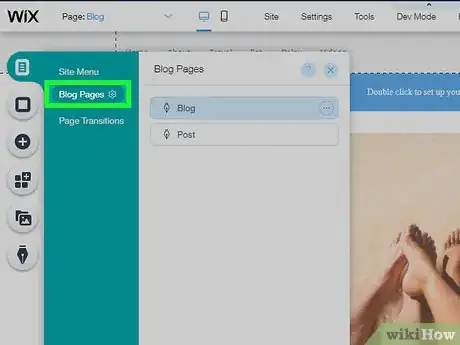
2Go to the page or area you want to protect. In most cases, this will be in a section called Pages.[3]
- Unless you want to password-protect your entire website, don't choose the home/index page. If you only want to password-protect a certain page, make sure you navigate to that page in the editor now.
- If you want to require a password for accessing a specific blog post, such as on Wordpress.com, you'll find the password settings on the New Post page.[4]
-
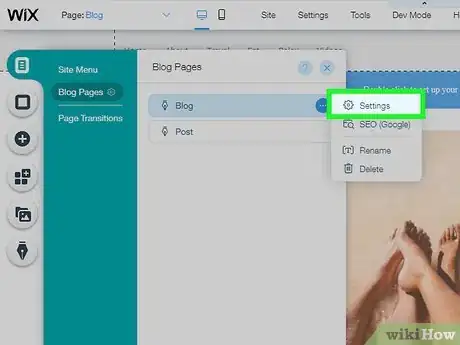
3Go to the Settings area for the selected page. For example, if you're using Squarespace, click or tap the menu at the top-right corner to open your settings. If you're on Wix, click the three-dot menu and select Settings.[5]
-
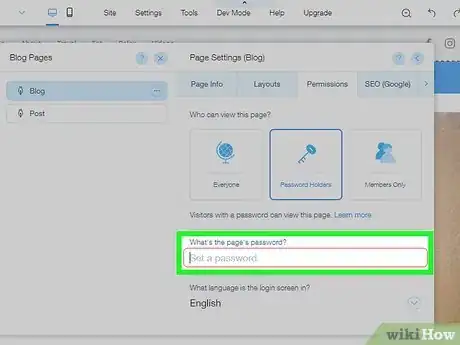
4Enable the password-protection feature for the page. Some sites require you to toggle on a switch or check a box to adjust the page's visibility, but others just need you to enter a password.
- If you use Wix, click the Permissions tab and select Password Holders, and then enter a password.
- If you use Squarespace, just type a password into the "Password" blank.
-
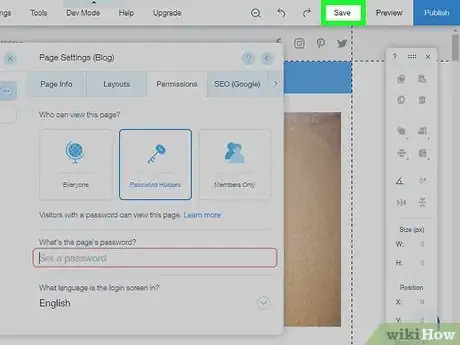
5Save your changes and test out the password.
-
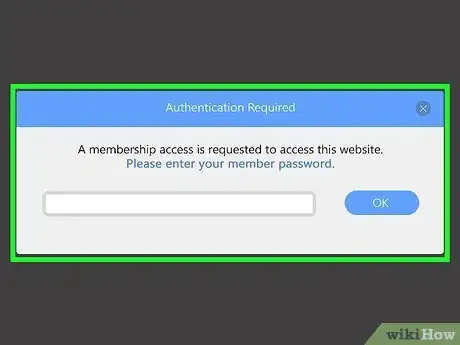
6Test the password protection. After you've protected your page, test it out by visiting the protected URL in your own browser. Try both incorrect and correct passwords to see what happens.
-
7Contact your web host for more information. If you're not sure where to find the password settings or you're running into trouble, check the host's support site or contact their support team. Most web hosts are run by experienced webmasters who would be happy to help you get your site protected.
Community Q&A
-
QuestionIs there a way to set up automatic access to a password protected page for someone who subscribes to a membership and pays a fee?
 Community AnswerThat would be very advanced and you would need to be great at php or node.js (server side stuff).
 -
QuestionHow can I edit the look of the button? Not the text, but the actual font color and background.
 Jordan DuntonCommunity AnswerYou can add a class or ID to the element and use CSS to customize the input form.
 -
QuestionHow can I do this with HTML instead of JavasScript?
 Community AnswerThat is not possible. HTML is readable to everyone, so it won't work. Try to do it with HTCACCESS and HTCPASSWORD files.
Warnings
- If you are an inexperienced webmaster, do not trust important data with your password protection scheme. Many simple/common password protection techniques on the internet are vulnerable to experienced hackers.⧼thumbs_response⧽
References
- ↑ https://www.yourhtmlsource.com/sitemanagement/passwordprotection.html
- ↑ https://www.askapache.com/online-tools/htpasswd-generator/
- ↑ https://support.squarespace.com/hc/en-us/articles/205814618-Page-passwords
- ↑ https://kinsta.com/blog/password-protect-wordpress-site/
- ↑ https://support.wix.com/en/article/password-protecting-your-site-or-a-specific-page
About This Article
1. Log in to your site's web editor.
2. Go to the Pages area.
3. Select a page to protect.
4. Open the page's settings.
5. Enable the password feature.
6. Set a password.
7. Save your changes.




-Step-7.webp)
