This article was co-authored by wikiHow staff writer, Nicole Levine, MFA. Nicole Levine is a Technology Writer and Editor for wikiHow. She has more than 20 years of experience creating technical documentation and leading support teams at major web hosting and software companies. Nicole also holds an MFA in Creative Writing from Portland State University and teaches composition, fiction-writing, and zine-making at various institutions.
This article has been viewed 214,742 times.
Learn more...
This wikiHow teaches you how to verify the PGP signature of a downloaded file. You should always verify the PGP signature of a signed file to make sure the version you downloaded is official. To verify the signature, you'll need the publisher's public key, the software's signature file, and GnuPG. GnuPG is preinstalled in all Linux distributions, but you'll need to install it if you're using Windows or macOS.
Steps
Linux & macOS
-
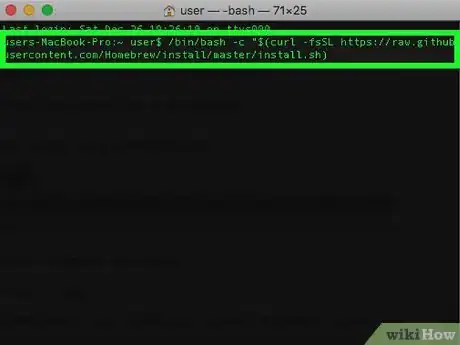
1Install GPG if you're using a Mac. If you're using a Linux installation outside of macOS, you can skip this step. macOS users should first install Homebrew, and then use it to install the GnuPG software package:
- Open Terminal, which you'll find in Applications > Utilities.
- Type /bin/bash -c "$(curl -fsSL https://raw.githubusercontent.com/Homebrew/install/master/install.sh)" and press Return.[1]
- Follow the on-screen instructions to install Homebrew.
- Once Homebrew is installed, type brew install gnupg and press Return.
-
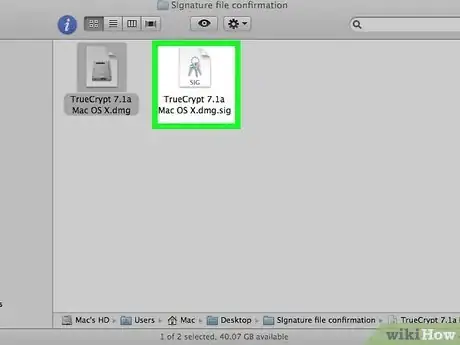
2Download the PGP signature file. This is the file that ends with .sig. Be sure to save the signature file to the same directory as the file you want to check.
- An easy way to do this is from the command prompt is to cd into the appropriate directory and download the file using wget https://path/to/signaturefile.sig.
Advertisement -
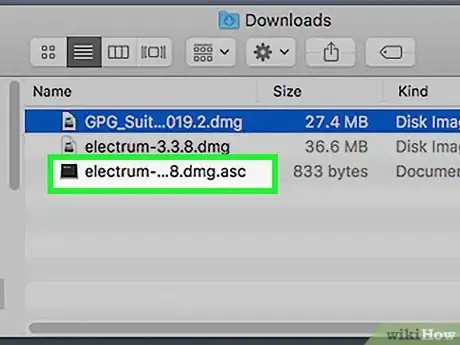
3Download the signer's public key. You can usually download this from the signer's website or by saving an email attachment to your computer. The public key file usually ends with .asc.
- As with downloading the signature file, you can use wget to download the public key.
- If you have the key ID but not a path to download the file, use this command to get the key: gpg --recv-keys KEYID. If you receive the key this way, skip step 4 and go directly to step 5.
-
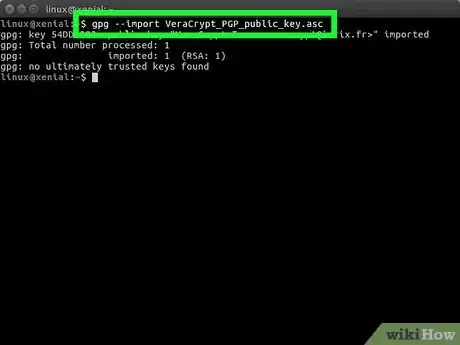
4Import the public key into your public keyring. You can do this with the following command in a terminal window:
- gpg --import PUBLICKEY.
- Replace PUBLICKEY with the actual file name.[2]
-
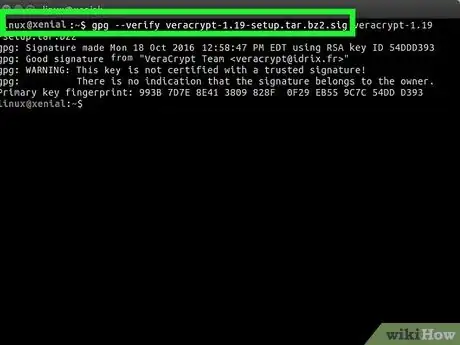
5Verify the signature. Now that all of the files are in their correct locations, you can verify the signature with the following command:
- gpg --verify SIGNATURE.SIG FILE.
- Replace SIGNATURE.SIG with the signature file name, and FILE with the name of the file you want to verify.
- If the output says "Good Signature," you've successfully verified the key. If the signature is bad, you'll know the file is broken or has been edited since the signing.
Windows
-
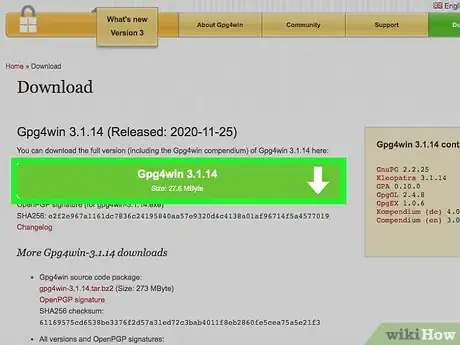
1Install Gpg4win. You can get the application from https://www.gpg4win.org/download.html. During the installation, you'll see a list of apps that will be installed—just keep the default options selected.
- The default installation location is C:\Program Files (x86)\Gnu\GnuPg\gpg.exe. When you run the command required to verify the signature, you'll need to enter the full path to the gpg.exe file. If you choose a different install location, make sure you remember the full path.[3]
-
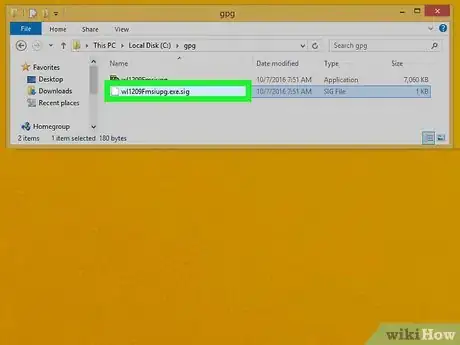
2Download the PGP signature. This is the file that ends with .sig. You'll need to save the file to the same directory as the file you want to verify.
-
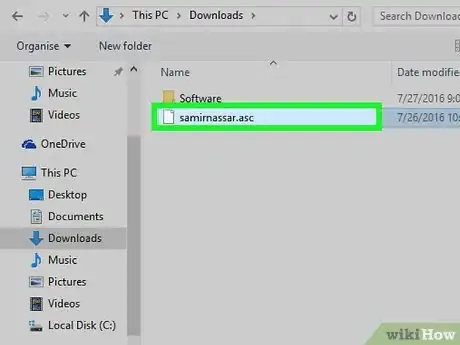
3Download the signer's public key. You can usually download this from the signer's website or by saving an email attachment to your computer. The public key file usually ends with .asc. This should also be saved to the same folder.
-
4Open the Windows File Explorer. It's the folder icon on the taskbar. You can also open it by pressing the Windows key + E.
-
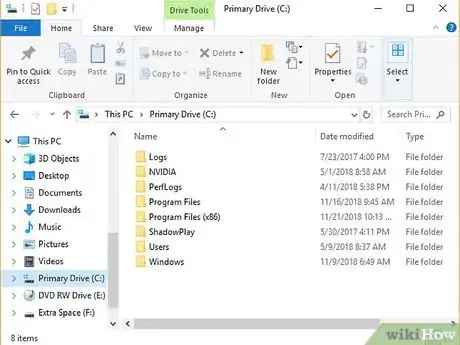
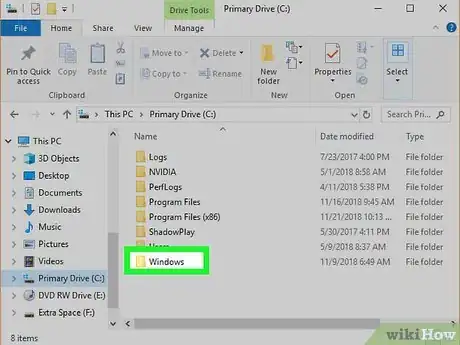
5Open the folder containing the signature and file you want to check. If you don't see a navigation pane in the left panel of File explorer, click the View menu at the top and select Navigation pane and then Navigation pane again to bring it up. This makes it easier to find what you're looking for.
-
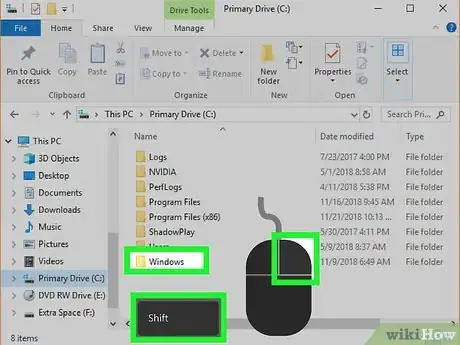
6Press ⇧ Shift as you right-click inside the folder. A menu will expand.
-
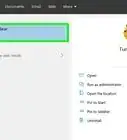
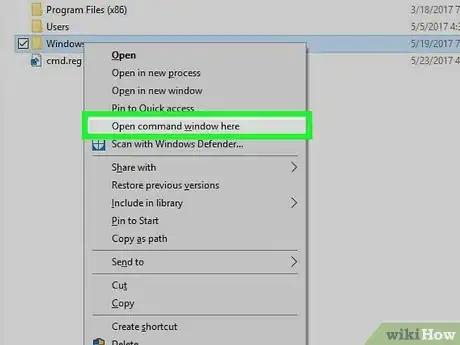
7Click Open Command Prompt here. If you don't see that option, select Open PowerShell window here.
-
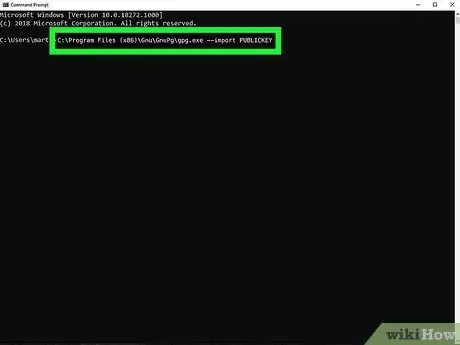
8Import the public key file into your keychain. Here's how:
- Type C:\Program Files (x86)\Gnu\GnuPg\gpg.exe --import PUBLICKEY and press Enter. Replace PUBLICKEY with the actual file name.
- If you don't have a file containing the public key, but you do have a key ID, use this command instead: C:\Program Files (x86)\Gnu\GnuPg\gpg.exe --recv-keys KEYID.
-
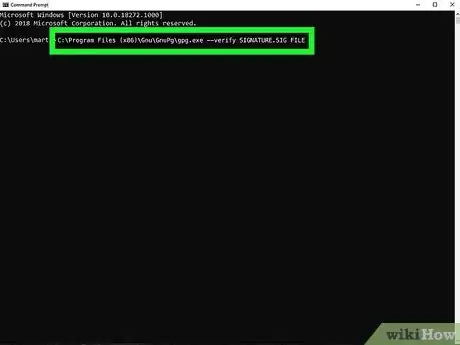
9Check the signature. Now that the files are ready, here's how to verify the signature:
- C:\Program Files (x86)\Gnu\GnuPg\gpg.exe --verify SIGNATURE.SIG FILE.
- Replace SIGNATURE.SIG with the signature file name, and FILE with the name of the file you want to verify.
- If the output says "Good Signature," you've successfully verified the key. If the signature is bad, you'll know the file is broken or has been edited since the signing.
Community Q&A
-
QuestionWhat is an open source software that can do the same thing? Some of us have special security circumstances.
 Radj307Community AnswerGPG (GNU Privacy Guard), as part of the GNU movement, is open-source software.
References
About This Article
1. Install GnuPG if you're using a Mac, or GPG4win if you're using Windows.
2. Download the PGP signature file to the same directory as the file you're checking.
3. Download the signer's public key to the same location.
4. Import the key into your public keyring.
5. Use gpg --verify to verify the signature.

-Step-7.webp)
