wikiHow is a “wiki,” similar to Wikipedia, which means that many of our articles are co-written by multiple authors. To create this article, 12 people, some anonymous, worked to edit and improve it over time.
This article has been viewed 64,306 times.
Learn more...
When you share a computer with family members or coworkers, you may need to learn how to prevent unauthorized access to files. This way you can keep your work or personal files safe from being accidentally viewed, changed, or deleted. If there is only one user on your computer, you will need to follow the second portion of this guide. If you have more than one user on your computer or if you are connected to a network, you may be able to make your files private. If the first method does not work, follow the second guide to make your files private.
Steps
Use Private Folders to Prevent Unauthorized Access to Files
-
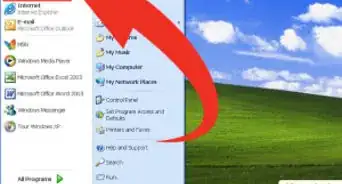
1Right-click on the folder you would like to make private, and click on properties. If there is a "security" tab, you will need to follow the steps given in the "Use Permissions" section below.
-
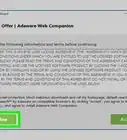
2Make the folder private. Click on the "sharing" tab, and then select the box next to "make this folder private so that only I have access to it." If this option isn't available, you may need to move the folder or change the hard disk drive to the NT file system (NTFS).Advertisement
-
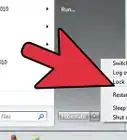
3Check to see if it worked. Log in to Windows under another username. Open the folder to ensure that you have a pop-up that states: "[Folder] is not accessible. Access is denied." If, while under the other user account, you are able to view the contents of the folder, repeat the above steps.


Use Permissions to Prevent Unauthorized Access to Files
-
1Right-click on the folder you would like to make private. Select properties, and then select the "security" tab. You will then see the security options for the folder you chose.
-
2Click on the "to change permissions, click edit" button underneath the "Groups or User Names" box. A new box will pop-up that gives you access to control the permissions for Groups and Users.
-
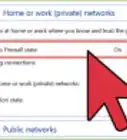
3Select the user you would like to prevent from accessing your files, and select the box underneath that reads "Deny." Repeat this step for any other users you would like to deny access to.
-
4Click on the "Apply" button, and ensure it worked. Log in under the prevented user's account, and click on the file you blocked the user from.