X
wikiHow is a “wiki,” similar to Wikipedia, which means that many of our articles are co-written by multiple authors. To create this article, volunteer authors worked to edit and improve it over time.
This article has been viewed 7,718 times.
Learn more...
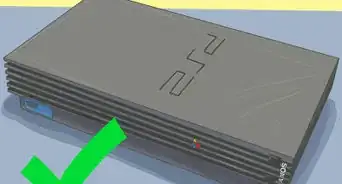
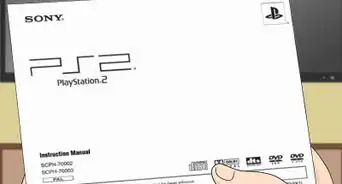
It's been nearly 20 years since the launch of the PlayStation 2 Slim, and eight years since its discontinuation. Because of this it's hard to find reasonably priced used consoles, let alone new ones. With age comes inevitable problems, and one problem that's most common is that both games and DVDs only read sometimes or can't be read at all. This article will teach you how to replace the laser assembly on the PS2 slim (Model SCPH-90001).
Steps
-
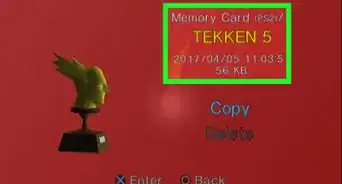
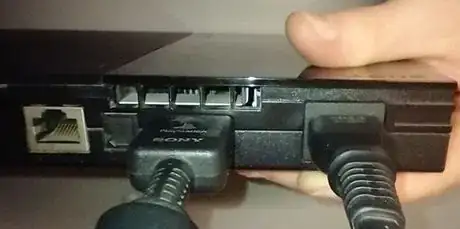
1Unplug all cables, controllers, and memory cards from the console.
-
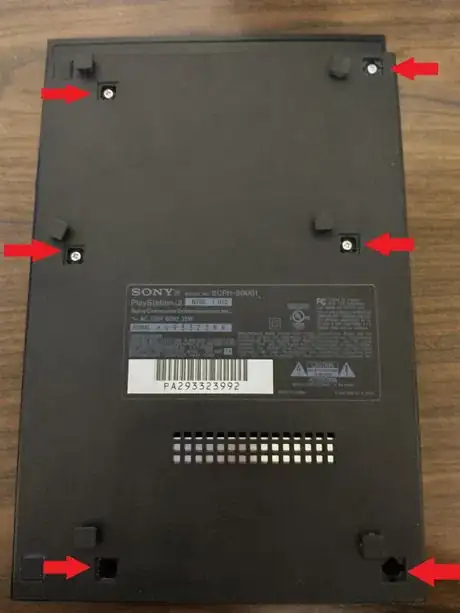
2Flip the PS2 over and remove the 6 screw covers.
- One of the screw covers will have a warranty sticker on it that must be removed to access it
- A flat head screwdriver, or other thin object, can be used to remove the covers
Advertisement -
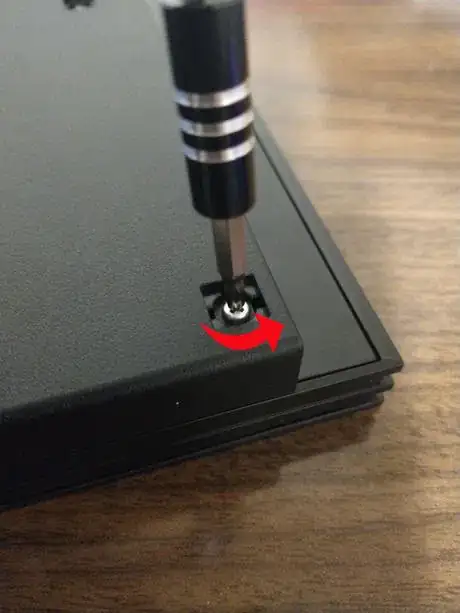
3Use a Phillips #1 screwdriver to remove all 6 screws.
- Be sure to keep your screws and screw covers organized as they are easily lost.
-
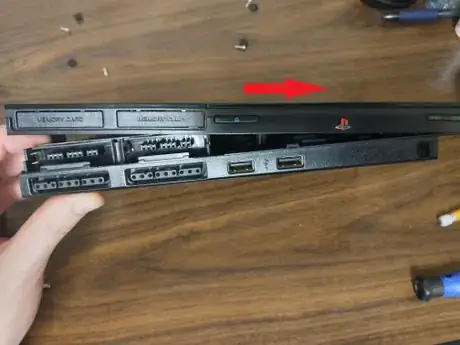
4Remove the cover. With the PS2 faced upright on your work surface, carefully lift the cover off of the PS2.
- With the ps2 upside down and the power port towards you, it may be easiest to pull the bottom toward you to free the cover along the side
- The clips on the end nearest the power button may be challenging to remove. To free them slightly lift the top and push it to the right (in the direction of the power button)
-
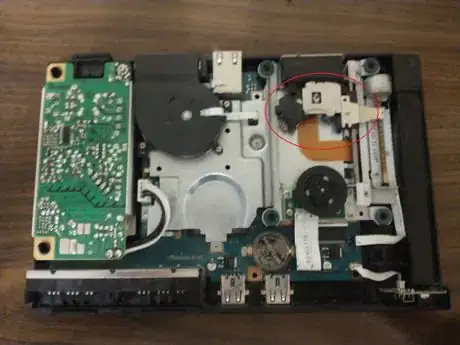
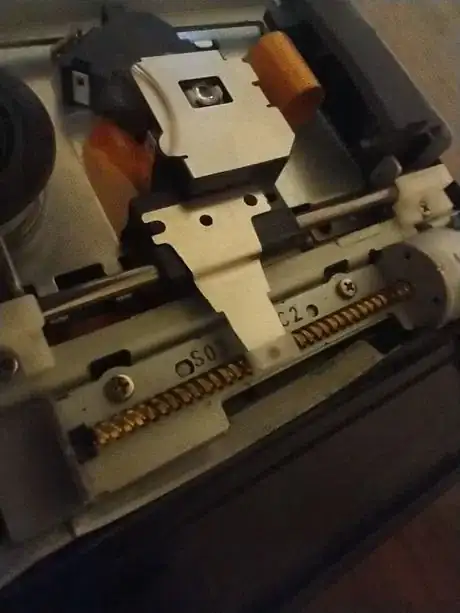
5Unscrew the guide tab. With the lid off, use a Phillips #00 screwdriver to unscrew the worm-gear guide-tab located on top of the laser assembly.
-
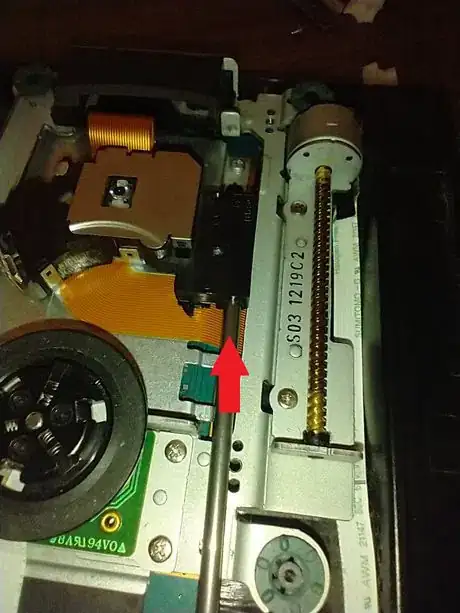
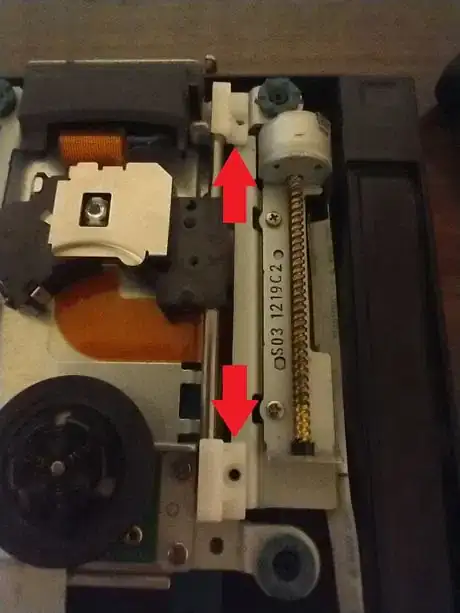
6Remove the two white brackets holding down the guide rod.
-
7Carefully lift the laser assembly from the rail and remove the guide rod from the laser assembly,
-
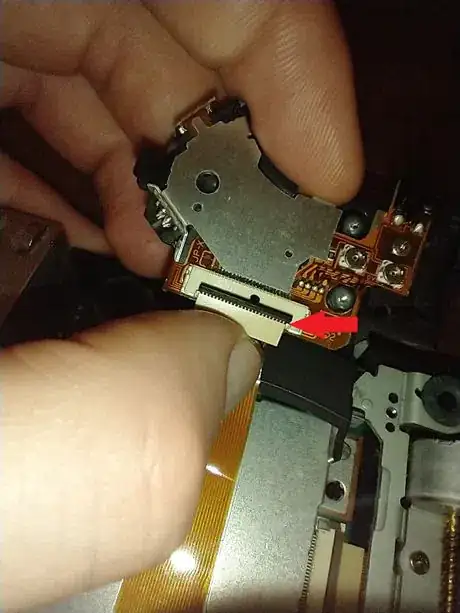
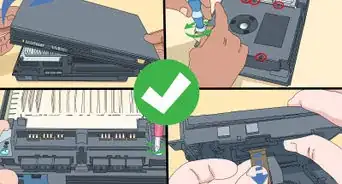
8Flip the laser assembly over and very carefully lift the plastic piece holding the ribbon connector in place.
- If done improperly, you may damage the ribbon cable. Doing so could ruin the disc drive entirely
- Use something small, like tweezers, to pull up the clip at the ends.
-
9Free the ribbon connector. Using a light grip pull the ribbon connector free with two fingers.
- The laser assembly should now be free and can be replaced
-
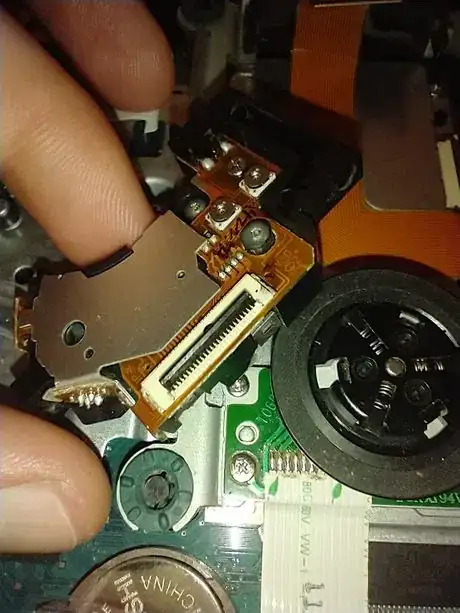
10Lift up the plastic holder, where the ribbon connector slots, on your new laser assembly.
-
11Insert the ribbon connector with the gold ends facing down, carefully pressing in place on both sides to ensure it is secured.
- Once secured you may flip down the plastic holder
-
12Reinsert the guide rod and remount the laser assembly.
- There is a notch on the left side of the assembly (the side opposite the guide rod) which must mount onto the rail
-
13Replace the guide rod brackets, as well as the worm-gear guide-tab, and screw them in place.
- The laser assembly should be properly aligned at this point as everything will slot into place
-
14With everything screwed in place, re-attach the top cover.
- You will hear a click when it is properly in place
- Work your way around the case ensuring that everything is properly clipped in place
-
15Reinsert the screws and tighten them down, then replace the screw covers.
Advertisement
Warnings
- Removing the cover of your PS2 also means voiding the warranty. You may not be able to sell or return your PS2.⧼thumbs_response⧽
- Do not power on your PS2 while it is disassembled, doing so puts you at risk of electric shock.⧼thumbs_response⧽
- When working with lasers, never touch the lens as this may cause unrepairable damage to the laser. never look directly into the laser while it is on, lasers have potential to cause permanent eye injuries.⧼thumbs_response⧽
- There are multiple revisions of the PS2 such as the SCPH-700XX, SCPH-7500X, SCPH-7700Xa and SCPH-7700Xb, SCPH-7900X, and the SCPH-9000X. This guide may apply to all revisions of the PS2 slim, however it was created using only the SCPH-9000X.⧼thumbs_response⧽
Advertisement
Things you'll need
- Phillips #00 screwdriver
- Phillips #1 screwdriver
- Flat head screw driver or other thin metal object (optional)
- Tweezers (optional)
References
About This Article
Advertisement
.webp)
