This article was co-authored by wikiHow staff writer, Jessica Gibson. Jessica Gibson is a Writer and Editor who's been with wikiHow since 2014. After completing a year of art studies at the Emily Carr University in Vancouver, she graduated from Columbia College with a BA in History. Jessica also completed an MA in History from The University of Oregon in 2013.
There are 13 references cited in this article, which can be found at the bottom of the page.
The wikiHow Video Team also followed the article's instructions and verified that they work.
This article has been viewed 14,554 times.
Learn more...
An A-line skirt is a great project if you're new to sewing clothes. This style fits close around the waist before it flares to the hem in an A-shape. For a skirt that you can put together in less than an hour, create an elastic waistband. Once you're comfortable with sewing skirts, customize your project by choosing the fabric, length, and closure style.
Steps
Cutting the Fabric
-
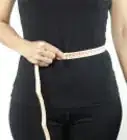
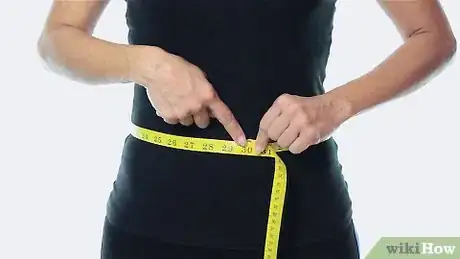
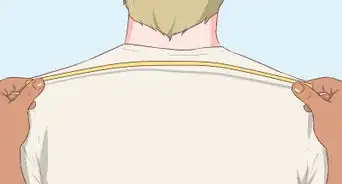
1Buy a simple A-line pattern and measure your waist. Order downloadable patterns or buy a paper pattern from craft or thrift stores. To find your size on the pattern, wrap a measuring tape around your waist where you want the skirt to sit.[1]
- Read the pattern to find out how much fabric you'll need to make the skirt.
-
2Find your size on the pattern and cut out the template. Look for a pattern size that closely fits your waist measurement. Then, cut out the pattern using a sharp pair of scissors.[2]
- The pattern may have lots of lines that represent waist sizes or there may just be a few sizes labeled small, medium, large, etc. The pattern key should tell you what waist size corresponds to each size.
Advertisement -
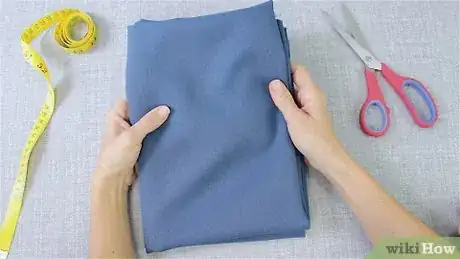
3Choose fabric for your A-line skirt. A-line skirts work well with loose, flowing fabrics, such as cotton or rayon. If you want a skirt that holds its shape more, use double knits, rayon, or wool crepe. In general, an A-line skirt that falls to your knees takes around 2 yards (1.8 m) of fabric.[3]
- If you don't want to buy a pattern, lay an A-line skirt that fits you well on your fabric and use it as a template.
-
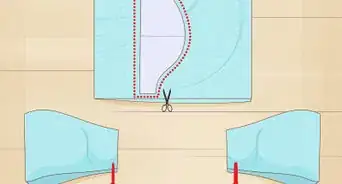
4Fold the fabric and pin the pattern template along the fold. Spread the fabric on your work surface and fold it in half lengthwise. Line up the raw edge of the fabric so your pieces are even. Then, lay the pattern template along the folded line and insert sewing pins through the template into the fabric every 3 inches (7.6 cm).[4]
- Most pattern pieces are made of thin material so handle yours carefully when you arrange it on the fabric.
-
5Use scissors to cut the fabric around your pattern. Carefully cut the fabric to create 2 pieces for your A-line skirt. It's fine if the edges of the fabric aren't completely smooth since these will be part of the seam allowance.[5]
Tip: If you do a lot of sewing, buy a large cutting mat. Then, lay your fabric out and run a rotary cutter around the pattern pieces. The rotary cutter is a faster way to cut fabric.
-
6Cut a 1 in (2.5 cm) wide strip of elastic so it's 1 in (2.5 cm) longer than the waist. Pull a piece of knit elastic until it's as long as your waist measurement. Add 1 inch (2.5 cm) to the length and cut the elastic. Then, set the elastic aside while you sew the sides of the skirt.[6]
- Cutting the elastic strip a little longer ensures that you can overlap the ends when you sew them in the casing.
Sewing the Sides
-
1Stack the fabric pieces on each other so the wrong sides face out. Lay the front and back pieces of fabric on top of each other so the edges line up perfectly. The right sides of the fabric that have the pattern should be touching so the wrong sides face up.[7]
- It's important to sew the fabric while it's wrong-side out. This ensures that the seams aren't as visible when you turn the skirt right-side out.
-
2Pin the straight edges of the skirt to hold the fabric in place. Slide sewing pins through both layers of fabric right along both of the straight sides. Insert a pin every 2 to 3 inches (5.1 to 7.6 cm). If you prefer clipping the fabric, clip small fabric pins around the edge instead.[8]
- The holes from the pins won't be visible on the skirt as long as you insert them directly along the edge of the fabric.
- You don't need to pin along the waist of the skirt or the bottom curved hem since you won't be sewing them closed.
-
3Straight stitch down the straight sides of the skirt. Take the pinned fabric to your sewing machine and sew along a straight edge. Use a straight stitch with a 5⁄8 inch (1.6 cm) allowance to sew along a straight side of the skirt. Then, repeat this on the opposite straight side of the skirt.[9]
- Remember to make a few backstitches when you begin so your stitches don't unravel.
Tip: If you have a serger, use it to sew along the straight sides. The serger trims excess fabric and finishes the raw edge of the fabric.
-
4Zigzag stitch along the straight sides to finish the raw edges. The fabric of your skirt may fray over time if you don't finish the edges. Adjust your sewing machine to make the zigzag stitch and sew along raw edges of the sides you just straight stitched.[10]
- Don't leave a seam allowance when you finish the edges since you're sewing directly on the edges.
Making the Waist and Hemline
-
1Fold the waist edge over by 1 1⁄4 inches (3.2 cm) and iron it in place. Turn the dress right-side out and use a ruler to measure as you fold so the waistline is even. Then, press an iron over the folded fabric for a few seconds to help it keep its shape.[11]
Tip: Adjust your iron for the type of fabric you're sewing with. For example, if you're making a cotton skirt, set your iron to "Cotton" or high heat. If you're working with a synthetic blend, you'll probably keep the iron cooler.
-
2Straight stitch around the waist of the skirt and leave a 2 in (5.1 cm) gap. To create the hollow casing for your elastic, insert 2 sewing pins vertically so they're 2 inches (5.1 cm) apart. Try to position these pins so they're at the back of your skirt. Then, straight stitch from 1 of the pins around to the other pin without sewing the gap. Sew 1⁄8 inch (0.32 cm) from the bottom of the folded fabric.[12]
- This makes a casing for you to slide the elastic through.
-
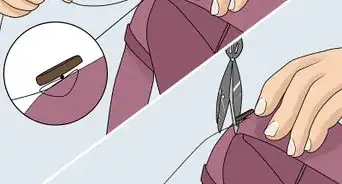
3Attach 1 end of the elastic to a safety pin and work it through the casing. Hold the elastic by the pin and push it through the gap you left in the casing. Keep pulling the pin while you scrunch up the fabric until the elastic is through the entire casing and comes out of the gap.[13]
- You can also buy a bodkin at sewing or craft stores. Hook the elastic onto the bodkin instead of a safety pin and pull the bodkin through the casing.
-
4Sew the elastic and casing to close the waistband. Overlap the elastic ends by 1⁄2 inch (1.3 cm) and sew 2 lines of the zigzag stitch across them. Then, pull apart the waistband so the fabric stretches back out. Use a straight stitch to sew the gap closed.[14]
- Check that the elastic lies flat in the casing. Smooth out the elastic if it's twisted up.
-
5Hem the bottom of the skirt using the straight stitch. Turn the skirt inside out before you hem and fold the bottom of the skirt over by 1⁄4 inch (0.64 cm). Iron the fabric to make it easier to stitch. Then, sew 1⁄8 inch (0.32 cm) from the bottom of the skirt using a straight stitch. Sew around the entire hemline to finish the bottom of the skirt.[15]
- Once you've finished sewing the hemline, turn the skirt right-side out.
Things You'll Need
- Skirt pattern
- Sewing machine
- Fabric
- Elastic
- Measuring tape
- Scissors
- Sewing pins or clips
References
- ↑ http://threadsmagazine.com/assets/pdf-download/TH_member_may.pdf
- ↑ http://threadsmagazine.com/assets/pdf-download/TH_member_may.pdf
- ↑ http://threadsmagazine.com/assets/pdf-download/TH_member_may.pdf
- ↑ https://youtu.be/RktMhAt2qAk?t=37
- ↑ https://youtu.be/RktMhAt2qAk?t=63
- ↑ https://aces.nmsu.edu/pubs/_c/C234/welcome.html
- ↑ https://youtu.be/RktMhAt2qAk?t=136
- ↑ https://youtu.be/RktMhAt2qAk?t=152
- ↑ https://youtu.be/RktMhAt2qAk?t=208
-Step-24-Version-5.webp)
