X
wikiHow is a “wiki,” similar to Wikipedia, which means that many of our articles are co-written by multiple authors. To create this article, volunteer authors worked to edit and improve it over time.
This article has been viewed 22,177 times.
Learn more...
A community Discord server (sometimes referred to as a guild) is a public server on a particular topic. It is used by wikis, video games, companies, subreddits, and other communities to allow for communication about the topic. This wikiHow will show you how to start a community Discord server.
Steps
Part 1
Part 1 of 4:
Creating the Server
-
1Choose a topic or community. Duplicate servers are unneeded as they introduce competition and easily separate discussion. It is best to choose a unique topic or community for your server.
- For example, if someone has already created a server on "wikiHow", and you were going to create a server on that, you might narrow the server to "wikiHow editors".
-
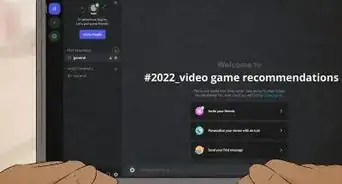
2Create a Discord server. To do so, click on the "+", then choose the template you would like to use. It is best to create a server from scratch or to use the template "Gaming" or "Local Community" depending on what the server is about.Advertisement
-
3Select "for a club or community" from the next screen. This will set a few default community settings, such as requiring a verified email address to chat.
-
4Enter a name and upload an icon for the server. This will allow you to customize the brand of your server. You will have to use a static image to begin with, but eventually, you will be able to use animated icons and emoji as more people boost it.
-
5Enable community features. Because you are starting a community server, you will need to enable community features to get certain perks, like announcement channels or discoverability. To do so, open server settings, select "Enable Community", then choose "Get Started" and follow the wizard.


Advertisement
Part 2
Part 2 of 4:
Setting Up Roles
-
1Go to server settings. This is accessible by selecting the dropdown underneath the server title.
-
2Click on "Roles". Here, you can add, manage, and delete roles.
-
3Click on Create role. This will create your first role.
-
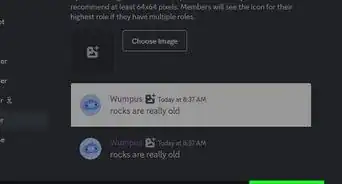
4Enter the name of the role. This is how it will be displayed to all community members.
-
5Select a role color. Moderator roles and other roles for community trust should be colored and/or displayed separately in the list of members. This will allow other users to find and contact them more quickly.
-
6Decide whether everyone can mention the role. This is only useful for moderator and/or group roles as it allows for them to be notified when there is an ongoing issue that needs to be fixed.
-
7Configure the permissions for the role. It may be best to start at the top and work your way down. The order in which roles appear determines the hierarchy for the maximum level role a user can affect. Select the "Permissions" tab to do that.
- There are numerous permissions that can allow the role to manage the Discord server, from deleting posts to kicking users to being the priority speaker in voice chat.
- The most powerful permission to give is "administrator" as that will give the role the ability to manage all server settings. Only give the roles with this permission to other server managers.


Advertisement
Part 3
Part 3 of 4:
Starting Channels
-
1Create a category. To do so, right-click on the sidebar and choose "Create Category". Categories are a great way to organize channels and manage permissions.
-
2Manage permissions for the category. This will affect all channels in that category, except those that are not syncing with that category. To do so, right-click, choose "Edit category", then choose "Permissions". Managing permissions for categories is similar to managing role permissions.
- "Private category" will make all channels in that category private and only visible to certain roles.
- Select the "+" in the left column to add a role to manage permissions with.
- In a role's category permissions, selecting ❌ will deny the role that permission, selecting the / will use default permissions, and selecting ✔ will grant the role that permission.
-
3Create a channel. To do so, click on the "+" under the appropriate category. This will open a dialogue box prompting you for the type of channel. You can create a voice channel, text channel, or announcement channel, and you can make it private.
-
4Manage permissions for the channel. This will affect the specific channel. This will break permissions sync with a category. To do so, right-click, choose "Edit Channel", then choose "Permissions". Managing permissions for channels is similar to managing role permissions.
- "Private channel" will make the channel in that category private and only visible to certain roles.
- Select the "+" in the left column to add a role to manage permissions with.
- In a role's channel permissions, selecting ❌ will deny the role that permission, selecting the / will use default permissions, and selecting ✔ will grant the role that permission.
-
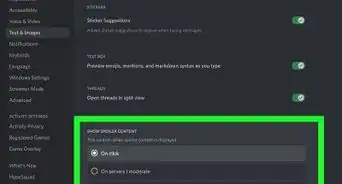
5Create a moderator-only channel. Use the same process as above, but choose "Private Channel". Upon creation, make sure that only your moderators can access the channel.
-
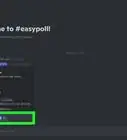
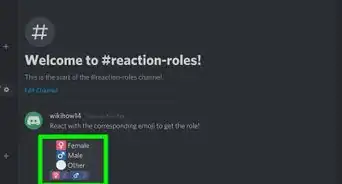
6Create a rules channel. This channel is where you will post the rules for your server. Make the channel read-only so that only your moderators can post to the channel.
-
7Create an AFK channel. This channel is where inactive voice participants will be moved to after some time. Once in the AFK channel, they will be unable to speak and must rejoin the appropriate voice channel.
-
8Assign the appropriate channels in community "Overview". This is in server settings. Select the "Rules or Guidelines channel" to the rules channel and the "Community updates" channel to your moderator-only channel.


Advertisement
Part 4
Part 4 of 4:
Applying Finishing Touches
-
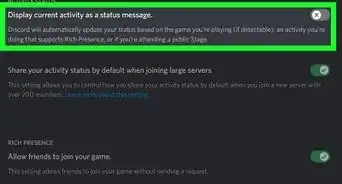
1Invite bots to your server. Bots are programs that perform automated tasks on the server. Some will even moderate the server when you are away. A few popular bots include MEE6 and Dyno.
- To invite a bot, visit the website for the bot, then click on "Invite", then accept the app's permissions after logging in.
-
2Add custom emoji to your server. Custom emoji can lighten the tone a bit or allow community members to give more suited reactions. Upload your emoji under "Emoji" in server settings, then clicking Add Emoji. They also must be under 256kb in size.
-
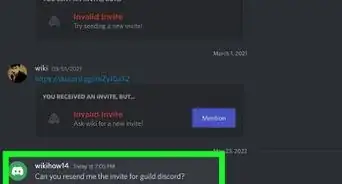
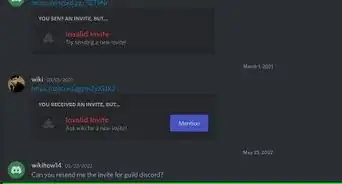
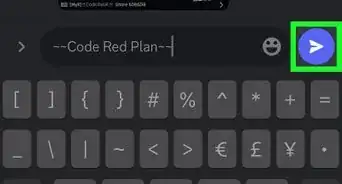
3Generate an invite link. You can either generate a server widget by using the "Widget" function in the server's settings or by clicking on "Invite people" under the server menu.
- You probably want your link to never expire, as those are only good for inviting your friends.


Advertisement
Community Q&A
-
QuestionHow do I apply for the Partner program with my community server?
 AasimTop AnswererWhen you are eligible, a link will appear in the community tab that you can use to apply for the partner program.
Advertisement


About This Article
Advertisement