wikiHow is a “wiki,” similar to Wikipedia, which means that many of our articles are co-written by multiple authors. To create this article, volunteer authors worked to edit and improve it over time.
This article has been viewed 39,036 times.
Learn more...
When you take a screenshot in Windows or macOS, you can capture just one window rather than the entire screen. We'll show you a quick keyboard shortcut that takes a screenshot of just the active window on your Windows PC or Mac.
Steps
Using Key Combinations
-
1Use a keyboard shortcut on Windows 7. To snap the window you want, you should keep it on the top of other tasks, and then press “Alt+PrtSc”. The image of this window will be saved to the clipboard. You can open Paint (find it with this route: Start-All Programs-Accessories-Paint), and press “Ctrl+V” to paste it to the editing board. After editing this image (if you like), click “File” on the top bar and then hit “Save” to preserve the screenshot.
-
2Use keyboard shortcuts on Mac. Mac provides its users a flexible way to capture anything on the screen. To capture active window, you just need to press “Command+Shift+4” and then “Spacebar”, then your mouse cursor will turn into a camera icon. Move the camera icon to the active window and click it. After that, the screenshot of the window will be immediately saved to the desktop in PNG format.


Using Free Online Screenshot
This method is for Windows users. The app introduced above is able to snapshot application windows very efficiently. You don’t need to install anything on your PC and use it to take screenshots like a breeze.
-
1Activate a screenshot tool. Navigate to screenshot.net. Click “Take Screenshot” button and run Java Applet, and then you will receive the interface of this program.
-
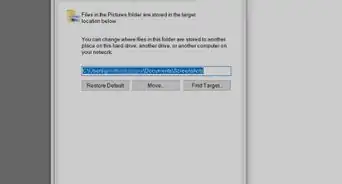
2Take a screenshot of your current window. Make sure the window you want is on the top of other tasks. Hit the camera icon on the interface of this app. After that, the mouse cursor will turn into a crosshair. Hover it over the active window until you see a frame appears around its borders, click your mouse to capture the window.
-
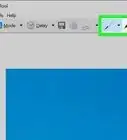
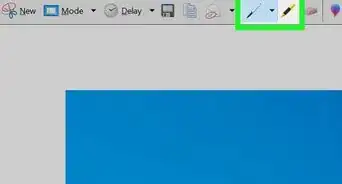
3Save the screenshot. Once the screenshot is taken, two toolbars will appear on the sides of it. Before saving the image, you can make use of the edit function on the horizontal bar. It enables you to add various annotations to the picture, such as highlights, texts and blurs. After editing, you can click the last button on the horizontal bar to save the graph to your local disk.


Using Skitch
This method is for Mac users. This desktop program also enables you to grab active windows very easily.
-
1Launch Skitch. Go to your applications folder, find the logo of this program and double click it to activate this program.
-
2Take a screenshot of the active window. Put the window you want upon other apps. Resume to Skitch interface, hit “Snap” on the right toolbar, move the mouse to the active window and click it. Then the window will be captured and appear in the program.
-
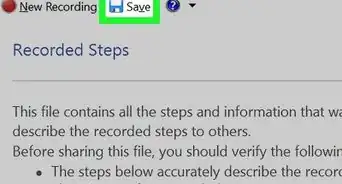
3Save the screenshot. Press “Save” in the upper bar to save the image to your Skitch folder.


Community Q&A
-
QuestionWhy not use the Snipping Tool?
 MoosemymooseCommunity AnswerThese services make it more exact, and with the Snipping Tool you can just easily select one window to screenshot.
-Step-19.webp)


-Step-19.webp)