This article was co-authored by wikiHow Staff. Our trained team of editors and researchers validate articles for accuracy and comprehensiveness. wikiHow's Content Management Team carefully monitors the work from our editorial staff to ensure that each article is backed by trusted research and meets our high quality standards.
This article has been viewed 34,805 times.
Learn more...
You can upload videos to YouTube on your iPad using the YouTube app, or by selecting videos directly from your Photos app. Using the app, you’ll need to go to you YouTube profile and tap the camera icon to record a video and begin the upload process. If you already have a video stored on your device, you can open the Photos app, tap the “Share” button in a video, and select YouTube from the list of options. Keep in mind, the editor options for iPad are limited you can access a more feature-rich editor using a web browser.
Steps
Uploading From the YouTube App
-
1Download and open the YouTube app. Tap “Install”, then “Open” once installation completes.
-
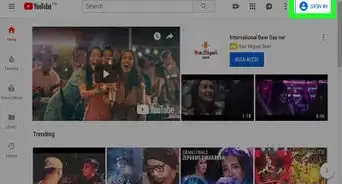
2Sign in to your Google account. Tap the vertical 3 dots in the upper right corner and select “Sign In”. Enter your email and password and tap “Sign in” again.Advertisement
-
3Tap the person icon. This icon is in the top menu bar and takes you to your profile page.
-
4Tap video camera icon. This button is located on the bottom right of the channel banner. This will launch the device camera to record a video.
- You may need to allow access to photos/camera by tapping “Allow Access”.
-
5Tap record. When you are finished, tap again to stop recording. You will be taken to the video editor.
- If you already have videos saved to the device, they will appear listed below the recording. You can tap them to proceed to the editor with that video.
-
6Tap the “scissors” icon to adjust the length. This button in the bottom toolbar (on the left) of the editor and will bring up a video reel. Tap and drag either end to adjust the length of the clip.
-
7Tap the “circles” icon to add filters. This button appears in the bottom toolbar (in the middle) and will bring up a list of artistic filters to stylize your video.
- You can use the “8mm’ or “Sepia” filters to give the video a retro feel, or “Sketch” to give it a pseudo-animated look.
-
8Tap the “music” icon to add songs. This button is in the bottom toolbar (on the right) and will bring up the music editor.
-
9Tap “Add Music” to pick from a list of music. A window will appear with a list of songs provided by YouTube to use. After selected a song, it will appear in the editor.
- You can also tap the “Genre & Mood” or “On Device” tabs located at the top of the window to browse by genre or see a list of music stored on your iPad you can use.
- Edit your audio selection. Tap the song in the editor to bring up options for that song. Tap and drag the song to scroll through and pick which part of the audio you want to use. You can also tap and drag the slider to set the balance between the video’s original audio and that added music.
-
10Tap “Play” to preview your changes. This button is in the center of the video and will show you all of your changes before you upload.
- You can replay a video any number of times to check changes as you go.
-
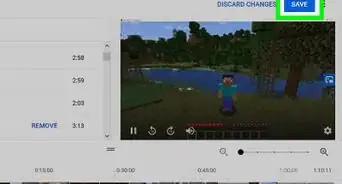
11Tap “Next”. This button is in the upper right corner and will take you to the video info page before uploading.
-
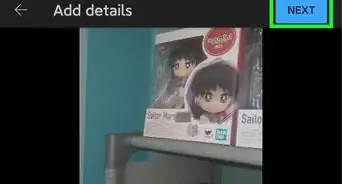
12Add video information. Enter a Title, description, and choose a privacy setting for your video.
- Public videos can be searched for and viewed by anyone, unlisted will not appear in search results but anyone with the link can view it, and private videos can be viewed only by you.
-
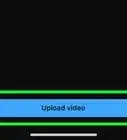
13Tap “Upload”. You video will upload to YouTube and appear in listed in your channel with the selected privacy settings.


Uploading From the Camera/Photos App
-
1Open the Camera app.
-
2Select “Video” mode. Swipe the mode selector (below the record button) and set it to “Video”.
-
3Tap the capture button to record. This button is red in video mode. Tap it again when you are finished to stop recording. A thumbnail of the video will appear at the bottom of the side panel.
-
4Tap the video thumbnail. This will launch the Photos app and take you to the stored video.
-
5Tap the “Share” button. This button (represented by a square with an up arrow) is in the upper right of the screen and will bring up a list of sharing options.
- You can also upload previously recorded videos by opening the Photos app, selecting the video from the library, and tapping the “Share” button.
-
6Tap “YouTube” from the share options. A popup window will appear with upload controls.
- A second popup may appear prompting you to sign into your YouTube account if you are not already logged in.
-
7Sign in to your YouTube account. Enter your email and password and tap “Sign in” if prompted.
-
8Add video information. Enter a title and description to your video.
-
9Select the upload quality. You can choose between “Standard” or “HD” quality.
- HD quality videos must be uploaded over wifi.
-
10Add tags. Select the “Tags” field and enter terms related to your video. Tags will help categorize your video and make it easier to find in search results.
-
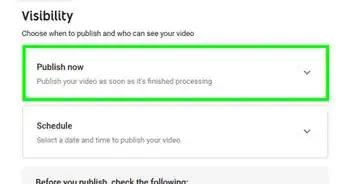
11Choose your privacy settings. Tap the settings (default “Public”) to choose between setting you video as Public, Unlisted,or Private.
- Public videos can be searched for and viewed by anyone, unlisted will not appear in search results but anyone with the link can view it, and private videos can be viewed only by you.
-
12Tap Publish. You video will upload to YouTube and appear in listed in your channel with the selected privacy settings.


Community Q&A
-
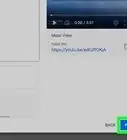
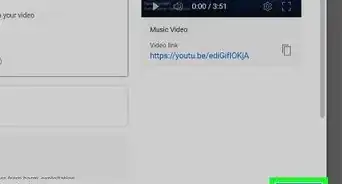
QuestionWith an unlisted video, how do you find the link to send to family and friends?
 FreyrTop AnswererOnce you've uploaded the video, it should appear on your channel when you're on the account you uploaded it with. Click the video, and copy the link from the address bar up the top of the screen. Now you can send this to whoever you want to be able to view your video.
 -
QuestionHow do I record my screen?
 Community AnswerThis depends on the device your using. Since the article above is about iPad, I will assume you are using an iPad. First, make sure you have added screen recording to your control center, which can be done easily in the settings app. Next, pull down control center (swipe down from the upper right of your screen), and tap on the record button, which is a circle with a dot inside.


About This Article