This article was co-authored by wikiHow staff writer, Darlene Antonelli, MA. Darlene Antonelli is a Technology Writer and Editor for wikiHow. Darlene has experience teaching college courses, writing technology-related articles, and working hands-on in the technology field. She earned an MA in Writing from Rowan University in 2012 and wrote her thesis on online communities and the personalities curated in such communities.
This article has been viewed 15,405 times.
Learn more...
Did you know that you can upload directly from Premiere Pro to YouTube instead of saving the file to your computer, navigating to YouTube in a web browser, and then uploading it from there? This wikiHow will teach you how to upload directly from Premiere Pro to YouTube.
Steps
-
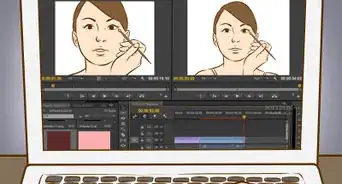
1Open your project in Premiere Pro. You'll find the app icon in your Start menu or Applications folder in Finder and can click File > Open to open your project. Otherwise, you can right-click on the project file in your file manager and click Open with > Premiere Pro.
-
2Click File. It's in the toolbar in the top left corner of the app.Advertisement
-
3Hover your mouse over Export and click Media. When you move your mouse to Export, a menu will pop out to the right. You can also press Ctrl + M (Windows) or Cmd + M (Mac) to open the media export window.[1]
-
4Click the Publish tab. It's to the right of "Effects" on the left side of the "Export Settings" pop-up window.
-
5Click to select YouTube. You'll see it at the bottom of the list.
- If it doesn't expand, click the arrow next to "YouTube."
-
6Log into your YouTube account (if necessary). The YouTube account you'll post this video to will display here.
-
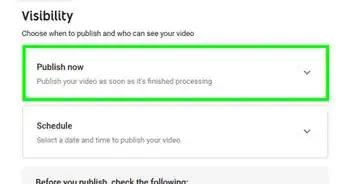
7Change the privacy settings (if you want to). By default, the privacy of the video is set to "Unlisted" so you can change that to private or public.
- Depending on the setup of your YouTube account, you may have the option to choose a channel and playlist from your account to upload your video to.
-
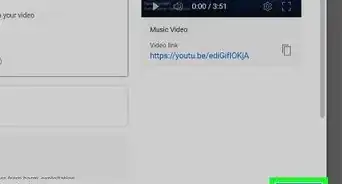
8Add tags and a video description. The title of your video will be the output title of your project; to change that, click Output Name near the top of the "Export Settings" pop-up window and change the file name.
-
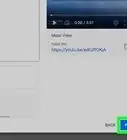
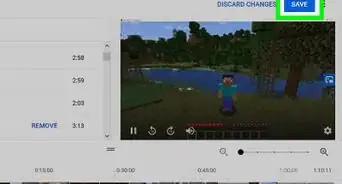
9Click Export. You'll see this at the very bottom of your screen and your video will begin uploading to YouTube.[2]


Community Q&A
-
Questionwhy is it not uploading, even though it says it has
 wikiHow Staff EditorThis answer was written by one of our trained team of researchers who validated it for accuracy and comprehensiveness.
Staff AnswerwikiHow Staff EditorStaff AnswerYou may need to wait a few minutes before you can see it on your YouTube channel. Remember that uploading process may take a while depending on the size of your Premier file. Check your YouTube channel again later to see if your Priemier file uploaded correctly. If not, you may have the wrong YT channel connected to Priemere Pro.


About This Article

1. Open your project in Premiere Pro.
2. Click File.
3. Hover your mouse over Export and click Media.
4. Click the Publish tab.
5. Click to select YouTube.
6. Log into your YouTube account (if necessary).
7. Change the privacy settings (if you want to).
8. Click Export.