This article was co-authored by wikiHow staff writer, Travis Boylls. Travis Boylls is a Technology Writer and Editor for wikiHow. Travis has experience writing technology-related articles, providing software customer service, and in graphic design. He specializes in Windows, macOS, Android, iOS, and Linux platforms. He studied graphic design at Pikes Peak Community College.
The wikiHow Tech Team also followed the article's instructions and verified that they work.
This article has been viewed 7,980 times.
Learn more...
Procreate is a raster graphics editor app for iPad. You can use Procreate to draw and create fantastic art. Good art often needs good typography. Luckily Procreate allows you to add, edit and rasterize text. This wikiHow article teaches you how to use text in Procreate.
Steps
Adding Text
-
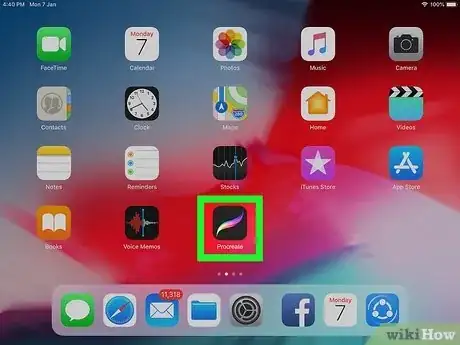
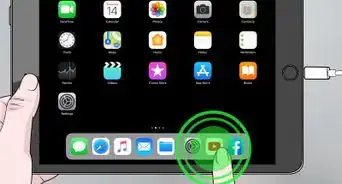
1Open Procreate. Procreate has an icon that resembles a rainbow-colored brush stroke. Tap the Procreate icon on your Home screen to open Procreate. This opens the Procreate Gallery screen.
- If you do not have Procreate, you can purchase it from the App Store.
- Procreate is only available for iPad. However, Procreate Pocket (paid) is available for iPhone.
-
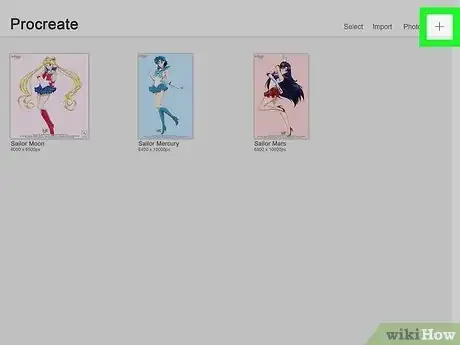
2Open or create a new Procreate project. To open an existing project, simply tap one of the existing projects on the Procreate Gallery screen. To open a new Procreate project, tap the plus (+) icon in the upper-right corner. Then tap the canvas size you want to use.Advertisement
-
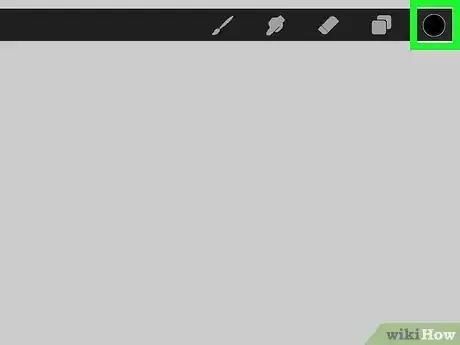
3Select a color. This will be the color of your text. To select a color, tap the colored circle in the upper-right corner. Then tap the hue you want in the color wheel. Then use the circle in the middle to select the tint of the hue.
-
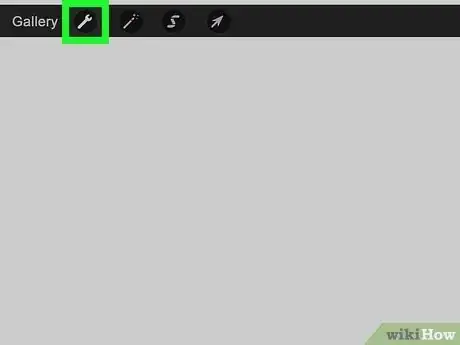
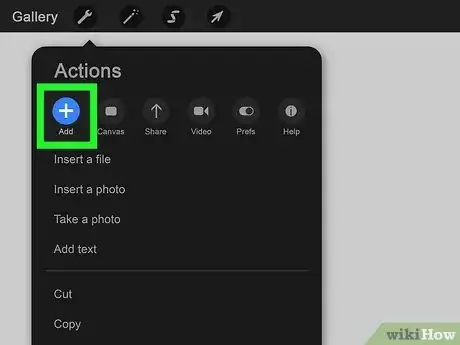
4Tap the Wrench icon. It's in the upper-left corner of the screen next to the "Gallery" button. This opens the Actions menu.
-
5Tap the Add tab. It's the first tab at the top of the Actions menu. This displays a variety of options for adding things to your project.
-
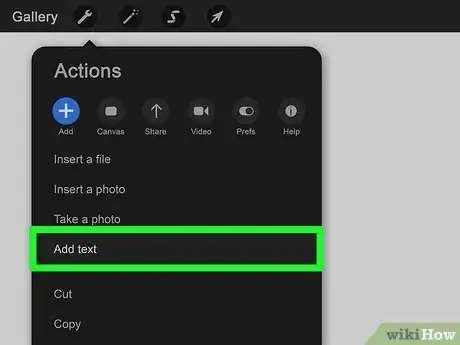
6Tap Add Text. It's the fourth option in the Actions menu. This adds a new text box that you can use to add and edit text.[1]
- Text boxes will automatically be added as a new layer in the Layers menu.
-
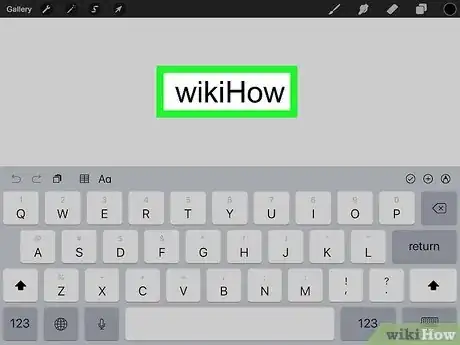
7Type some text. Use the keyboard at the bottom of the screen to type whatever you want the text to say. The text box will automatically expand depending on how much text is needed.
-
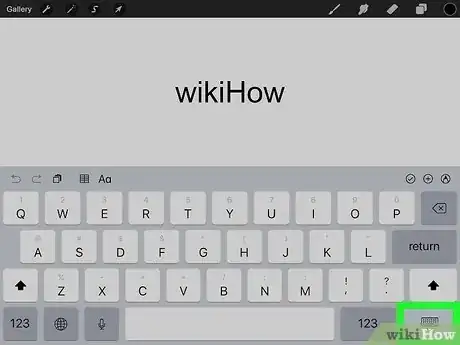
8Close the keyboard. When you are finished typing your text, you can close the keyboard by tapping the keyboard icon in the lower-right corner of the keyboard.
-
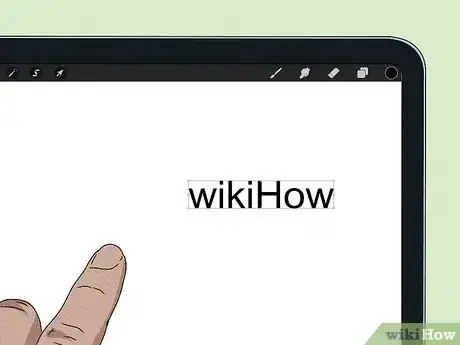
9Move the text to where you want it to go. To move the text box, simply tap and drag it. You can move a text box while it is still active.
-
10Tap outside the text box. This deselects the text box. It is no longer active.
Editing Text
-
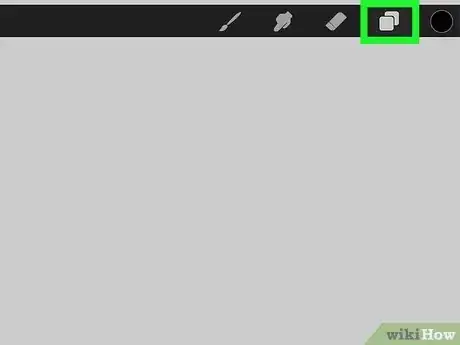
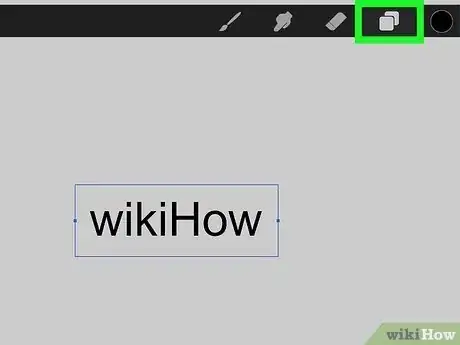
1Open the Layers menu. To do so, tap the icon that resembles two sheets of paper overlapping in the upper-right corner.
-
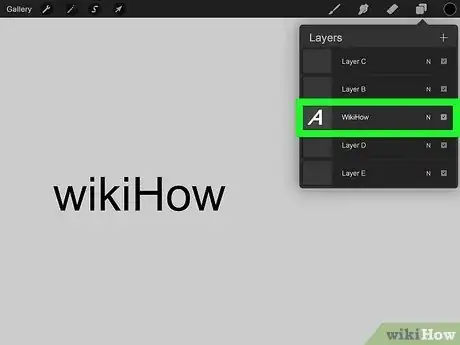
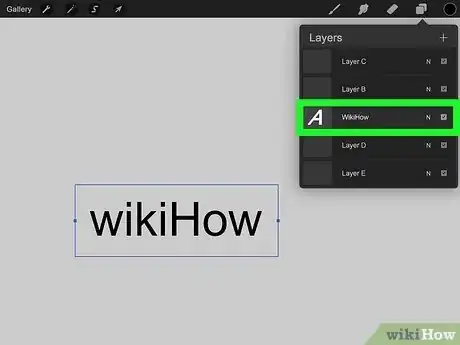
2Tap the layer with the text you want to edit. Text layers are labeled with the text that they contain. Tap the layer that contains the text you want to edit.
-
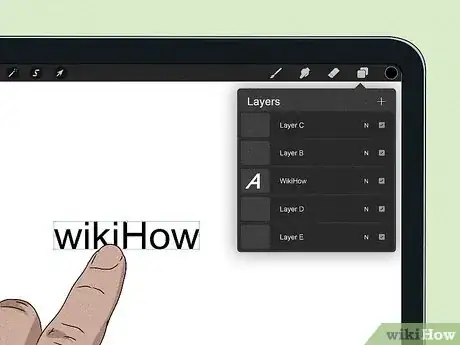
3Select a text box. To select a text box, simply tap it. You will see the bounding box around the text box.
-
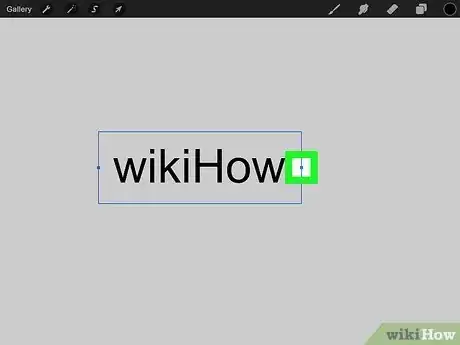
4Adjust the size of the text box. To adjust the size of the text box, simply tap and drag the blue dot on the right or left side of the bounding box. This will not adjust the size of the text, but it will change how the text is arranged within the text box.
-
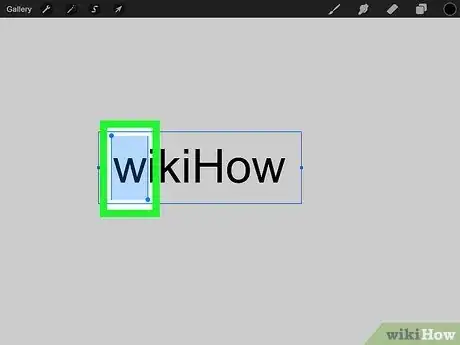
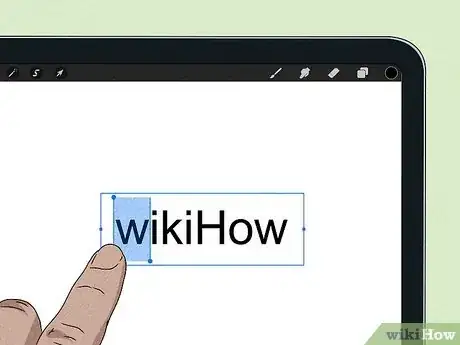
5Place the text cursor or select some text. Tap once within the bounding box to place the text cursor. This opens the keyboard and allows you to add more text. Alternatively, you can double tap a word to highlight and select it, or triple-tap the text to highlight and select all the text within the text box.
- To select more than one word, double tap a word to select it. Then tap and drag the icons that resemble a blue dot with a line coming out of the top or bottom to adjust how much text is selected.
-
6Open the text editing menu. To do so, simply tap the text cursor or select some text within the text box.
-
7Select a text alignment. Use one of the four icons that resembles four lines at the top of the text editing menu to select an alignment for your text. Your options are as follows:
- Left alignment: Tap the icon that resembles four uneven lines aligned the left to align the text to the left side of the text box.
- Center alignment: Tap the icon that resembles four uneven lines aligned to the center to align your text to the center of the text box.
- Right alignment: Tap the icon that resembles four uneven lines aligned to the right to align your text to the right side of the text box.
- Justified: Tap the icon that resembles four even lines to align the text lines evenly across the length of the text box.
-
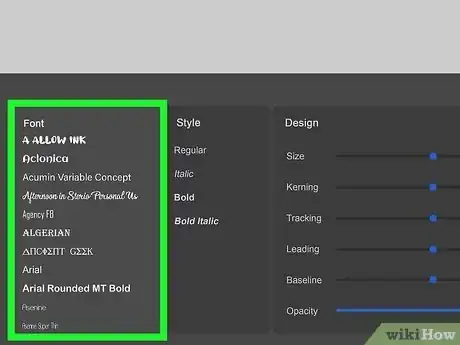
8Open the Typeface menu. To open the type face menu, tap either the Font drop-down menu or the Style drop-down menu in the upper-right corner of the text edit menu.
-
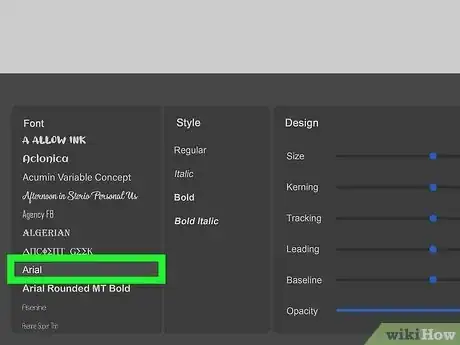
9Select a font. To select a font, simply tap one of the fonts listed below the Font menu on the left. Each font is displayed in the font menu exactly how it looks in writting.
-
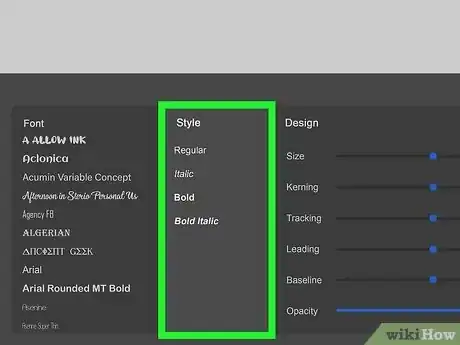
10Select a font style. Tap one of the options below the Style menu on the right to select a font style. Each font has different styles, but most include "Regular," "Italic," and "Bold." Other options may include, "Bold Italic," "Oblique," "Light," "Medium, "Black" and so forth.
-
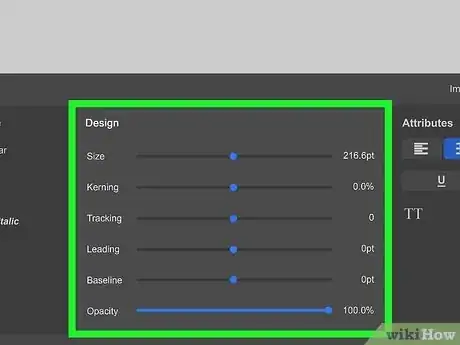
11Tap Design. It's the second tab at the bottom of the Typeface menu. This opens the Design menu.
-
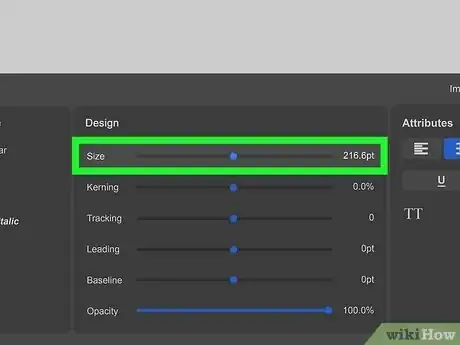
12Adjust the size of the text. Tap and drag the slider below "Size" to adjust the size of the text. Alternatively, you can enter the exact point size in the field above the slider bar.
-
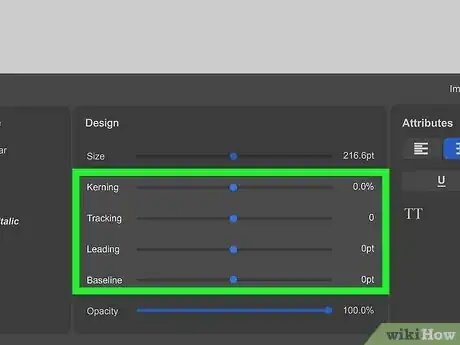
13Adjust the line and letter spacing. Use the slider bars to adjust the line and letter spacing. The options are as follows:[2]
- Kerning: Kerning adjust the space between individual letters.
- Tracking: Tracking adjust the space between all characters in a word.
- Leading: Leading adjust the space between lines of text.
- Baseline. Baseline adjust the vertical position of a word or line of text.
-
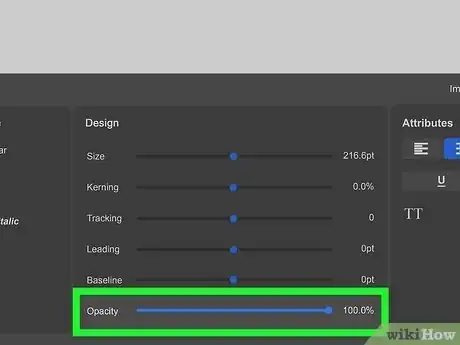
14Adjust the opacity of the text. Use the slider bar below "Opacity" to adjust the text opacity. Reducing the opacity makes the text appear transparent, allowing you to see the background below the text.
-
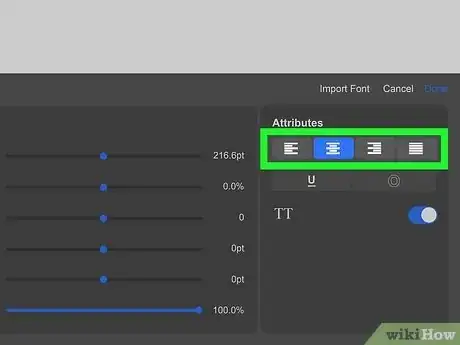
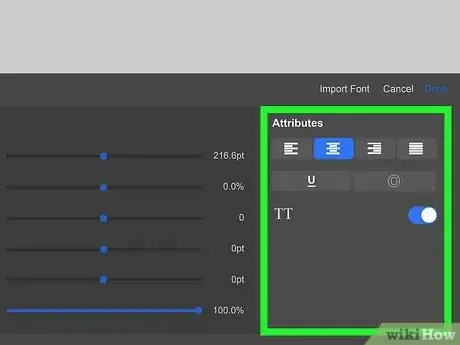
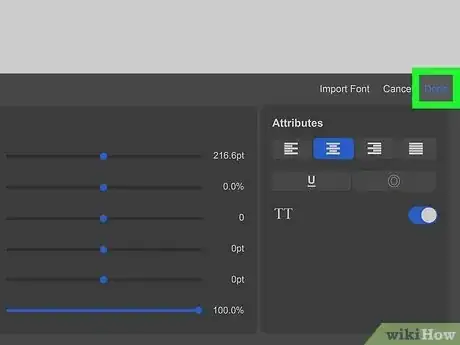
15Adjust the text attributes. Use the options in the Attributes menu on the left to adjust the text attributes. The options are as follows:
- Alignment: Tap one of the button with four uneven lines to adjust the text alignment. The alignment options are the same as they are in the text edit menu.
- Underline spaces: Tap the icon that resembles a "U" with an underline to add underlines in the spaces between characters.
- Outline: Tap the icon that resembles an "O" drawn with white outlines to outline the letter forms instead of creating solid letters.
- Vertical: Tap the icon that resembles two square dots to arrange the letters vertically instead of horizontally.
- All Capitals: Tap the toggle switch next to "TT" to capitalize all the letters in the text box.
-
16Tap Done. When you are finished editing the text, tap Done in the upper-right corner of the menu to close the menu and deselect the text box.
Rastering Your Text
-
1Open the Layers menu. To do so, tap the icon that resembles two sheets of paper laying on top of each other in the upper-right corner. This displays all layers, including all text layers.
-
2Select the layer with the text you want to rasterize. Text layers labeled with the text they contain by default. Tap the text layer you want to rasterize. This highlights the layer in blue to indicate it is selected.
-
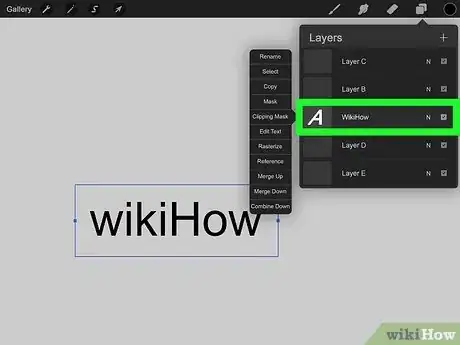
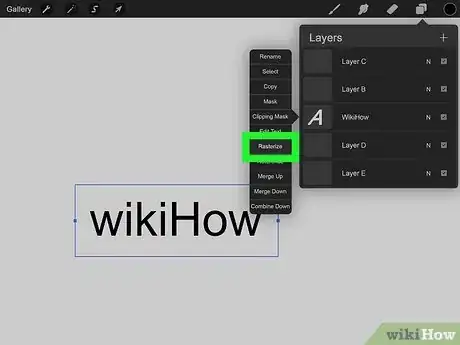
3Tap the select layer again. Tapping a selected layer displays a menu next to the layer menu.
-
4Tap Rasterize. This turns the text layer into a graphics layer and permanently sets your text.
- Warning: Rasterized text cannot be edited using the text edit menu. Only rasterize text when you are sure you have it set exactly the way you want it.
