This article was co-authored by wikiHow staff writer, Nicole Levine, MFA. Nicole Levine is a Technology Writer and Editor for wikiHow. She has more than 20 years of experience creating technical documentation and leading support teams at major web hosting and software companies. Nicole also holds an MFA in Creative Writing from Portland State University and teaches composition, fiction-writing, and zine-making at various institutions.
The wikiHow Tech Team also followed the article's instructions and verified that they work.
This article has been viewed 22,808 times.
Learn more...
Are you trying to print something from your iPad on a printer that doesn't support AirPrint? While AirPrint is definitely the easiest way to print from your iPad, it's not the only way! If you're not ready to buy a new printer, you can use your printer's official app—most printer manufacturers offer them for free. Another option is to install a program on your PC or Mac that essentially "converts" your printer to AirPrint. This wikihow article will teach you how to print to any non-AirPrint printer from your iPad.
Steps
Using a Printing App
-
1Make sure your printer doesn't actually have AirPrint. AirPrint has been around long enough now that most modern Wi-Fi printers support the technology. Check Apple's official list of AirPrint printers at https://support.apple.com/en-us/HT201311 to find your model. If your model has AirPrint, it'll be much easier to use AirPrint instead.
- If you've already tried using your AirPrint-enabled printer but get the message "No AirPrint Printers Found," it usually means the printer you're trying to use is offline, or that you are not connected to the same Wi-Fi network as that printer.
-
2Install the official iPad app for your printer (if you don't have AirPrint). Nearly all printer manufacturers now provide iPad/iPhone apps for their wireless printers, and they are easy to find in the App Store. Just open the app store and search for your printer manufacturer (e.g., "Epson") to find the app. Here are some quick App Store links to some of the most common printer apps:
- Brother: https://apps.apple.com/us/app/brother-iprint-scan/id382775642
- Canon Business (business printers): https://apps.apple.com/us/app/canon-print-business/id576292561
- Canon Inkjet/Selphy: https://apps.apple.com/us/app/canon-print-inkjet-selphy/id664425773
- Epson: https://apps.apple.com/us/app/epson-iprint/id326876192
- HP: https://apps.apple.com/gb/app/hp-smart/id469284907
- Kyocera: https://apps.apple.com/us/app/kyocera-mobile-print/id510179385
- Lexmark: https://apps.apple.com/us/app/lexmark-mobile-print/id469415392
- Ricoh: https://apps.apple.com/us/app/ricoh-smart-device-connector/id904870505
- Samsung: https://apps.apple.com/us/app/hp-samsung-mobile-print/id1301469531
- If your printer doesn't have an official app, you may be able to use a third-party app to print from your iPad. There are a variety of apps available on the App Store, but unfortunately, none of them are free. Some popular options are Readdle Printer Pro and Print N Share.
Advertisement -
3Connect your printer to a Wi-Fi network. When you're using your printer's iPad app, you'll need to make sure it's turned on and connected to Wi-Fi so your iPad can find it.
-
4Add your printer in the printer app. Open the app for your printer manufacturer (e.g., HP Smart) and follow the on-screen instructions to detect and add your printer.
-
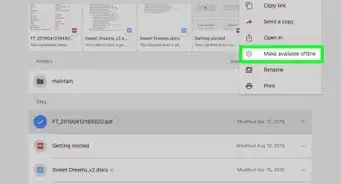
5Open the file you want to print. For example, if you want to print a photo, open the Photos app and tap the photo.
-
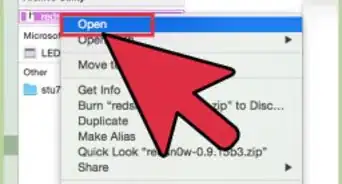
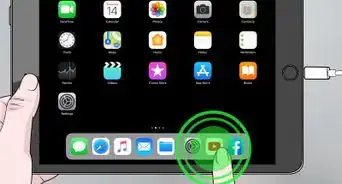
6Tap the Sharing icon . It'll usually be in the top or bottom corner of the iPad app you're using.[1]
-
7Scroll down and tap the name of your printing app. You should see the printing app you installed in the list of apps you can share to.
- Don't choose the option that's just called "Print," as that will only recognize AirPrint printers.
-
8Follow the on-screen instructions to print your file. This sends your file to the printer.


Using Your Computer as an AirPrint Server
-
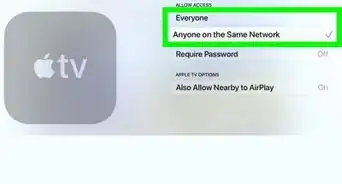
1Install a PC or Mac app that adds AirPrint functionality to your printer. There are apps available for both Windows and macOS that can trick your iPad into thinking your printer has AirPrint by emulating an AirPrint server. This will work even if your printer doesn't have Wi-Fi! The catch is that you'll need to have your computer turned on and connected to Wi-Fi every time you want to print. Here are some options to check out:
-
Mac:
- Printopia is popular and updated frequently. It come with a free trial so you don't have to pay right away.
- handyPrint is the most affordable option, and also comes with a free trial.
-
Windows:
- Oprint is a PC-only AirPrint activator that has a 30-day free trial version.[2]
-
Mac:
-
2Add your printer to the PC or Mac app you installed. The steps vary by app, but as long as you've already connected your printer to your computer, all of these apps should recognize and activate the printer.
-
3Connect your iPad to the same Wi-Fi network as your computer. Once you've set up Printopia, handyPrint, or Oprint and your printer is online, connecting your iPad to the same Wi-Fi network as your computer is all you'll need to do to use your printer.
-
4Open the file you want to print. For example, if you want to print a photo, open the Photos app and tap the photo.
-
5
-
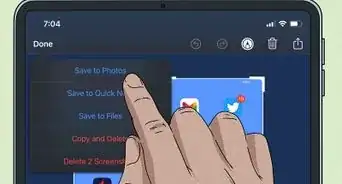
6Scroll down and tap Print. The option is toward the bottom of the Sharing menu.
-
7Select your printer from the drop-down menu. Just tap the menu next to "Printer" and tap the name of the printer that's connected to your PC or Mac. As long as your PC or Mac is on and the application you installed for your printer is active, you'll see your printer as an option.
- If you don't see your printer, double-check to make sure you're on the same Wi-Fi network as the computer.
-
8Tap Print. It's at the top-right corner. This sends your print job to your non-AirPrint printer.


References
About This Article

1. If your printer has Wi-Fi, it likely has a free app available in the App Store. Install your printer's official app, add your printer, and use the Share feature to share to that app when you're ready to print.
2. If your printer doesn't have an app or isn't wireless, you can print from your iPad through your PC or Mac by installing an app on your computer. Apps like Printopia, handyPrint, and Oprint all emulate AirPrint, which makes it possible for your iPad to recognize any printer that's attached to your computer as an AirPrint printer.