This article was co-authored by wikiHow staff writer, Nicole Levine, MFA. Nicole Levine is a Technology Writer and Editor for wikiHow. She has more than 20 years of experience creating technical documentation and leading support teams at major web hosting and software companies. Nicole also holds an MFA in Creative Writing from Portland State University and teaches composition, fiction-writing, and zine-making at various institutions.
This article has been viewed 291,721 times.
Learn more...
This wikiHow teaches you how to add a "Read More" or "Continue Reading" link to your Wordpress.com blog post. The Read More link is a great option for when you don't want the entirety of your blog post to appear on your main blog page. You can control where the link appears on the page, and in some cases, you can even change "Read More" into your own custom text.
Steps
Using the Visual Editor
-
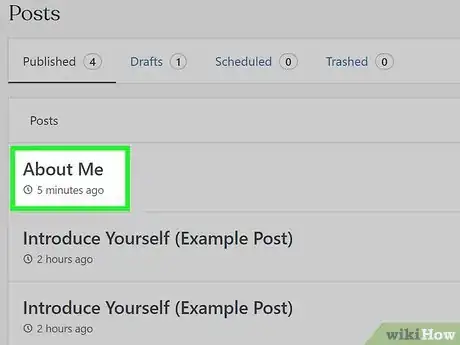
1Open the post you want to edit. You'll usually want to include a Read More link on longer blog posts.
-
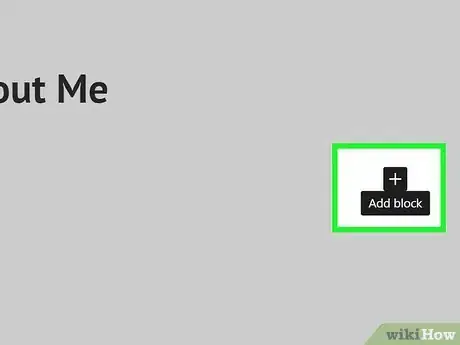
2Click the + where you want to insert the More break. To do this, hover your mouse cursor just below the block under which you want "Read More" to appear. When the plus sign appears, click it to add a new block.[1]Advertisement
-
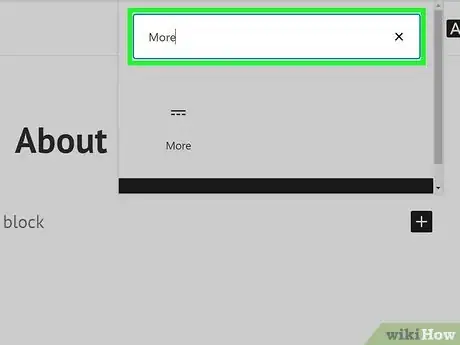
3Type more into the search field. A list of search results will appear under "Layout options."
-
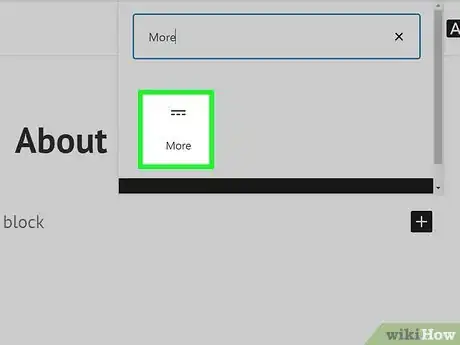
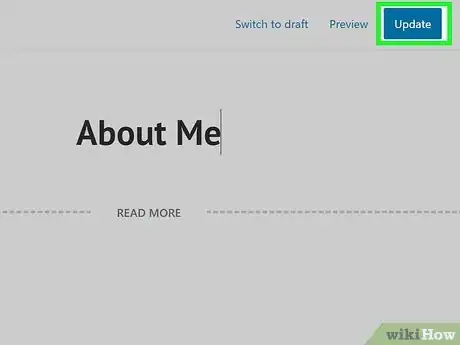
4Click More in the search results. This adds a horizontal dashed line with the words "READ MORE" at the center. Everything below this line will only appear on the page once the reader clicks the Read More or Continue Reading button.
- The text of the Read More link will vary by Wordpress theme. Depending on the theme and your account type, you may be able to change the text by clicking at the center of "READ MORE" and typing your own phrase.
-
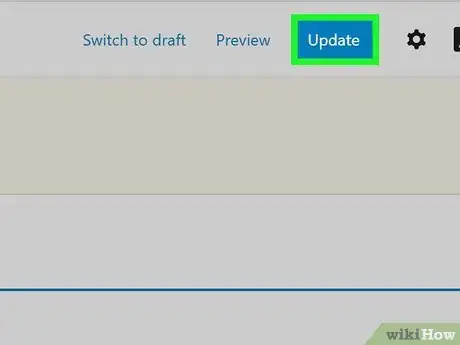
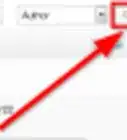
5Click the Update button. Now you can refresh your blog's main page to see the "Read More" link.
Using the Code Editor
-
1Open the post you want to edit. If you prefer coding your Wordpress blog entries in the built-in Wordpress code editor, you can enter a Read More tag manually.
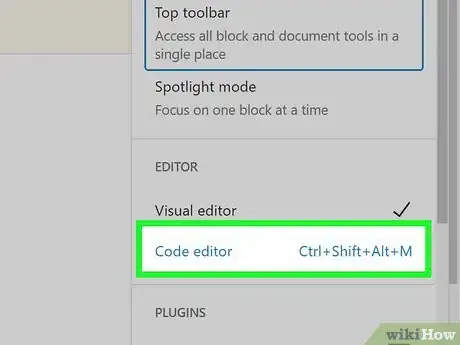
- To switch from the visual editor to the code editor, click the three horizontal dots at the top-right corner and select Code editor in the "EDITOR" section.
-
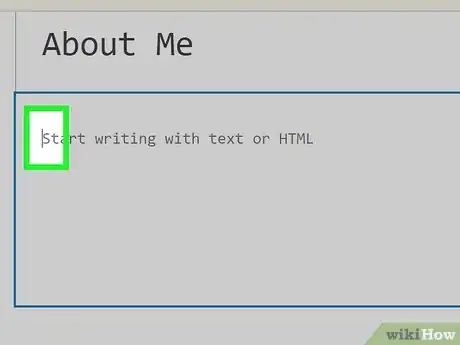
2Click the mouse cursor on the line you want "Read More" to appear. The Read More link should go directly below the part of your post that you want to appear on your blog's main page. The part of the post above the Read More code is called the "teaser" text.
-
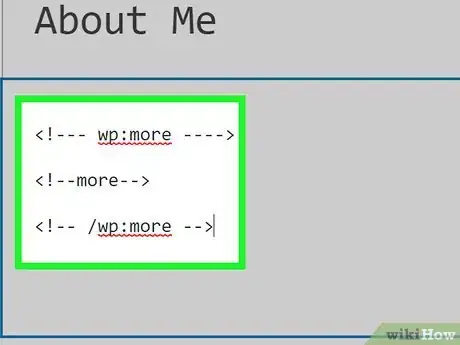
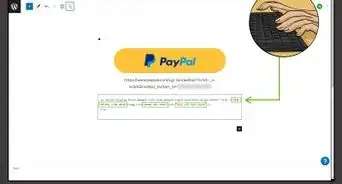
3Type the Read More code. Type each of the following strings of code on their own separate lines:
- <!- wp:more -->
- <!--more-->
- <!-- /wp:more -->
-
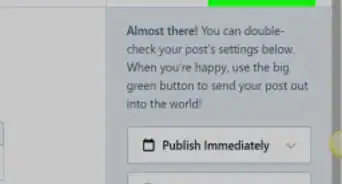
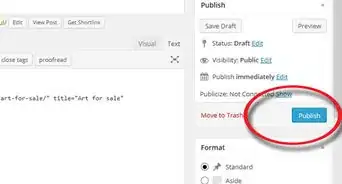
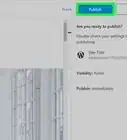
4Click the Update button. Now when you refresh your blog, you'll see a Read More or Continue Reading link below the teaser text. When the reader clicks the link, they'll be able to see the entire blog post.
- Depending on your account type, you may be able to change the text of the Read More link. In the second line of the above code, add the desired text after the word "more" like this: <!—more Keep reading -->.[2]
Community Q&A
-
QuestionHow do I see less information on my Instagram posts?
 Community AnswerPress "See less".
 -
QuestionHow do I enlarge and move images where I want in WordPress?
 JamesRPCommunity AnswerClick on the image and you'll get resizing handles. There is also a pop up bar with "left, center, right" bars.
 -
QuestionWhat do I do if my "Read More" button is directing me to a home page instead of showing the rest of a post on Wordpress?
 JamesRPCommunity AnswerThe "Read More" button inserts a code that splits text in your blog. Above the line is visible in a partial post on your blog page. When you click on the blog article on the blog page (which should only be showing part of your blog post), it should take you to a post page showing the whole blog.
References
About This Article
1. Open the post you want to edit.
2. Click the plus sign where you want to insert the link.
3. Type "More" into the search box.
4. Click More.
5. Click Update.
