This article was co-authored by wikiHow staff writer, Darlene Antonelli, MA. Darlene Antonelli is a Technology Writer and Editor for wikiHow. Darlene has experience teaching college courses, writing technology-related articles, and working hands-on in the technology field. She earned an MA in Writing from Rowan University in 2012 and wrote her thesis on online communities and the personalities curated in such communities.
This article has been viewed 6,033 times.
Learn more...
Do you wonder why your website doesn't rank high in SEO or doesn't get much traffic? You could blame it on your default WordPress permalink format, which is just the post-ID. A permalink including your post's name would work more efficiently for optimization. However, changing the permalink settings in your WordPress blog might result in broken external links while your internal links work just fine. This wikiHow will teach you how to change your permalinks and then fix any broken external links.
Steps
-
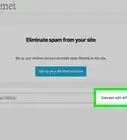
1Open your site’s Dashboard in WordPress. To access the Dashboard, type in the URL of your site followed by wp-admin/ and log in to your account.
-
2Make a backup. You'll want to make a backup in case anything goes wrong. This includes your core design elements, plug-ins, themes, images and files, and JavaScript/PHP/ and other code files. You can backup using an FTP client, dragging all the files over to your desktop and saving them. You can also search https://wordpress.org/plugins/search/backup/ for plug-ins that will help you back up.Advertisement
-
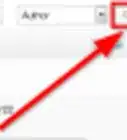
3Click Settings. It's in the panel on the left side of the page next to an icon of some switches.
-
4Click Permalinks. You'll see this option at the bottom of the menu that appears when you click "Settings."
-
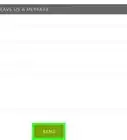
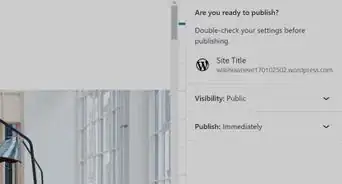
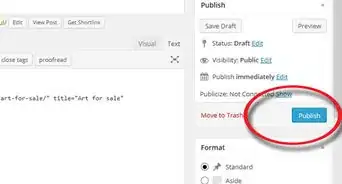
5Click the circle next to "Post name" to select it and click Save Changes. All your internal links will be fine, but your external links may be broken.
- If you don't have any external links on your site or just started, you are done!
-
6Set up redirections. You can use free plugins like Simple 301 Redirects or Redirection.
- You can also do this manually by accessing your
.htaccess(usually by FTP) and changing the code for every link to an external source to:Redirect 301 /your-former-post-url.html /your-new-post-url.html.
- You can also do this manually by accessing your
-
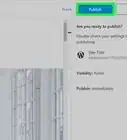
7Re-index your site. Since search engines, like Google, have old and outdated information, you'll want to update them. Search engines usually re-index site information, but do so quite slowly. You can use XML Sitemaps to re-map your site and make the process a little faster.
- After you've utilized the plugin, you can submit your sitemap to Google so they have your updated website information.


About This Article

1. Open your site’s Dashboard in WordPress.
2. Make a backup.
3. Click Settings.
4. Click Permalinks.
5. Click the circle next to "Post name" to select it and click Save Changes.
6. Set up redirections.
7. Re-index your site.