This article was written by Martin Aranovitch and by wikiHow staff writer, Darlene Antonelli, MA. Martin Aranovitch is a WordPress Trainer and Educator and a WordPress Writer for WPMU DEV. With over 18 years of digital marketing and website maintenance experience, Martin specializes in providing comprehensive instruction for people looking to use WordPress effectively. He holds a Bachelor’s degree in Science and Technology Studies from The University of New South Wales. Martin is also a digital publisher and the author of multiple WordPress guides and training manuals for people of all learning levels.
This article has been viewed 254,451 times.
WordPress allows users to blog or manage content in their language of choice, as long as a translation is available. This wikiHow will teach you how to change the default language in WordPress using the dashboard as well as an FTP. The exact process involved depends on the version of WordPress you have installed, with the easiest being the most recent version (5) of WordPress.
Steps
Changing the Language in Your WordPress Dashboard
-
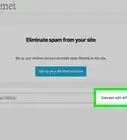
1Log into your WordPress blog. If you do not have a WordPress blog, go to www://wordpress.com and click on the button that says "Get Started Here." It will take you through the signup process, which includes entering personal information like your name and any required payment information (if you plan on upgrading your WordPress account from the free version).
- Since version 4.1 of WordPress, this feature is now available natively to the Dashboard and you don't need to install a plugin. However, it will only change the language that WordPress uses, such as menus and widgets, not your content.
-
2Click Settings. You'll see this in the panel on the left side of your web browser.Advertisement
-
3Click General. This will expand down from the "Settings" menu.
-
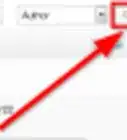
4Click the box underneath "Language." This is the language you want to set your WordPress to.
-
5Click to select a language, then click Apply Changes. In the window that pops up, you can select from the "Regions" section on the left to filter which languages are displayed on the right.
- You can also use the search bar to search for any languages.
-
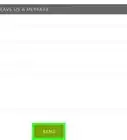
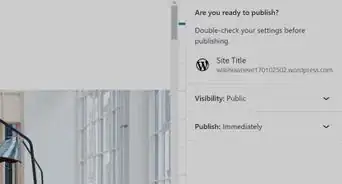
6Click Save settings. You want to click this button next to "Site profile" before you navigate away from this page or your changes will not be saved.
- If you want to change the Dashboard's language, click the "You can also modify…." text under the "Language" header. Click the box under the "Language" header and repeat the steps to change your site's language. If you want WordPress to attempt to change and show wp-admin pages, make sure to click the switch to enable it.
- Any changes will be saved instantly and your Dashboard will update to reflect the new language choice. [1]


Changing the Default Language on WordPress 4 or 5 Manually
-
1Download a WordPress language file. WordPress has been translated into many languages, and each translation has a file ending in the extension ".mo" with a country code and language code. You can find ISO-3166 country codes here and ISO-639 language codes here.
- Use this method for WordPress version 4 or later. If you have updated your site's WordPress since September 4, 2014, the site will be running WordPress version 4 or later. Earlier versions of WordPress require a different, somewhat more complicated method described in its own section below.
- If you don't remember when you updated, visit (yoursitename).com/readme.html and look near the top of the page for a WordPress version number.
- If you're uncomfortable with using an FTP client, you can use the WordPress Dashboard to change your site's language.
-
2Locate or create a /languages folder in your site directory. Go to the /wp-content directory on your WordPress site's server. If there is not already a folder called /languages, create one with exactly that name.
-
3Upload the file to your /languages folder. Upload the .mo file corresponding to the desired language into your /languages folder. If you have never uploaded files to your server before, you will need to use an FTP client, or the file management system provided by your hosting service. WordPress recommends FileZilla for Windows, or CyberDuck for Mac.[2]
-
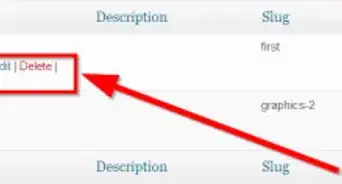
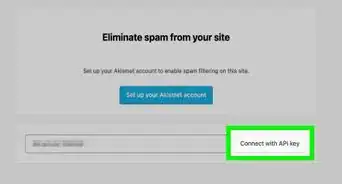
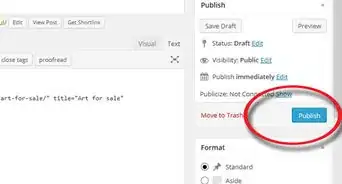
4Change the language in the admin settings. Log into your site as an administrator. Click Settings > General > Language. Select the language option corresponding to the .mo file you just uploaded and click Apply changes and Save settings. The selected language should now be your site's default language.


Changing the Default Language in WordPress 3.9.2 or Earlier
-
1Download the language files. You can get the language files you need from the WordPress in Your Language web page. The file will have a name such as in the following example: fr_FR.mo.
- The first two small characters (‘fr’ for French) refer to the ISO-639 language code. This is followed by the ISO-3166 country code (_FR for France in the example). So, the French .mo file would be called fr_FR.mo.
-
2Copy Language files to your WordPress Installation. Once you have downloaded the correct /mo file to your computer, copy it to your server in the directory ‘wp-content/languages’. You will probably need to create the ‘languages’ directory if you installed WordPress in English.
-
3Modify the wp-config.php file. In the root directory of your WordPress installation is a file named ‘wp-config.php’. This file includes all of the settings to allow you to connect to the database and manage a few other items. Download the file and open it up in your Text Editor application.
-
4Edit the language line. Inside the ‘wp-config.php’ file, you will see the following lines:
-
define ('WPLANG', );- You will need to change this to use the file you just copied to your server. If using the example for French above, you would edit the like to look like the following:
define ('WPLANG', 'fr_FR');
-
-
5Visit your Admin Dashboard with your web browser. Your blog should now be displayed in the language you desired.


Community Q&A
-
QuestionMy customer wants to register with my site using their own language in the username text box. How can I configure my website to make that possible?
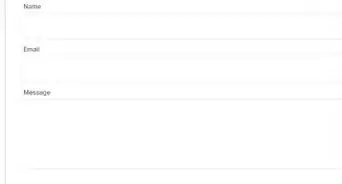
 Goldie_mCommunity AnswerIn your HTML file, look for the form element to which the username input field belongs and make sure that 'accept-charset' value within the syntax is set to the proper character encoding. (One of the most common that works an almost all browsers is Unicode [UTF-8].)
Warnings
- Do not move or delete folders in your site directory if you do not know what you are doing. This could break your site.⧼thumbs_response⧽


References
- ↑ https://wordpress.org/support/article/installing-wordpress-in-your-language/
- ↑ http://codex.wordpress.org/FTP_Clients
- http://www.webcoursesbangkok.com/blog/how-to-change-the-default-language-in-wordpress/ - Original source for version 3 method, shared with permission.
About This Article

1. Log in to your WordPress blog.
2. Click 'Settings.
3. Click General.
4. Click the box underneath "Language."
5. Click to select a language, then click Apply Changes.
6. Click Save settings.