Explore this Article
IN THIS ARTICLE
Other Sections
X
wikiHow is a “wiki,” similar to Wikipedia, which means that many of our articles are co-written by multiple authors. To create this article, 11 people, some anonymous, worked to edit and improve it over time.
The wikiHow Tech Team also followed the article's instructions and verified that they work.
This article has been viewed 78,478 times.
Learn more...
This article will teach you the basics of changing hues and saturation in Adobe Photoshop CS4.
Steps
1
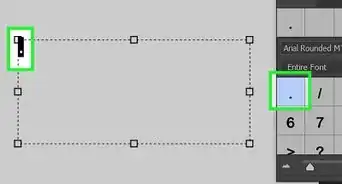
Open your image in Photoshop.

2
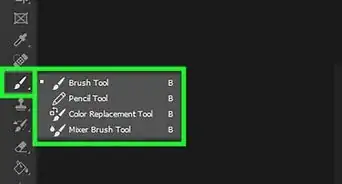
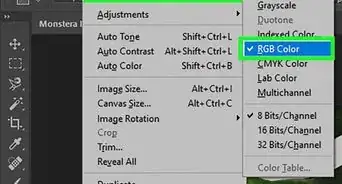
Open the Hue/Saturation adjustment tool.
-
Click the Create Adjustment Layer icon and select Hue/Saturation…. The Create Adjustment Layer icon is the half-shaded circle at the bottom of the Layers panel.[1] X Research source
- You'll also find the Hue/Saturation tool at Image > Adjustments > Hue/Saturation, or by pressing Ctrl + U (PC) or Command +U (Mac).

3
Use the Hue slider to adjust the color.

4
Use the Saturation slider to make colors more vivid or muted.

5
Use the Lightness slider to control blacks and whites.

6
Check the Colorize box to change the Hue/Saturation control.

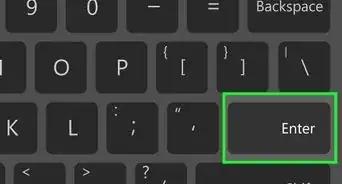
7
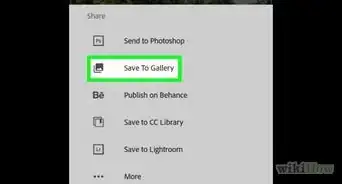
Paint over the image with the brush tool.
-
Using the Brush tool(B), paint over your image to reveal some of the original colors of the image. Paint over your image by unlinking and selecting the layer mask on your adjustment layer. Make sure also that the color you're using is black as you paint over the image and on the layer mask.

Advertisement
Things You'll Need
- Photoshop
- Image
You Might Also Like
How to
Insert an Image in Photoshop
 How to Trace an Image in Photoshop on Windows or Mac
 4 Easy Ways to Insert a Bullet Point in Adobe Photoshop

How to
Add a Hyperlink to a Jpeg in Photoshop
How to
Install Plugins in Adobe Photoshop
 3 Ways to Simply Import Fonts to Photoshop
How to
Import an Image Into Photoshop
 Easily Unlock Any Layer in Photoshop: Even the Background Layer

How to
Design an ID Card Using Adobe Photoshop

How to
Add Text in Photoshop
 How to Rotate Objects in Photoshop: Using Image Rotation or Transform
How to
Combine Layers in Photoshop
How to
Make a Gradient in Photoshop
-Step-9-Version-2.webp)
How to
Separate an Image from Its Background (Photoshop)
Advertisement
About This Article
Tested by:
wikiHow Technology Team
wikiHow is a “wiki,” similar to Wikipedia, which means that many of our articles are co-written by multiple authors. To create this article, 11 people, some anonymous, worked to edit and improve it over time. This article has been viewed 78,478 times.
How helpful is this?
Co-authors: 11
Updated: January 18, 2022
Views: 78,478
Categories: Featured Articles | Adobe Photoshop
Advertisement