This article was co-authored by wikiHow staff writer, Nicole Levine, MFA. Nicole Levine is a Technology Writer and Editor for wikiHow. She has more than 20 years of experience creating technical documentation and leading support teams at major web hosting and software companies. Nicole also holds an MFA in Creative Writing from Portland State University and teaches composition, fiction-writing, and zine-making at various institutions.
This article has been viewed 160,310 times.
Learn more...
You can use the GNOME Tweak Tool to customize your Ubuntu desktop with a variety of themes. To get started, you'll first need to install the GNOME Tweak Tool, as well as some necessary shell extensions. Once that's finished, you can enable themes in the Tweak Tool, install theme files to your .themes directory, and start customizing!
Steps
Installing GNOME Tweak Tool and Shell Extensions
-
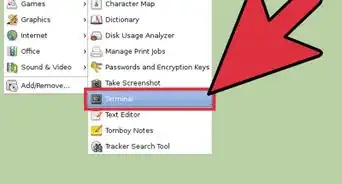
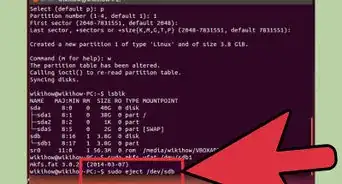
1Press the Control+Alt+T keys together to open the terminal.
-
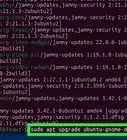
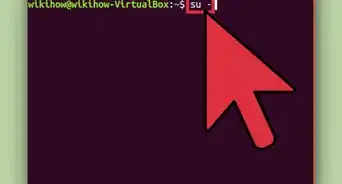
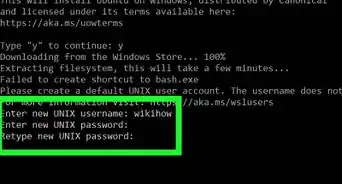
2Type sudo apt update and press ↵ Enter. You'll need to verify your password when prompted. This command will run necessary updates.[1]Advertisement
-
3Type sudo add-apt-repository universe and press ↵ Enter. This adds the Universe software repository.
-
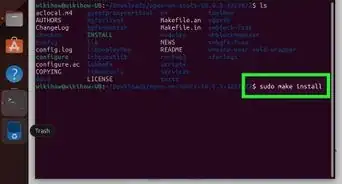
4Type sudo apt install gnome-tweak-tool and press ↵ Enter. This will contact the official repository to download the GNOME Tweak Tool package. When prompted, enter Y to confirm the installation. Once GNOME Tweak Tool is installed, it will be added to your applications menu.
- The apt command handles the Advanced Packing Tool (APT) to install the package.
- Installing packages requires an active network connection. Do not disconnect from the network until installation is complete.
-
5Install GNOME Tweak Tool extensions. Although there's plenty you can do with GNOME Tweak Tool alone, you'll want the extensions to make things easier. Here's how to get them:
- Type sudo apt search gnome-shell-extension and press ↵ Enter to search the repositories for extensions. Each extension has a brief blurb that explains what it does.
- To install just one extension, use sudo apt install extension-name. Replace extension-name with the name of the extension.
- To install all extensions at once (recommended), use this command: sudo apt install $(apt search gnome-shell-extension . This can take a while.
-
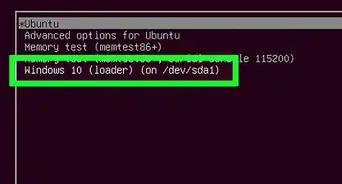
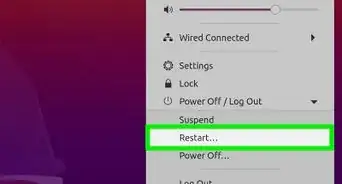
6Restart your computer. The GNOME Tweak Tool requires a restart for extensions installed to the tool.


Installing Themes
-
1Decide where you'll install your themes. The location of your .themes directory is up to you:
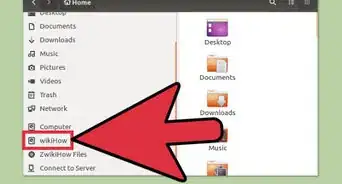
- If you want to install the themes just for your own user account, create a new directory called .themes in your home directory by running mkdir ~/.themes at the command line.
- If you want the themes to be available for all users on the computer, create .themes in /usr/share/themes instead.
-
2Search for and download compatible shell themes. Sites like GNOME-Look host user-created themes that can be used with the Tweak Tool.
- Make sure the theme is compatible with the version of GNOME installed on your computer. Theme creators will post compatibility information along with the theme details.
-
3Unpack the files to the .themes directory. Most sites provide the files in a tar.xz or tar.gz file. Theme download pages will list specific instructions on how to install the theme.
- Some themes will have dependencies that must be installed to use the theme properly. A dependency is a script or piece of software utilized by the theme, but not included in its own installation.
- To decompress files in a tar.xz, you'll need to install xz-utils. Open a terminal window and run sudo apt install xz-utils to get it. Then, to unpack the files, use the command tar -xvf file.tar.xz (replace file.tar.xz with the file name).
- To decompress files in a tar.gz, use tar -xvf file.tar.gz (replace file.tar.gz with the file name).
-
4Open GNOME Tweak Tool. You'll find it in the applications menu. You can also open it by running gnome-tweaks at the command line.
-
5Click the Extensions tab. It's at the top of the left panel.[2]
-
6Toggle the "User Themes" switch to On. Now that you've enabled this feature, you can customize themes.
-
7Click the Appearance tab. It's in the left panel. All of the options you'll see on the right allow you to apply aspects of themes to aspects of your desktop.
-
8Use the drop-down menus in the right panel to customize your desktop. For example, selecting a theme from the "Applications" drop-down adds that theme's traits to your applications. Selecting a theme from the "Icons" drop-down uses the theme's icons in place of any icons.
- You can mix and match elements of different themes.


References
About This Article

1. Run "sudo apt update" at the prompt.
2. Run "sudo add-apt-repository universe."
3. Run "sudo apt install gnome-tweak-tool."
4. Run "sudo apt install $(apt search gnome-shell-extension."
5. Restart your computer.
6. Unpack theme files in the .themes folder.
7. Open GNOME Tools.
8. Enable Themes in "Extensions."
9. Set up your themes in Appearance.