This article was co-authored by wikiHow staff writer, Nicole Levine, MFA. Nicole Levine is a Technology Writer and Editor for wikiHow. She has more than 20 years of experience creating technical documentation and leading support teams at major web hosting and software companies. Nicole also holds an MFA in Creative Writing from Portland State University and teaches composition, fiction-writing, and zine-making at various institutions.
The wikiHow Tech Team also followed the article's instructions and verified that they work.
This article has been viewed 371,459 times.
Learn more...
When you select a Windows 10 user account photo, it'll appear on the login screen, the Start menu, and various other places in Windows. If you don't want to have a profile photo at all, you'll need to replace it with something else, such as the default profile icon (an outline of a person). Once you replace the photo, you can delete your old profile photos. This wikiHow will teach you how to reset your Windows 10 user account photo to the default profile icon and delete your old profile photos.
Steps
Reverting to the Default User Photo
-
1
-
2Click on your profile icon. It should look like your current user photo, and it's near the top-left corner of the Start menu.Advertisement
-
3Click Change account settings.
-
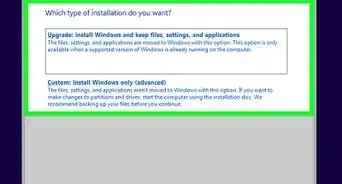
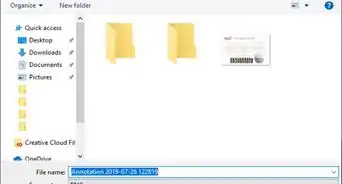
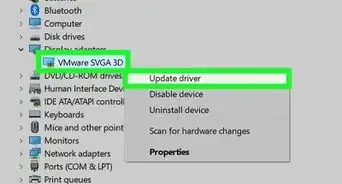
4Click Browse for one. It's under the "Create your picture" header. You'll see the "Open" dialog window.
-
5Navigate to C:\ProgramData\Microsoft\User Account Pictures. This is where you'll find the default user icons. Here's a quick way to do this:
- Highlight this text with your mouse: C:\ProgramData\Microsoft\User Account Pictures.
- Press Ctrl+C to copy it to your clipboard.
- In the address bar at the top of the Open window, click your mouse at the end of the current path. This highlights the information that's already in that box.
- Press Ctrl+V to paste the copied location.
- Press ↵ Enter.
-
6Select user.png and click Choose picture. Any of the files with the name "user" should be fine. This replaces your user profile photo with the default.
- Your old photo will still appear in your account settings. If you want to delete it from the computer completely, continue with this method.
-
7Press ⊞ Win+E to open the File Explorer. Now you'll use the File Explorer to delete your old photo from the computer.
-
8Paste %appdata%\Microsoft\Windows\AccountPictures into the address bar. You'll do this just as you did when you navigated to the User Account Pictures folder in the Open window.
-
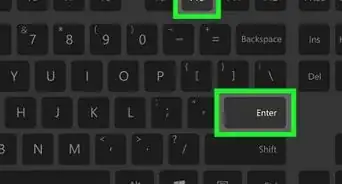
9Press ↵ Enter. Now you'll see all of your user account photos.
-
10Select the photo(s) you want to delete. To select multiple photos, hold Ctrl as you click.
-
11Press the Del key on the keyboard. The selected photos are now removed from your account.
- If you log into Windows with your Microsoft account, you may still see your old profile photo in some locations (such as when you sign into other Windows 10 computers). See the "Removing a Profile Photo from a Microsoft Account" method to learn how to remove it.


Removing a Profile Photo from a Microsoft Account
-
1
-
2Click Accounts. It's the icon that looks like the outline of a person.
-
3Click Manage my Microsoft Account. It's below your current user photo.
-
4Log in to your Microsoft account. If you're not already signed in to your account, you'll be prompted to do so now. Use the same login and password you use to sign into Windows.
-
5Click your profile photo. It's at the top-left corner of the page. A larger version of your photo will appear.
-
6Click Remove. It's near the bottom-right corner of the page. A confirmation message will appear at the bottom.
-
7Click Yes to confirm. The photo is no longer associated with your account.


Community Q&A
-
QuestionI deleted the picture, but it's still there. What should I do?
 Community AnswerReview Steps 7 - 8 to ensure that you've also deleted it from the account folder.
 -
QuestionI have deleted the picture, but still it shows me. Can you tell me about account folder?
 Ashkan SahbaCommunity AnswerIf you're unsure of the folder name, you can also just browse to the location. Here, you'll find all the account pictures you've ever added to your account using the Settings app. Select any images you no longer want and then press the Delete key to relegate them to the Recycle Bin.

-Step-17.webp)
About This Article

1. Open the Start menu.
2. Click your profile photo.
3. Click Change account settings.
4. Click Browse for one.
5. Navigate to C:\ProgramData\Microsoft\User Account Pictures.
6. Select user.png and click Choose picture.
For more tips, including how to permanently delete your account picture from your computer, read on!


-Step-17.webp)


