X
wikiHow is a “wiki,” similar to Wikipedia, which means that many of our articles are co-written by multiple authors. To create this article, volunteer authors worked to edit and improve it over time.
This article has been viewed 43,520 times.
Learn more...
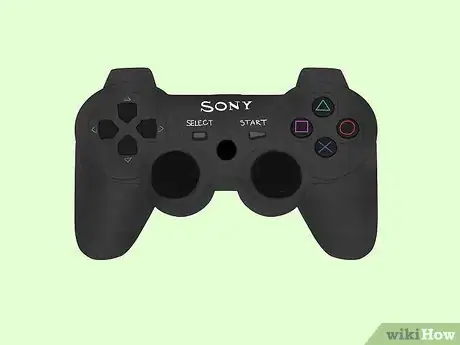
This guide shows the steps for taking apart a Dual Shock 3 controller for the Playstation 3. It focuses on four main components: the battery, buttons, vibration motors, and logic board. This makes replacing each components easier.
Steps
-
1Remove the back cover. Turn the controller so that the buttons face away from you. There, you will see five screws.
- You should be looking at the back of the controller.
- Using a mini Phillips screwdriver, unscrew all five screws.
- The back cover should now be easy to remove. If not, probably the latch on the center (between the sticks) needs some light push with a screwdriver.
-
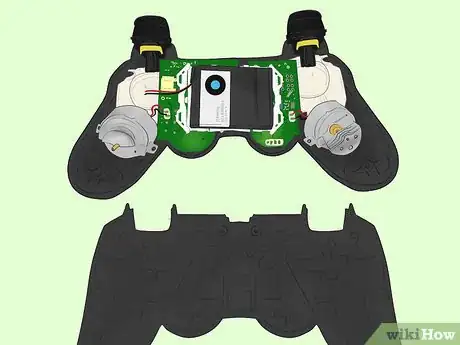
2Remove the battery.
- There should be two wires, one black and one red, connecting the battery to the logic board.
- Carefully pull the wires from where they connect to the logic board via plastic socket.
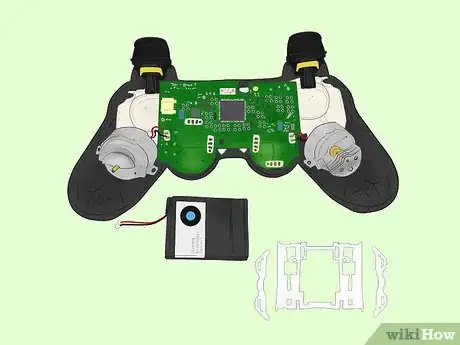
- Lift the battery from the logic board. Underneath the battery you will see white plastic frames. These detach after removing the battery.
Advertisement -
3Remove the triggers. There are two triggers on each side of the controller for a total of four triggers.
- On one side of the controller, pull the number 2 trigger (the bigger one) from the controller.
- Pull out the number 1 trigger (the smaller one). Repeat for the other side.
-
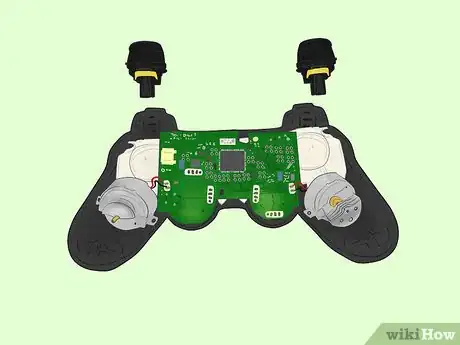
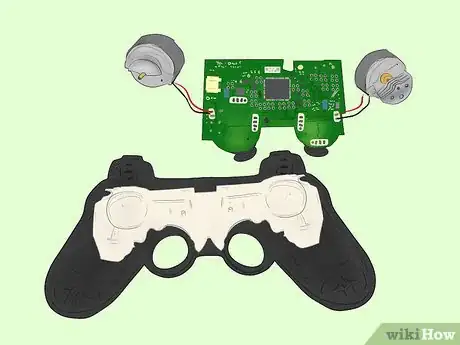
4Remove the vibration motor. A motor rests in each handle. A metal frame hold each motor. Carefully unscrew both metal frames from the plastic controller casing.
- The motors will now be free of the plastic case, but still attached to the metal frames and logic board. The motors are attached to the metal frames with adhesive. To remove the frame from the motor, carefully pull it off the motor.
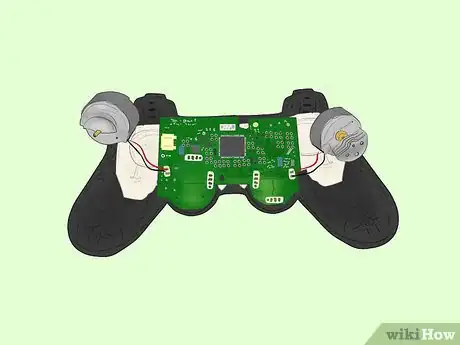
- To remove the motors from the logic board, desolder the wires from the board.
-
5Remove the logic board. The logic board attaches to the controller with a screw.
- To remove the logic board, unscrew the screw, before lifting the logic board out.
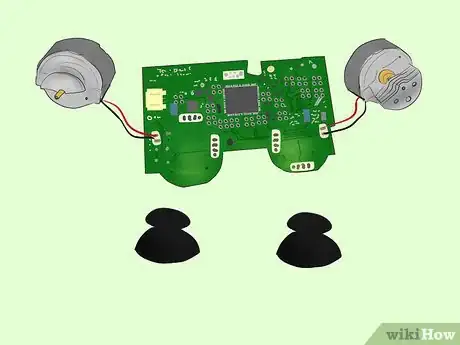
- When you lift the logic board out of the controller, the joysticks will be attached to the logic board.
-
6Remove the joysticks. The joysticks are attached to the logic board.
- To remove them, simply pull them out.
-
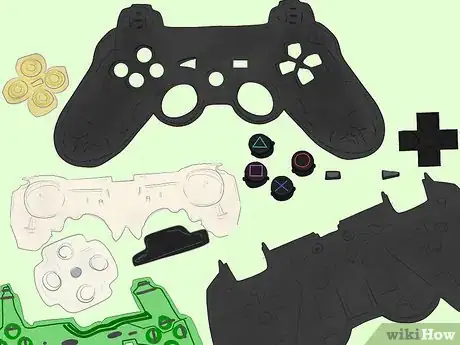
7Remove the buttons. In the plastic controller casing, there should be a white plastic frame. Lift it out of the controller.
- Underneath the white frame there should be a thin, green, plastic film. There should also be two additional white plastic frames that hold the buttons. Lift and remove both of these from the controller as well.
- You should now see the back side of the buttons. These can be easily removed by turning the front part of the controller upside down. Keep in mind that there are smaller black pieces that keeps the buttons in place. These are easily removable.
-
8Reassemble. To reassemble the controller, simply follow the steps in reverse order.
Advertisement
Community Q&A
-
QuestionMy R2 button isn't working anymore, how do I fix it?
 Community AnswerYou should follow the instructions to disassemble and see if the button behind R2 is responsive. If so, try to move the casing closer towards the button. If it is not responsive, see if you can solder the wires to the button again. If that doesn't work, all hope is probably lost, so just buy a new one.
Advertisement
Warnings
- Please be careful when tearing down your controller. We are not responsible for any damages.⧼thumbs_response⧽
- Be careful. Small parts may make them hard to find.⧼thumbs_response⧽
Advertisement
Things You'll Need
- Small Phillips Head Screwdriver
- Prying Tool
- Soldering Iron
- Solder Wick or Vacuum Plunger
About This Article
Advertisement
