This article was co-authored by wikiHow staff writer, Travis Boylls. Travis Boylls is a Technology Writer and Editor for wikiHow. Travis has experience writing technology-related articles, providing software customer service, and in graphic design. He specializes in Windows, macOS, Android, iOS, and Linux platforms. He studied graphic design at Pikes Peak Community College.
This article has been viewed 28,498 times.
Learn more...
This wikiHow teaches you how to install themes on Ubuntu 18.04 LTS. Many themes from Ubuntu's software repositories can be installed in a terminal window. Some themes must be manually extracted using Archive Manager. To apply installed themes in Ubuntu, you must download and install GNOME Tweaks from the Ubuntu Software Center.[1]
Steps
Installing Themes in a Terminal Window
-
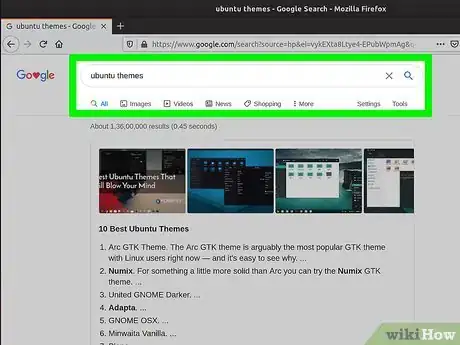
1Search for a theme. To search for Ubuntu themes, go to https://www.google.com and search "Ubuntu Themes". Popular lists of themes include the following:
-
2Click the Ubuntu icon. It's in the dock to the left. It's the circular icon with three notches. This opens the Dash.Advertisement
-
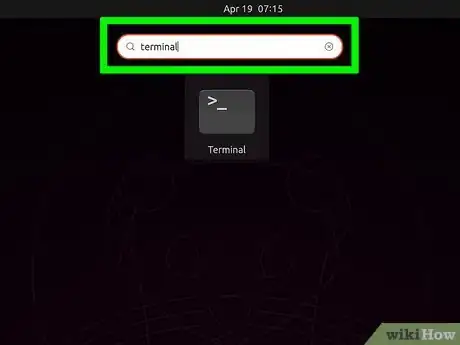
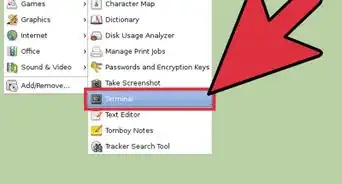
3Type terminal in the search bar. The search bar is at the top of the Dash.
-
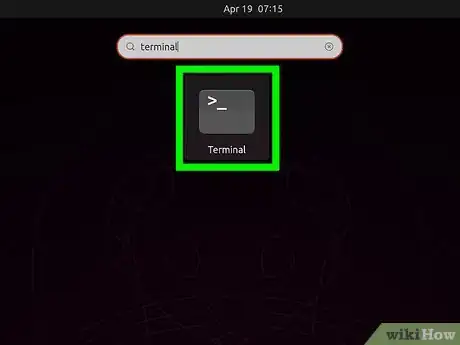
4Click the terminal. The terminal has an icon that resembles a black screen with a white prompt.
-
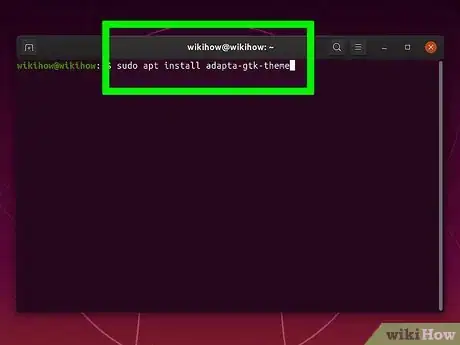
5Type sudo apt-get install [package name]-theme and press ↵ Enter. Replace "[package name]" with the name of the theme package. For example, to install the Arc theme, you would type sudo apt-get install arc-theme in the terminal.
- Enter your password if prompted to do so.
- Some themes may require additional commands. Read the installation instructions for any theme you want to download.
-
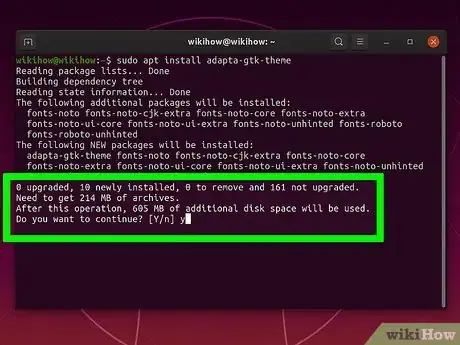
6Press Y on the keyboard. You'll see how much free disk space you will have on your computer once the installation is complete.
-
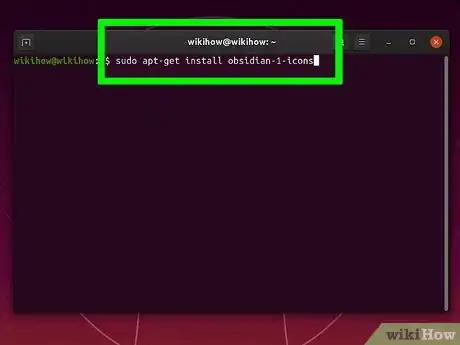
7Type sudo apt-get install [package name]-icons in the terminal and press ↵ Enter. Use this command to install an icons theme in Ubuntu.
- Enter your password when prompted.
- Some themes may require additional commands. Read the installation instructions for any theme you want to download.
-
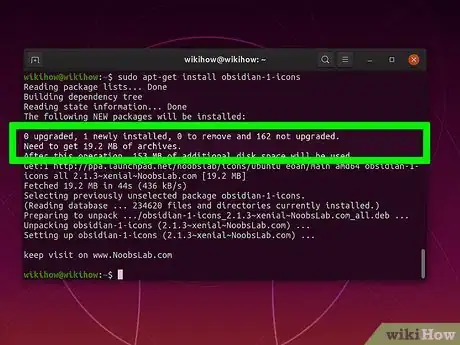
8Press Y on the keyboard. You'll see how much free disk space you will have on your computer once the installation is complete.
Manually Extracting Theme Files
-
1Search for a theme. To search for Ubuntu themes, go to https://www.google.com and search "Ubuntu Themes." Popular lists of themes include the following:
-
2Click the download link. When you find a theme you want to install click the download link to download the files.
-
3Select "Save File" and click Ok. This saves the file to your Downloads folder.
- Some themes have different versions and variations. Make sure you download the correct version you want to download.
-
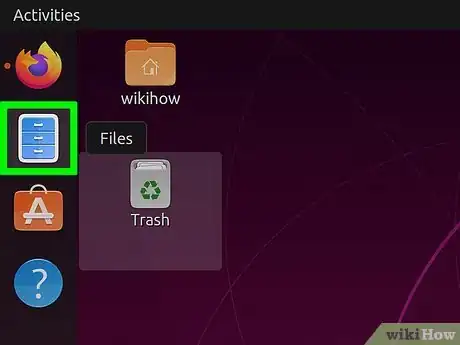
4Click the Archive Manager tool. It's the icon that resembles a file cabinet on the dock, which is usually on the left side of the screen.
-
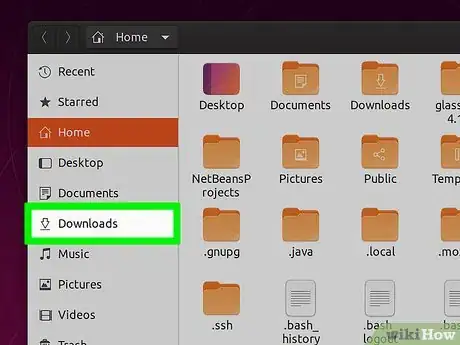
5Click the Downloads folder.
-
6Right-click the downloaded file and select Extract Here. Themes and icon files are usually downloaded as a ".tar.xz" file. This extracts the files inside.
-
7Open the extracted folder. This displays the contents of the folder.
-
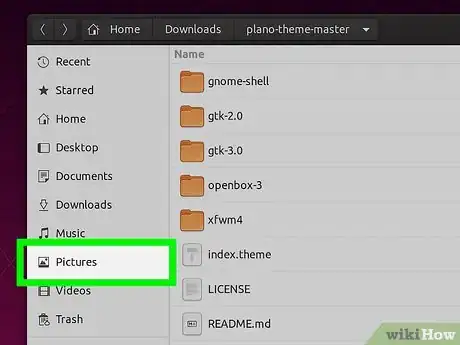
8Drag and drop any image files to the "Pictures" folder. The "Pictures" folder is in the sidebar to the left of the file manager. Then click Downloads in the sidebar to the left return to the Downloads folder.
-
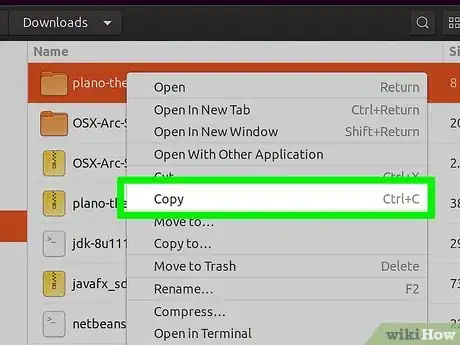
9Right-click the extracted folder and select Copy.
-
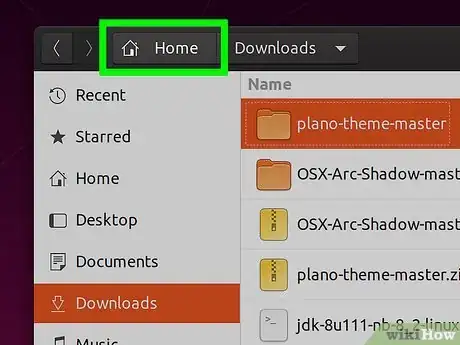
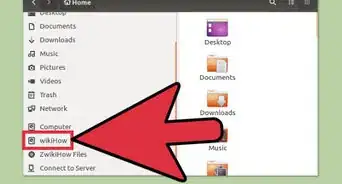
10Click Home. It's the first option at the top of the file manager in the sidebar to the left.
-
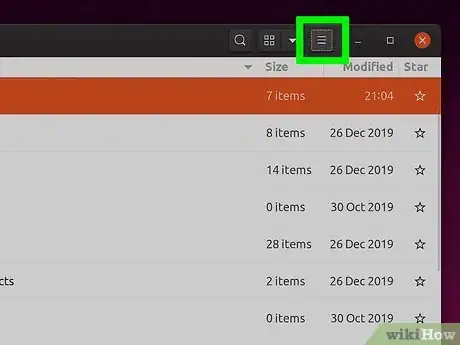
11Click the ☰ menu. It's the icon with three horizontal lines. It's in the upper-right corner of the Archive Manager.
-
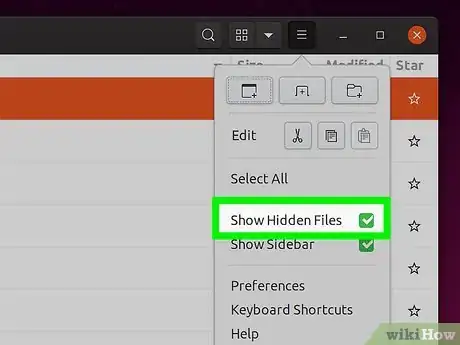
12Click Show Hidden Files on the menu. Additional files will appear.
-
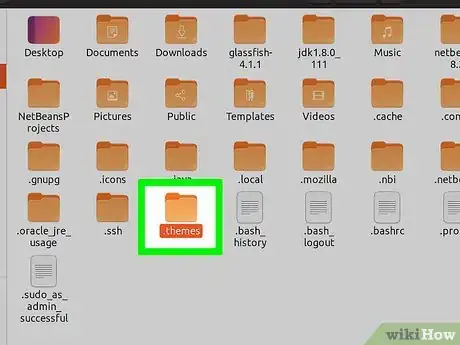
13Click the .themes or .icons folder. These are hidden folders in the Home folder.
- If you don't have a ".themes" or ".icons" folder, click New Folder and create two new folders and name them ".themes" and ".icons".
-
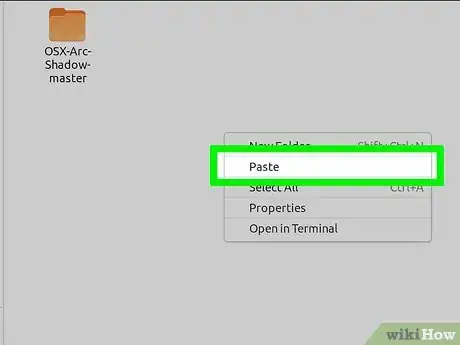
14Right-click a blank space in the folder and click Paste. Themes go in the ".themes" folders and icons themes go in the ".icons" folder.
Installing GNOME Tweaks and Applying Themes
-
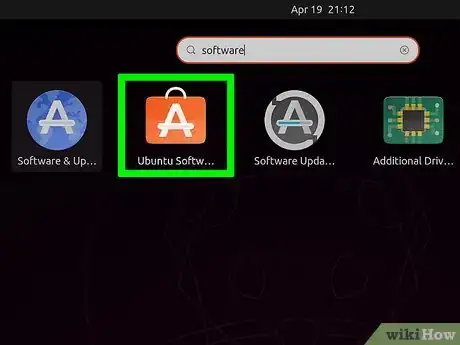
1Open the Ubuntu Software Center. It has an icon that resembles an orange shopping bag with an "A" on it. It's in the Dock to the left side.
-
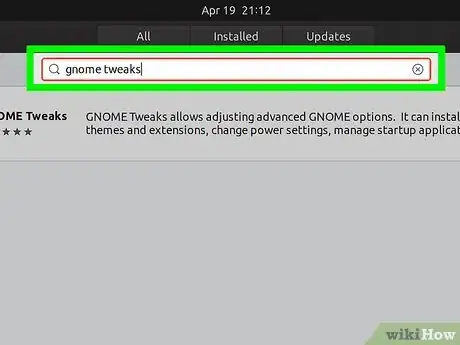
2Type Gnome Tweaks in the search bar. The search bar is at the top of the Ubuntu Software Center.
-
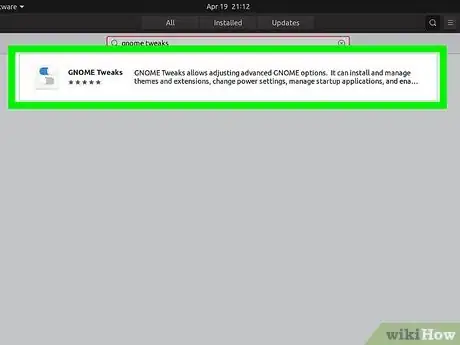
3Click GNOME Tweaks in the search results. It has an icon that resembles a control panel with slider bars and knobs.
-
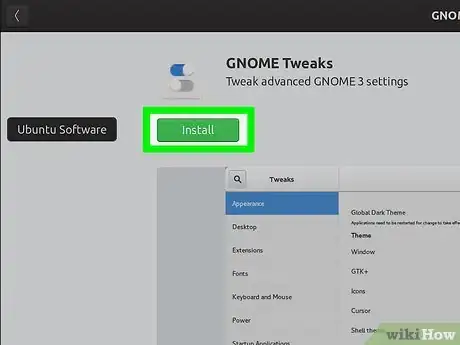
4Click Install. It's below the software title.
-
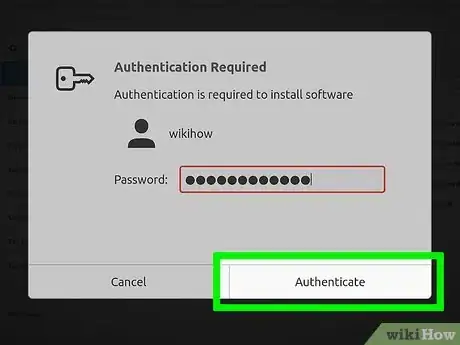
5Enter your password and click Authenticate. You'll need to enter your Ubuntu user password in order to install new software on your system.[2]
- Alternatively, you can install GNOME Tweaks by running the following command in a terminal window: sudo apt-get install gnome-tweaks.
-
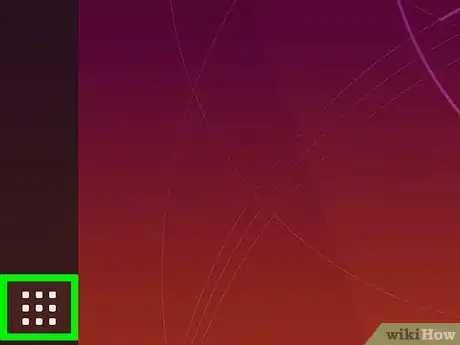
6Click the Ubuntu icon. It's in the dock to the left. It's the circular icon with three notches. This opens the Dash.
-
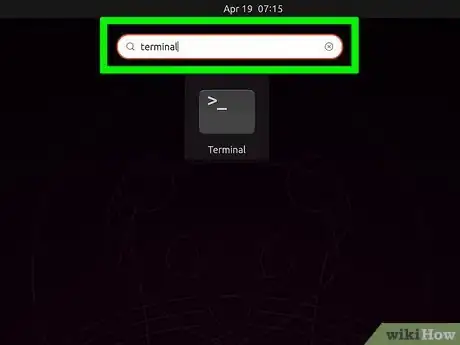
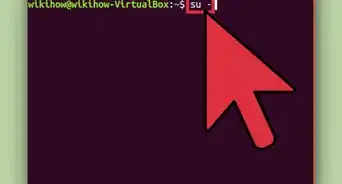
7Type terminal in the search bar. The search bar is at the top of the Dash.
-
8Click the terminal. The Terminal has an icon that resembles a black screen with a white cursor.
-
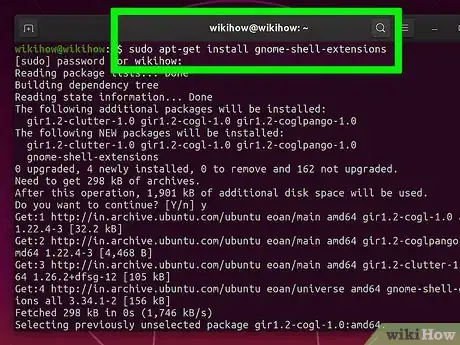
9Type sudo apt-get install gnome-shell-extensions and press ↵ Enter. This is the command to install the GNOME Shell extensions, which is needed to change the panel color.
- Enter your user password when prompted to run the command.
-
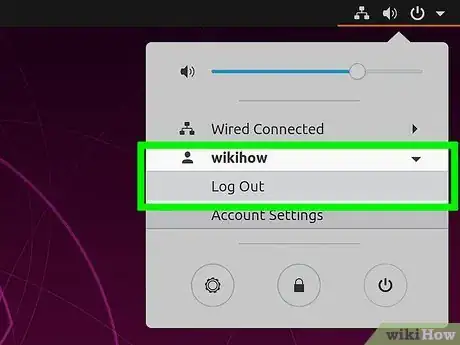
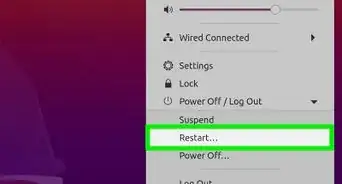
10Log out and log back in. After you finish installing GNOME Tweaks, you need to log out in order for the installation to take. Click the Power icon in the upper-right corner and click Log Out. Then click your username and enter your password to log back in.
-
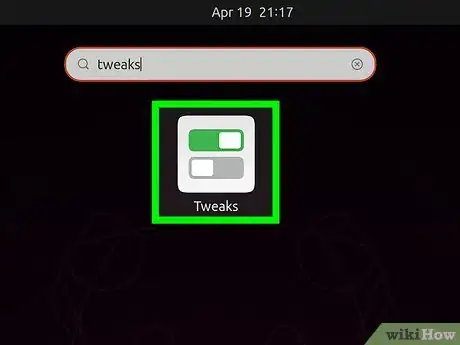
11Open GNOME Tweaks. It has an icon that resembles a control panel with slider bars and knobs. You can open GNOME Tweaks in the Dash or by clicking "Launch" in the Ubuntu Software Center. Use the following steps to open the GNOME Tweaks in the Dash.
- Click the icon that resembles the Ubuntu icon.
- Type Tweaks in the search bar at the top.
- Click GNOME Tweaks.
-
12Click Extensions. It's in the sidebar to the left.
-
13Enable User Themes. To enable user themes, click the toggle switch next to "User Themes". This allows you to change your colors and panels.
-
14Click Appearance. It's the first option in the sidebar menu to the left.
-
15Use the drop-down menus to select themes. You can use the drop-down menus next to "Applications," "Cursor," "Icons," and "Shell" to select installed themes.
-
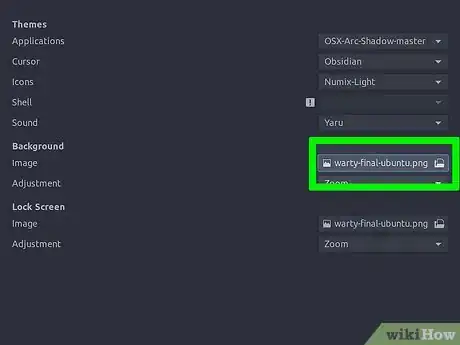
16Click the file icon next to "Image" below "Background." This allows you to select an image to use as your desktop wallpaper.
-
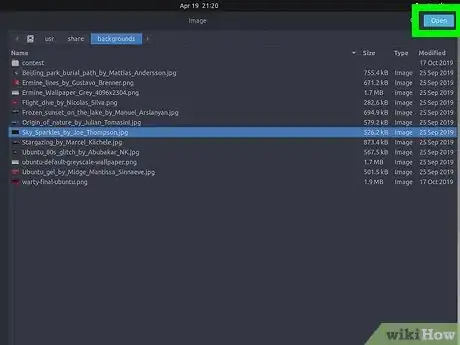
17Click an image to select it and click Select. This selects an image you can use for your desktop wallpaper.
-
18Click the file icon next to "Image" below "Lock Screen." This allows you to select an image to use for your lock seen image.
-
19Click and image and click Select. This selects an image you can use for your desktop wallpaper.
References
About This Article
1. Open the Ubuntu Software Center.
2. Search for "GNOME Tweaks" and install the app.
3. Open the Terminal.
4. Type "sudo apt install gnome-shell-extension" in the terminal and enter your password.
5. Restart Ubuntu.
6. Search and Download Ubuntu themes from the internet.
7. Open the Archive Manager and click the icon with three horizontal lines.
8. Click Show Hidden Files.
9. Click Downloads in the sidebar to the left.
10. Extract the downloaded theme files.
11. Copy the extracted folder.
12. Click Home.
13. Paste extracted theme folders in the ".themes" folder, and the extracted icons themes in the ".icons" folder.
