wikiHow is a “wiki,” similar to Wikipedia, which means that many of our articles are co-written by multiple authors. To create this article, 22 people, some anonymous, worked to edit and improve it over time.
This article has been viewed 679,905 times.
Learn more...
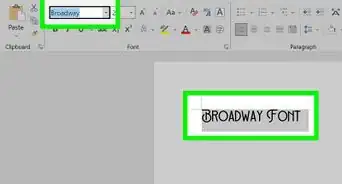
Ubuntu users often need TrueType fonts for Open Office, Gimp, and other programs. Using this guide, you can either install one font at a time automatically or install multiple fonts manually.
Note: If you are using KDE, double-clicking on a font in Dolphin should automatically open the font in K Font View. When you click on the button labeled "Install..." if the font is not already installed, you will receive a prompt asking if you want to install it for personal use or system wide. If you choose system, you will be prompted for your sudo password.
Steps
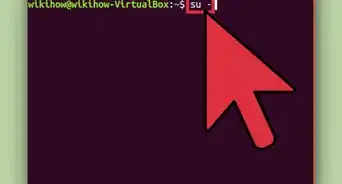
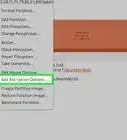
Getting Font Viewer Root Privileges to Install a Font


Automatically Install a Single Font


Manually Install Multiple Fonts
-
1Download TrueType fonts. (The file extension will be .ttf or .otf) Unzip your files if necessary.
-
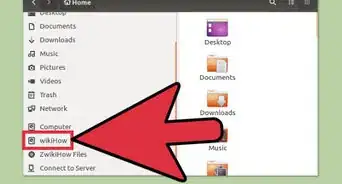
2Move or copy your files to the ~/ Directory. The ~/ Directory is your home folder. This means that if you were logged in as cruddpuppet, the directory would be /home/cruddpuppet/ .
-
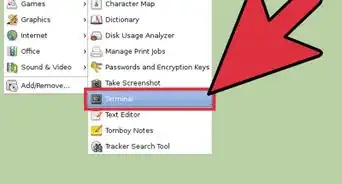
3Go to Applications > Accessories > Terminal. This will take you to the terminal.
-
4Type “cd /usr/local/share/fonts/truetype” without quotes into the command line. This is a directory for user-added fonts in linux.
-
5Type “sudo mkdir myfonts” without quotes. This will make a directory called “myfonts” in which to store your fonts. If you’re not logged in as root, you will be prompted to provide your password.
-
6Type “cd myfonts” without quotes. This copies you into the new directory.
-
7Type “sudo cp ~/fontname.ttf .” without quotes. This copies the TrueType fonts into your new directory. (Alternatively, type “sudo cp ~/*.ttf .”; the * acts as a wildcard, allowing you to copy all your fonts from the ~/ Directory at once.)
-
8Type “sudo chown root fontname.ttf”(or *.ttf) to change file owner to the root.
-
9Type “cd ..” and then “fc-cache” without quotes to add newly-added fonts to system-wide font index, so all applications can see them.


Community Q&A
-
QuestionHow can I install the TimesNewRoman font on Ubuntu Mate 18?
 كن مثقفاCommunity AnswerGo to Word, and acceuil in the list of tools, then go to write and choose Times New Roman 18.
Warnings
- Logging in as root gives you all permissions, putting all your files at risk. It's suggested that you don't do normal work logged in as root.⧼thumbs_response⧽