X
wikiHow is a “wiki,” similar to Wikipedia, which means that many of our articles are co-written by multiple authors. To create this article, volunteer authors worked to edit and improve it over time.
The wikiHow Tech Team also followed the article's instructions and verified that they work.
This article has been viewed 160,987 times.
Learn more...
Manipulating color gradients is an essential skill for any artist and graphic designer. It's easy to do if you know the different kinds of gradients that can be applied. Follow this simple tutorial to learn how to create gradients using Adobe Illustrator CS5.
Steps
-
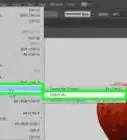
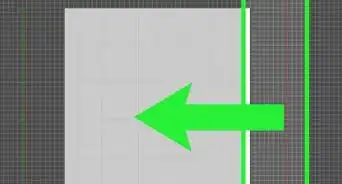
1Create a new document. Go to File > New (or Ctrl + N), and set the size of the document to a vertical-letter sized canvas. Add guides by creating a rectangle using the rectangle tool (W:8.5in, H:11in). Then drag the guides onto each center of the bounding box. Finish by right clicking over your ruler to change your document measurements to pixels.
-
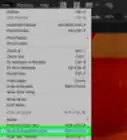
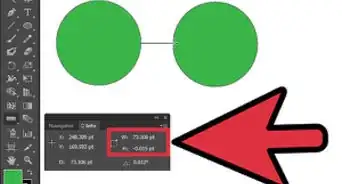
2Create five shapes using your rectangle, rounded rectangle, ellipse, polygon and star tool. Create the shapes by following these measurements: Square: Width=25px, Height=25px ; Rounded Square: Width=25px, Height=25px, Corner Radius=5px ; Circle: Width=25px, Height=25px ; Polygon: Radius=15px, Sides=6 ; Star: Radius 1=15px, Radius 2=7px, Points=5px.
- Make sure the shape’s fills are set to white and their stroke to black.
Advertisement -
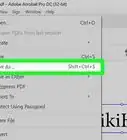
3After creating the five shapes (as suggested above), create two swatches. You can do this by clicking on your swatches and then clicking the upper right corner of your gradient panel in your panel menu. When the dialog box appears, simply click on new swatch and then okay.
-
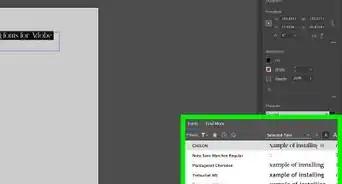
4Create two new swatches. Set the colors to the following combinations: Lilac: C=50, M=53, Y=0, K=0 ; Green: C=80.57, M=3.08, Y=83.71, K=0.08.
-
5In order to apply the different kinds of gradients you'll need to elect or click on your gradient tab and drag the window closer to the shapes.
-
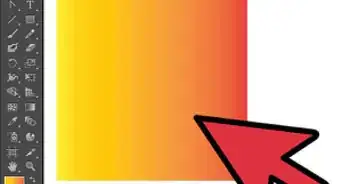
6Make the first gradient blend on the first shape. On the gradient panel, drag the lilac swatch to the color stop in order to change the black color. Then select the square and click on the gradient fill box. To change the direction of the gradient, click “G” on your keyboard, hold down the shift key and drag your pointer upward. A gradient of white-to-lilac will appear on the square.
-
7For the second gradient blend, drag the green swatch to the color stop to change the gradient from green to lilac. Select your rounded square and click again your gradient fill box. Once again change the direction of the gradient from green to lilac.
-
8For the third gradient blend, drag the white swatch to the color stop. Select the circle and click again the gradient fill box, change again also the direction of the gradient from green, white to lilac.
-
9For the fourth gradient blend, select the square to recall the first gradient blend on your gradient panel. Then change the type of gradient from linear to radial. Next, select the polygon shape and click the gradient fill box.
-
10For your fifth and final gradient blend, drag the green swatch onto the color stop. Select the star shape and click the gradient fill box.
- You now have different kinds of shapes with different kinds and blends of gradients.


Advertisement
About This Article
Advertisement