This article was co-authored by wikiHow staff writer, Hannah Madden. Hannah Madden is a writer, editor, and artist currently living in Portland, Oregon. In 2018, she graduated from Portland State University with a B.S. in Environmental Studies. Hannah enjoys writing articles about conservation, sustainability, and eco-friendly products. When she isn’t writing, you can find Hannah working on hand embroidery projects and listening to music.
There are 10 references cited in this article, which can be found at the bottom of the page.
The wikiHow Video Team also followed the article's instructions and verified that they work.
This article has been viewed 25,328 times.
Learn more...
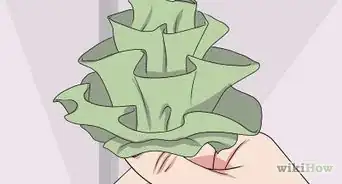
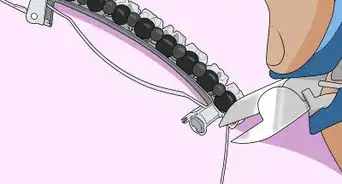
Hair clips are fun and funky accessories that can spice up any outfit. Hair clips from the store can get expensive, and they might not have exactly what you want. Fortunately, you can get some supplies to make your hair clips exactly the way you want them. Match your hair clips to your outfit to show them off to your friends and family.
Steps
Adding Studs or Jewels to a Barrette
-
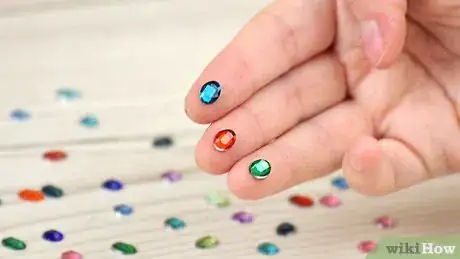
1Pick out some studs or fake jewels to use as a decoration. If you have a few plain metal barrettes that you’d like to jazz up, head to the craft store and pick out some large fake jewels, some studs, or some rhinestones. You can use large ones to fill up your barrette completely or grab a few small ones for a more subtle decoration.[1]
- Try finding large gold studs for a fashionable statement barrette.
- Grab a few earth-toned jewels for a more toned-down look.
- Use small pearls on a gold barrette for an expensive-looking hairpiece.
- Cut the stems off of some fake flowers to make a floral barrette.
Alternative: If you want to add words to your barrette, buy some metal letters instead.
-
2Add a dot of hot glue to the top of your barrette. Turn your hot glue gun on and wait for it to warm up. Starting on one side of your barrette, dab a pea-sized dot of hot glue onto the top of it. Try to keep the glue neat and on the top of the barrette so it doesn’t drip down the sides.[2]
- Be careful when using hot glue! It’s super hot and can burn you if you touch it before it’s dry.
Advertisement -
3Hold the stud or jewel against the glue for about 10 seconds. Pick up the decoration you want to add and press it against the dot of hot glue. Hold it there to let the glue dry for a few seconds, then take your hand away.[3]
- Hot glue dries almost instantly, which makes it perfect for quick crafts.
-
4Keep adding decorations until your entire barrette is covered. You can stick with 1 large jewel at the very end of your barrette, or you can keep going down the line until your entire barrette is one bedazzled accessory. Use your hot glue gun to attach any more decorations until you’re happy with it.[4]
- You can also hot glue fake feathers onto your barrette to jazz up the rhinestones or studs.
- Pick out a few beads for a fun alternative to fake jewels.
- Try mixing and matching the colors of your jewels for a fun statement piece.
Decorating with Washi Tape
-
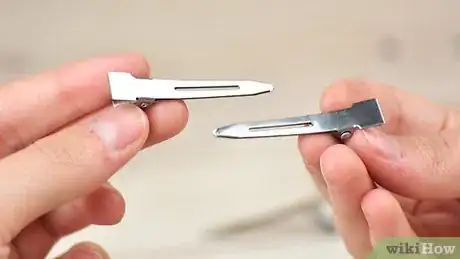
1Pick out a clip with a smooth top. Washi tape sticks best to surfaces that are entirely smooth. Grab some flat clips, like alligator clips, that don’t have holes or openings in the top.[5]
- Washi tape works best on thin, small clips since the tape isn’t super wide.
-
2Cut a strip of Washi tape about 1 in (2.5 cm) longer than the clip. You can pick out whatever pattern you’d like! Hold the tape next to the clip and try to cut it a little bit longer than the entire length of the clip to give yourself some room.[6]
- Washi tape has a ton of patterns to choose from, like stripes, polka dots, and floral.
-
3Stick the Washi tape to the top of the clip. Hold the tape over the top of the clip on a flat surface. Carefully stick the tape to the top of the tip and use your fingers to smooth out any bumps or creases. It’s okay if the tape sticks out a little bit.[7]
Tip: If you need to redo your placement, just peel the tape off the clip and try again.
-
4Trim away the excess tape with scissors. Since the Washi tape is a little bit wider than your clip, you might have some sticky spots hanging off the edge. Use scissors to get rid of any tape that doesn’t fit on the clip.[8]
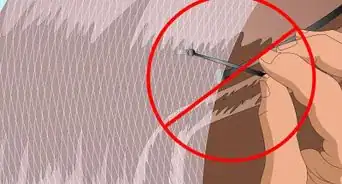
- Make sure there aren't any sticky areas on your clip so that the tape doesn’t get stuck to your hair.
Making a Bow
-
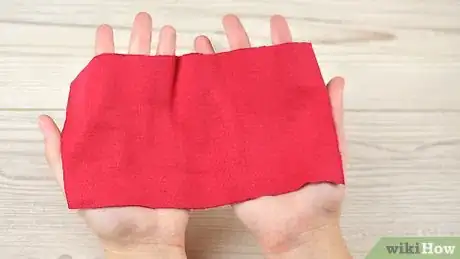
1Cut a 22 by 11 cm (8.7 by 4.3 in) rectangle of fabric. You can pick out whatever kind of fabric that you’d like to use for your bow. Use a ruler to measure out a rectangle for the main body of the bow, then use scissors to carefully cut it out.[9]
- Try using a floral pattern for a cute, spring-time look.
- Grab some polka dot or striped fabric for a versatile bow.
-
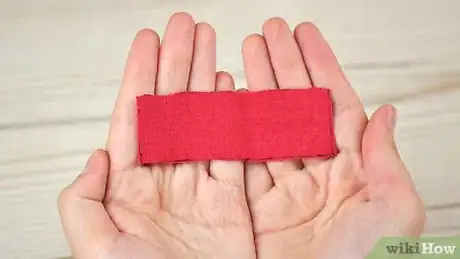
2Cut another 10 by 3 cm (3.9 by 1.2 in) rectangle of the same fabric. The thin strip of fabric will go into the center of the bow. Use a ruler to measure out a second rectangle, then cut that one out with scissors too.[10]
- You can use the same fabric for a cohesive bow, or you can use a statement piece of fabric with a different pattern on it.
-
3Fold the large rectangle in half, then glue the halves together. Turn the fabric over so the wrong side faces you, then fold one side up lengthwise so it hits the center of the rectangle. Fold the other side down until it overlaps the first fold just slightly, then use hot glue to keep them together.[11]
- You don’t have to be precise about your folds since you’ll be sticking them down with glue.
-
4Fold the ends of the fabric widthwise, then glue them together. Keeping the rectangle in the same position, grab the right and left side of the fabric and fold them both in towards the center until they touch. Use hot glue to stick them to each other so they stay.[12]
- This will create a loose bow shape without any of the ruffles or curves.
-
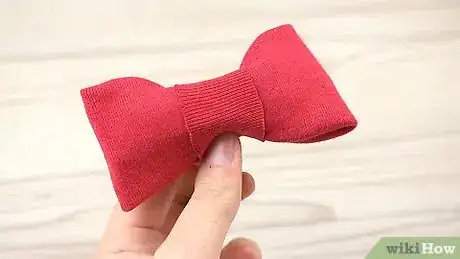
5Wrap the small strip of fabric around the center of the bow, then glue it. Take your smaller rectangle of fabric and wind it around the center of your large rectangle. Pull it tight to make the center of the bow crease and get a curved bow shape. Use hot glue to keep the fabric in place at the back of the bow.[13]
- Use your fingers to fluff up the fabric in the middle if you need to before you glue it down. The bow should look crimped in the middle, like a bow tie.
-
6Glue the bow to a barrette. Grab a large clip or barrette and add a pea-sized dot of hot glue to the center. Line up the bow lengthwise on the clip so that it covers the entire thing. Press the bow onto the glue and hold it for about 10 seconds to let it bond.[14]
Alternative: If you don’t have a clip, you can also attach your bow to a hair tie with hot glue.
Things You’ll Need
Adding Studs or Jewels to a Barrette
- Studs or fake jewels
- Hot glue gun
- Hot glue
Decorating with Washi Tape
- Alligator clips
- Washi tape
- Scissors
Making a Bow
- Fabric
- Ruler
- Scissors
- Hot glue gun
- Hot glue
References
- ↑ https://abeautifulmess.com/2019/06/3-trendy-diy-hair-clips-so-easy.html
- ↑ https://www.youtube.com/watch?v=jOCUOFA9JbY&feature=youtu.be&t=31
- ↑ https://www.youtube.com/watch?v=jOCUOFA9JbY&feature=youtu.be&t=34
- ↑ https://abeautifulmess.com/2019/06/3-trendy-diy-hair-clips-so-easy.html
- ↑ https://www.youtube.com/watch?v=nvSIDn_Up4k&feature=youtu.be&t=49
- ↑ https://www.youtube.com/watch?v=nvSIDn_Up4k&feature=youtu.be&t=54
- ↑ https://www.youtube.com/watch?v=6OlJ2oYMpoo&feature=youtu.be&t=45
- ↑ https://www.youtube.com/watch?v=6OlJ2oYMpoo&feature=youtu.be&t=57
- ↑ https://www.youtube.com/watch?v=jOCUOFA9JbY&feature=youtu.be&t=195
