This article was co-authored by wikiHow staff writer, Nicole Levine, MFA. Nicole Levine is a Technology Writer and Editor for wikiHow. She has more than 20 years of experience creating technical documentation and leading support teams at major web hosting and software companies. Nicole also holds an MFA in Creative Writing from Portland State University and teaches composition, fiction-writing, and zine-making at various institutions.
wikiHow marks an article as reader-approved once it receives enough positive feedback. This article has 13 testimonials from our readers, earning it our reader-approved status.
This article has been viewed 573,452 times.
Learn more...
This wikiHow teaches you how to create your first database in Microsoft Access. If you want to start from scratch, you can create a blank database and design it yourself. If you're not as familiar with creating and working with databases, you can use one of Access's database templates to get started.
Steps
Creating a Blank Database
-
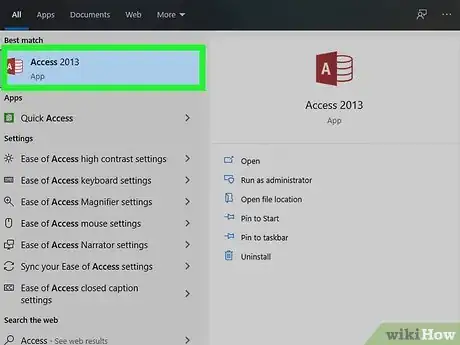
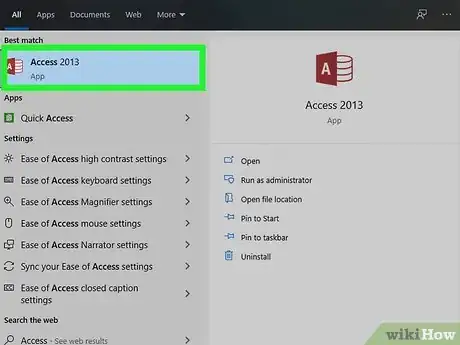
1Open Microsoft Access on your computer. You'll find it in the Windows Start menu or your Mac's Applications folder.
-
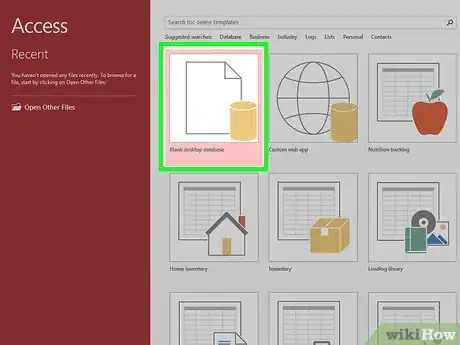
2Select Blank database. It's the first option in the "New" section. The other options are templates that are set up for specific purposes, such as contact management.Advertisement
-
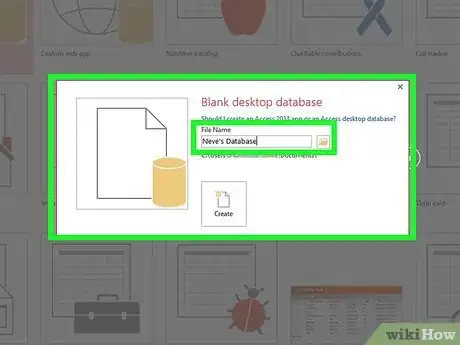
3Enter a filename into the box. The default file name begins with the word "Database" and ends with ".accdb." You'll want to keep the ".accdb" part, but you can replace the rest of the file name with whatever you'd like.
- For example, if you're creating a database that contains an employee list, you could call it Employees.accdb.
- If you want to save the database in a specific folder, click Browse and select that folder.
-
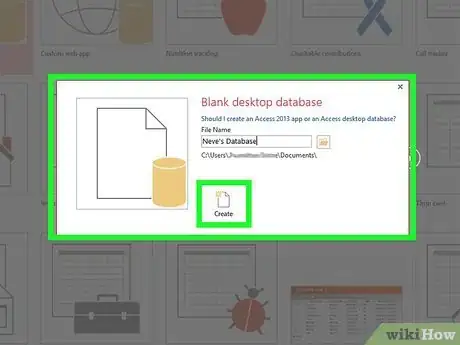
4Click Create. This creates your new blank database, as well as a new empty table called Table 1.
- All tables in your database will appear in the left panel. As you add more tables, you can click the table names to switch to that table's view.
-
5Add tables to the database. Tables are places that store data in your database. You can enter your data directly into a table and Access will automatically create field names and types based on what you enter, or you can specify a field type before typing into the field.[1] If you're familiar with Excel, think of tables like individual worksheets in a workbook. Data in a table is organized in rows and columns. You can even import data from an Excel spreadsheet into a table. To add a table:
- Click the Create tab.
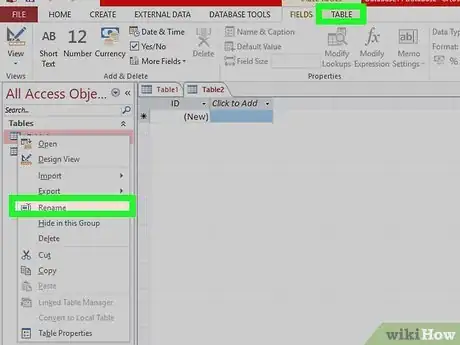
- Click Table in the "Tables" group. You'll see that there's now a table called "Table 2" in your database.
- To rename a table, right-click its name in the left column and select Rename.
- If you want to delete a table, right-click its name and select Delete.
-
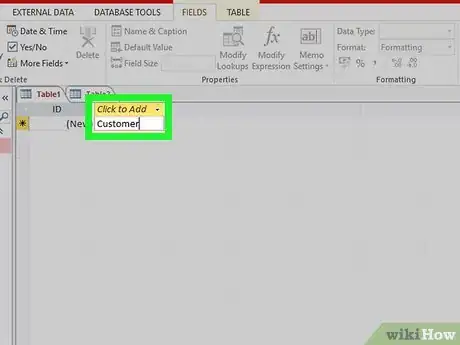
6Enter data into your table. The first empty cell under "Click to Add" is where your cursor appears automatically.
- To start entering data and let Excel choose the field type, just start typing into the first cell under "Click to Add." Press the Enter key to move to the next field.
- To select a field type, click the Fields tab if it's not already selected, and then click one of the field types on the "Fields" panel in the toolbar. If you don't see what you need, click More Fields to display additional options. You can also click Click to Add to open the quick menu, which contains common field types.
- You can drag fields around to move them. You can also drag columns to other positions.
- To rename a column, double-click its heading, enter a new name, and then press Enter.
-
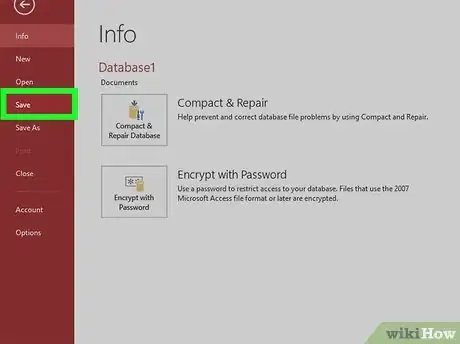
7Save your new database. If you close your tables before saving at least once, the tables will automatically be deleted—even if you've entered data into them. To save your database, click the File menu and select Save.
- Now that you've created your first Access database, you can learn how to create action queries, link tables, import Excel data, and set user security levels.
Creating a Database from a Template
-
1Open Microsoft Access on your computer. You'll find it in the Windows Start menu or your Mac's Applications folder.
-
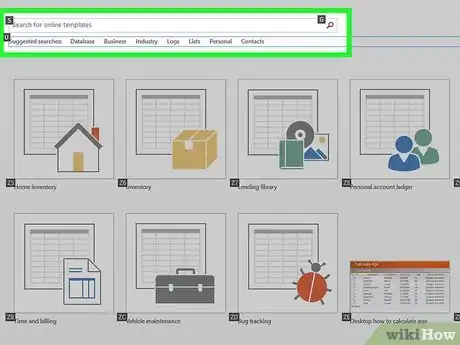
2Browse the available templates. Several templates will appear on the initial screen. You can also check out other templates online by clicking More options or Suggested searches: Access databases, depending on your version.[2]
- When searching for online templates, you can select a category or enter a keyword into the search bar. Some examples are inventory, nutrition', and personal.
-
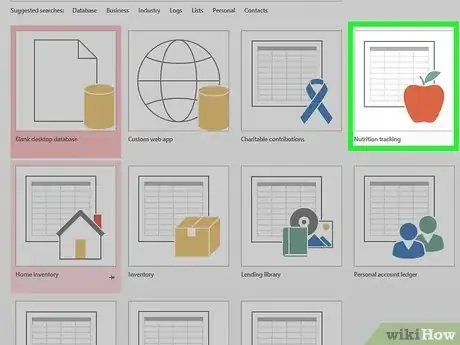
3Click a template to see a preview. Each template has a screenshot you can use to help inform your choice. If you don’t like the way the template looks, click the X at the top-right corner to return to the template list. Continue clicking through templates until you find the one you want to use.
-
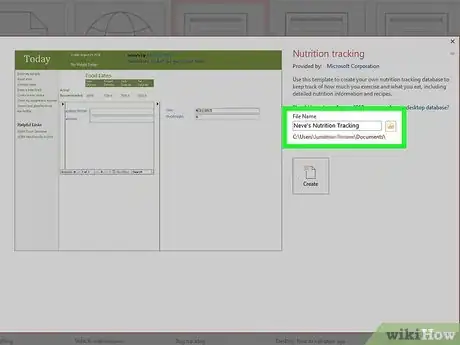
4Enter a filename into the box. The default file name begins with the word "Database" and ends with ".accdb." You'll want to keep the ".accdb" part, but you can replace the rest of the file name with whatever you'd like.
- For example, if you're creating a database that contains an employee list, you could call it inventory.accdb.
- If you want to save the database in a specific folder, click the Browse button and select that folder.
-
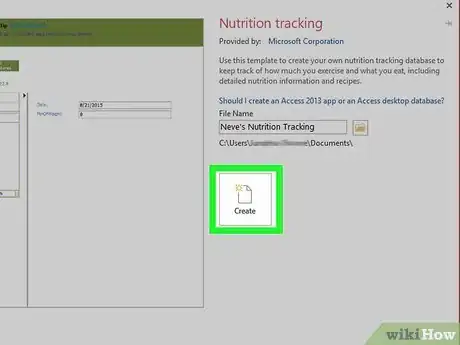
5Click Create. This creates a new database based on the selected template.
- The navigation panel on the left side of the database contains all tables, queries, forms, and/or macros. You can use this panel to switch between different elements of the database.
- Depending on the template, you may automatically be brought to a form that allows you to enter data into the database. Other templates may not have data entry forms, instead requiring you to enter data directly into the table.
-
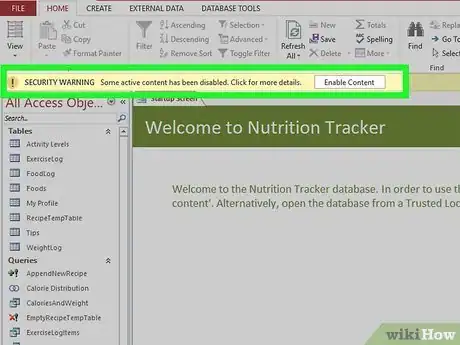
6Click Enable Content if prompted. Depending on the template, you may see a security warning in the message bar. As long as you trust the source of the template (it's fine if you download it from Access, but not recommended if you download from third party websites), click Enable Content to start editing.
-
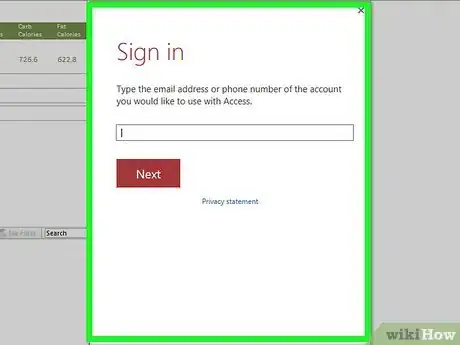
7Create a login if prompted. If you see a login dialog with an empty user list, you'll need to create a user for the database. Click New User, fill out the form, click Save & Close, and then click Login to sign in with your new user account.
-
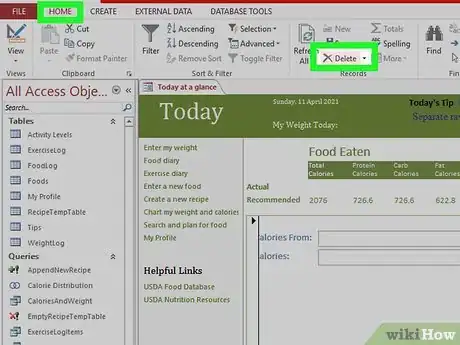
8Delete sample data. Depending on the template, some data may already be filled in. When you're ready to input your own data, you'll want to remove the sample data. Here's how:
- Click the shaded box to the left of the record you want to delete.
- Click the Home tab if you aren't already there.
- Click Delete in the "Records" panel on the toolbar.
-
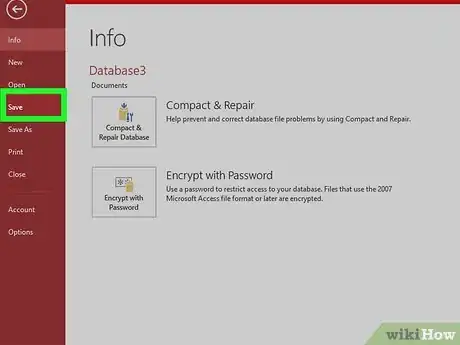
9Save your new database. Once you start entering data, you'll want to make sure you don't lose your changes. Click the File menu and select Save to save your progress.
Community Q&A
-
QuestionHow can I create a database for parts inventory? These parts have older p/n and replacement p/n and alternate p/n's also.
 Community AnswerCreate three columns and link all three together as shown in the article. (One employee can have many items and the item can belong to only one employee).
 -
QuestionHow do I make a field name capitalized in MS Access?
 Community AnswerOpen the desired table. Click on Design View. Type the field names in all caps at this point.
 -
QuestionI want to make a database and sell it to offices, banks, and universities. What should I do?
 Community AnswerReconsider your platform. Whatever you build, build it with an enterprise database (e.g. SQL Server). If you absolutely, positively, cannot live without Access, build your solution as a SharePoint online app using Access Services.
References
About This Article
1. Open Access.
2. Click Blank database.
3. Enter a file name.
4. Click Create.
5. Add tables.
6. Enter data into your tables.
7. Click File and select Save.
