A simple guide to creating and exporting animations and stop-motion films in Adobe Photoshop
X
wikiHow is a “wiki,” similar to Wikipedia, which means that many of our articles are co-written by multiple authors. To create this article, 22 people, some anonymous, worked to edit and improve it over time.
This article has been viewed 294,743 times.
Learn more...
Make a stop motion film or animation using Photoshop CS4.
Steps
-
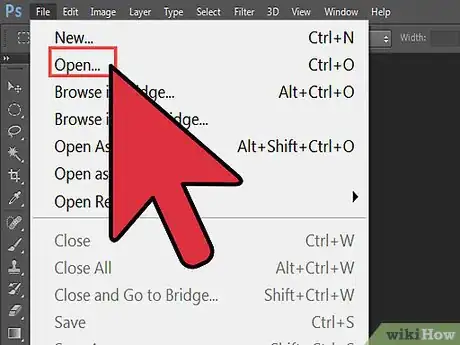
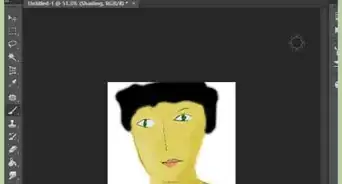
1Open Photoshop, then click File- Open file, click on the first image and Image Sequence box.
-
2The Frame Rate box will appear, decide how many frames per second you would like. It will have options in a drop down box to select or you can have a custom number of your choosing, OK.Advertisement
-
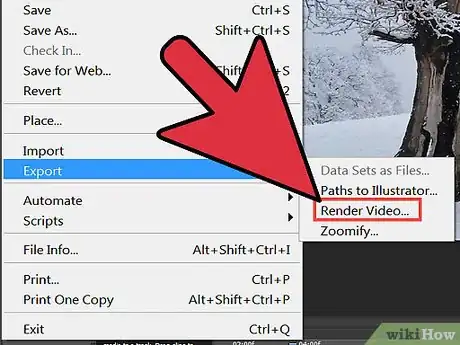
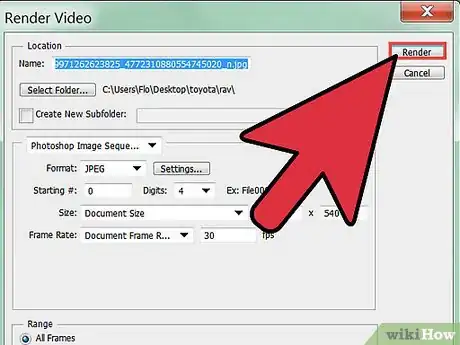
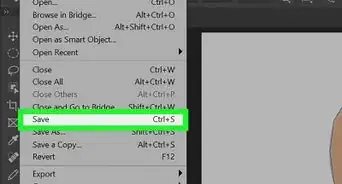
3Once the first image appears go to File, Export. In the dialogue box, select the Location to save to. File options, select QuickTime Movie, Settings, Settings, Compression Type H.264, OK. Size, 1280 X 720 HD, check Preserve Ratio box, in the drop down select Letterbox, OK. Render.
-
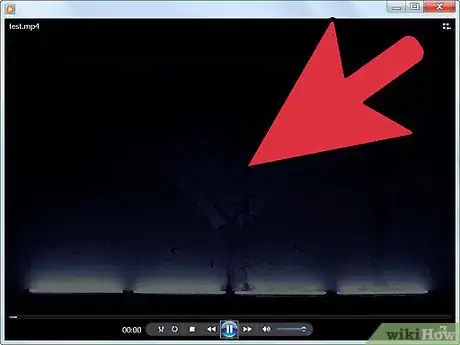
4Wait for a bit while the movie Exports.
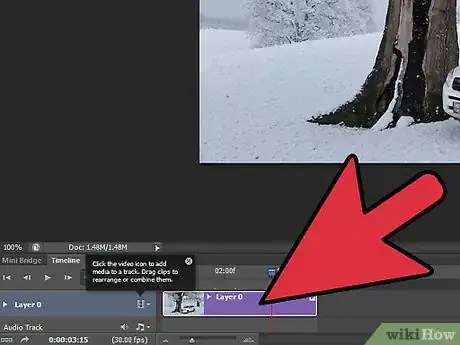
- If you do not like the "timing" you can open Window, Animation. This will open up the animation bar, the bottom right corner of the toolbar is a little "film strip". The small image in the toolbar has a little upside down triangle, click this and a list of times will appear, you can try out different time delays between frames. To check out the different times click back on the little "film strip" and you will be able to watch the video.
- Or you can start over and re-render your video selecting a different number of frames per second.
-
5Your film will automatically save to your selected location once it is finished exporting.
-
6ENJOY AND SHARE!
Advertisement
Community Q&A
-
QuestionHow do I do it if there is more than one layer?
 Community AnswerUse the Timeline function and arrange your layers in the timing that you want.
Advertisement
Things You'll Need
- Computer
- Images
- Photoshop CS4 or later recommended
- QuickTime
About This Article
Advertisement


-Step-10.webp)



-Step-10.webp)
