This article was co-authored by wikiHow Staff. Our trained team of editors and researchers validate articles for accuracy and comprehensiveness. wikiHow's Content Management Team carefully monitors the work from our editorial staff to ensure that each article is backed by trusted research and meets our high quality standards.
This article has been viewed 106,843 times.
Learn more...
Polarizing filters are useful for anyone interested in changing their photos' color intensity or otherwise minimizing reflection. Even without acquiring a specialized polarizing filter, Adobe Photoshop will allow users to achieve similar effects like desaturation (Ctrl+⇧ Shift+U) and achieve a more professional and finished look. Users attempting to use this shortcut should already have some basic familiarity with Photoshop or else read on to get some more detailed information.
Steps
Creating a New Layer
-
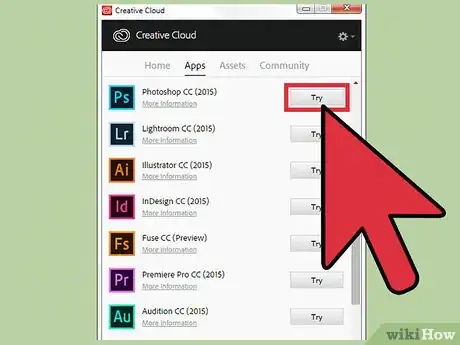
1Download and install Photoshop. If you've subscribed to a Creative Cloud service, you simply need to locate Photoshop in the Creative Cloud apps catalogue and click Download. If you aren't already logged in, you'll be prompted for your Adobe ID and password. Simply follow the instructions, and Photoshop will automatically install itself after it's downloaded.[1]
-
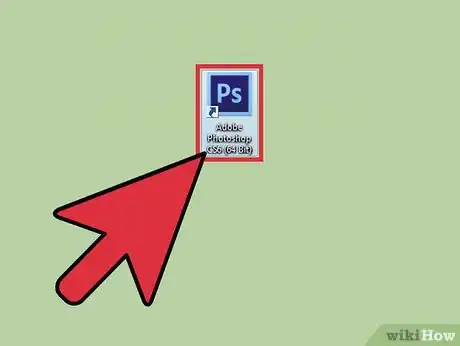
2Launch Photoshop. You'll find Photoshop located under the Apps tab of your Creative Cloud program. Once it's ready, you'll see an Open button to its right. Click that to get started. Alternatively, you can also find Photoshop located wherever your programs are routinely placed—generally the Program Files folder (for Windows users) or the Applications folder (for Mac OS users).Advertisement
-
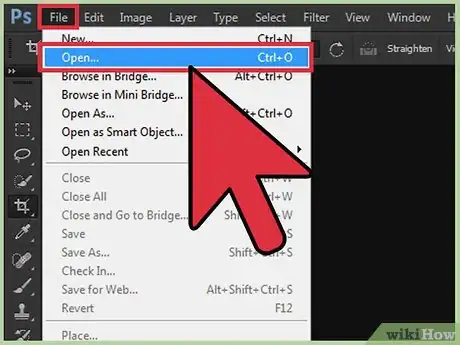
3Open your desired photo or image from within Photoshop. Simply click on the File menu on the toolbar at the top of the screen. Then click Open, and you'll be able to select photos from the folder(s) in which they've been stored.
-
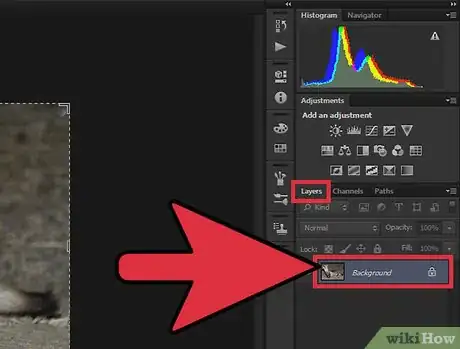
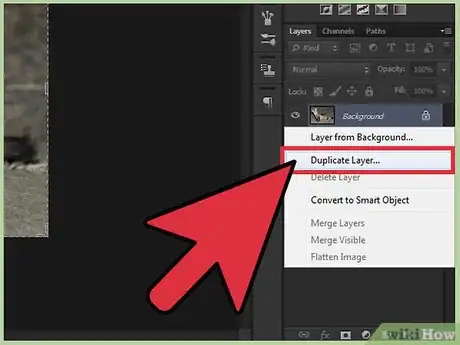
4Click and hold the "Background" layer from the Layers palette. This is the first step toward duplicating your image onto a new layer. You'll find the Layers tab on the righthand side of the screen, and you'll see a layer labeled "Background" below the Layers-related toolbar.
-
5Drag the Background layer over to the "New Layer" button. Then release the Background layer once it's hovering over that button. Alternatively, you can instead choose to use the "Duplicate Layer..." function from the Layers menu, thereby creating a duplicate of the selected background layer.[2]
Polarizing Your Image
-
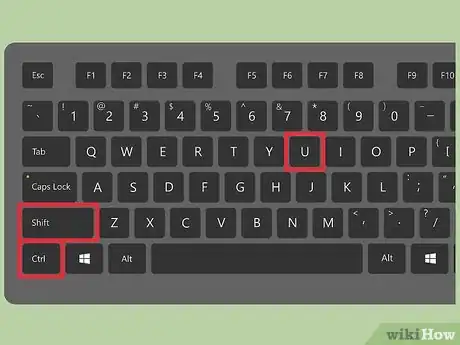
1Desaturate the new layer. This will remove color from your image. Once the new layer is selected, hold Ctrl + ⇧ Shift + U. Alternatively, you can desaturate the image by clicking on the Image menu, selecting Adjustments and then selecting Desaturate.
-
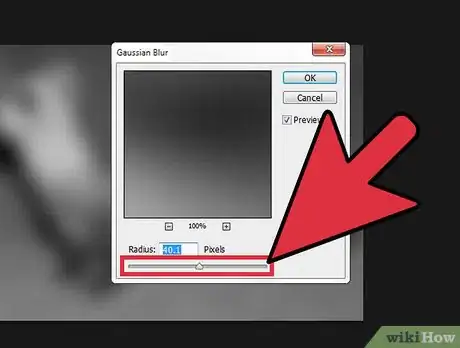
2Use the Gaussian Blur filter. Begin by selecting the new layer, selecting Blur and then selecting "Gaussian Blur..." from the Filters menu that appears. You'll want your pixel radius to be between 40 and 70, ideally around 50. Once set, click OK to apply.
-
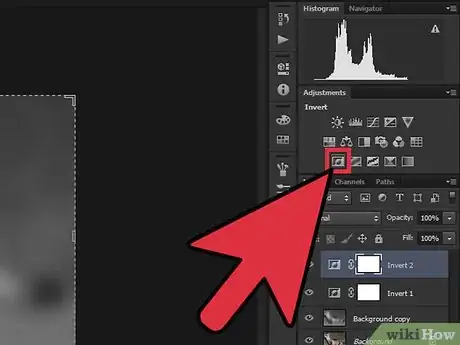
3Invert the new layer's colors. This will turn your blurred layer into an image resembling a negative. You can use the keyboard by holding Ctrl + U. Alternatively, you may simply select the Invert function from the Adjustments submenu.
-
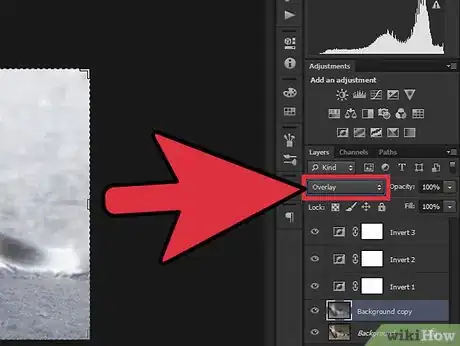
4Apply Overlay blending. You'll find the Overlay function in the dropdown menu atop the Layers palette. Once selected, your blending mode will be changed, and you'll once again be able to see the original image from the background.
-
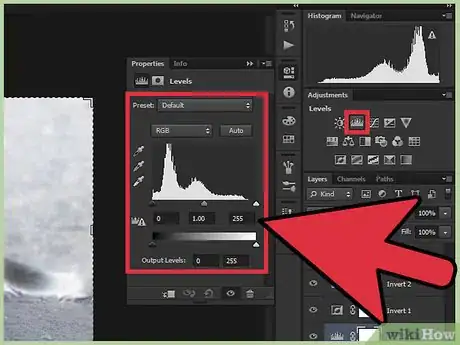
5Alter color intensity. Go to the Adjustment submenu and select Levels. You'll find sliders allowing you change the white, gray and black colors so that you can find the preferred balance You may wish to spend some time playing around with different possibilities. Once you've found the desired look, click OK.
-
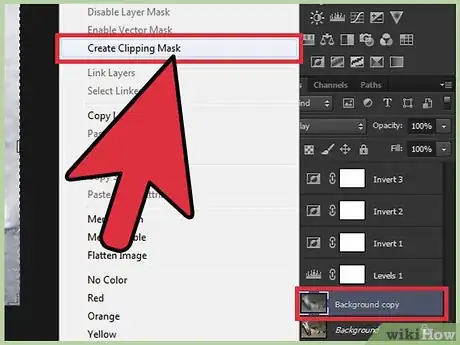
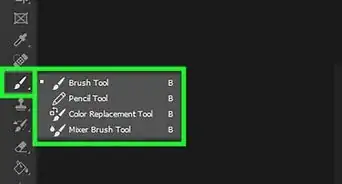
6Mask your new layer (optionally). This excludes parts of the image from the polarizing function. Right-click the image and then click "Create Clipping Mask" on the context menu. Then select the Brush tool, select white as your color and adjust the tool's opacity to no more than 50 percent. Lower levels of opacity reduce the polarizing effect. Once you finish painting over areas you wish to be less polarized, simply right-click the image and then click "Release Clipping Mask."
-
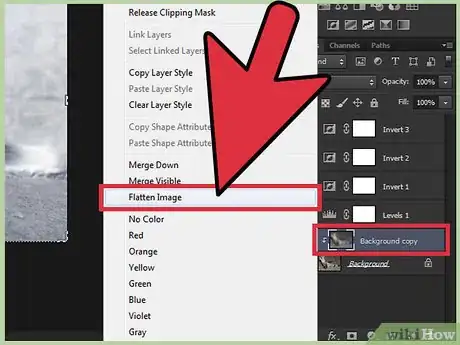
7Flatten your image. This will revert your image to a single background layer once again. From the Image menu, simply select "Flatten Image." You will find the Image menu along the toolbar at the top of your screen.
-
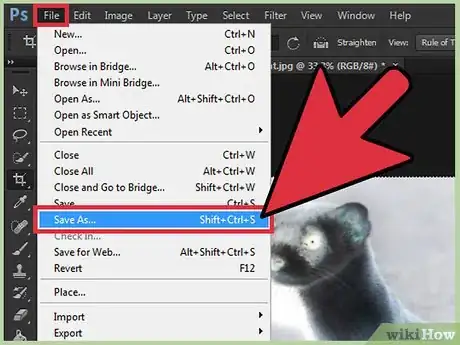
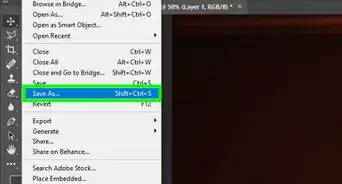
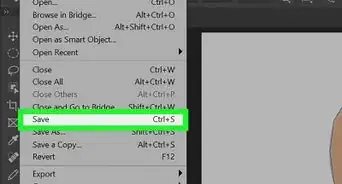
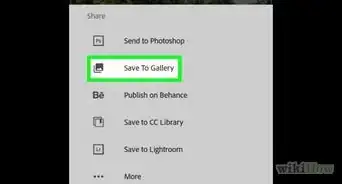
8Save a copy of your new image. Select "Save As..." and enter a unique file name to distinguish your new polarized image from the original edition.
