X
This article was co-authored by wikiHow Staff. Our trained team of editors and researchers validate articles for accuracy and comprehensiveness. wikiHow's Content Management Team carefully monitors the work from our editorial staff to ensure that each article is backed by trusted research and meets our high quality standards.
The wikiHow Tech Team also followed the article's instructions and verified that they work.
This article has been viewed 640,022 times.
Learn more...
This wikiHow teaches you how to print a document from your iPad to a printer with wireless capabilities, such as Bluetooth or Wi-Fi, or that is connected to a wireless network.
Steps
Part 1
Part 1 of 2:
Connecting to Wireless
-
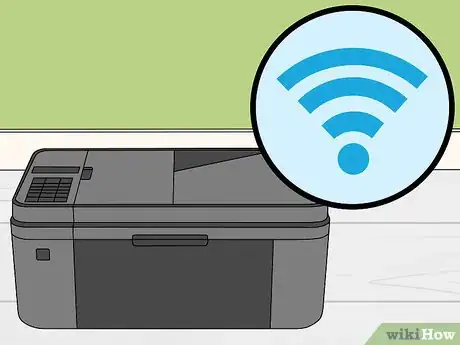
1Confirm your printer's wireless capabilities. It should be turned on and properly connected to a wireless network, either directly over Bluetooth or Wi-Fi, through a router, or via a computer that's connected to a wireless network.
- If your printer is connected to a wireless network via router or a computer, make sure that it is set up to be shared. Even if it's connected, it may not be configured for sharing.
-
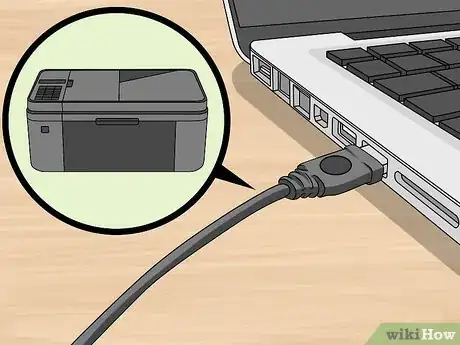
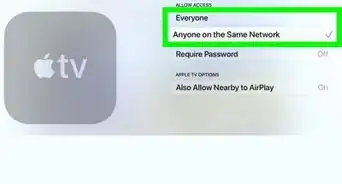
2Enable your printer for AirPrint. Many popular printer models ship with AirPrint enabled. However, you can set up other printers for AirPrint, as well.Advertisement
-
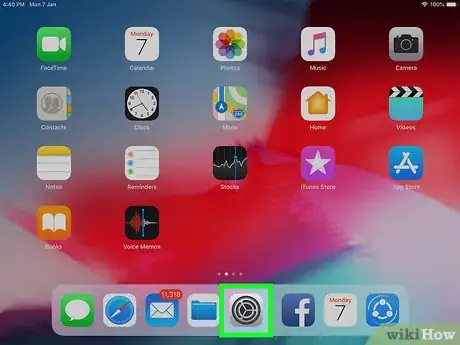
3Open your iPad's Settings. It's a gray app with an image of gears (⚙️) that's typically found on your Home screen.
-
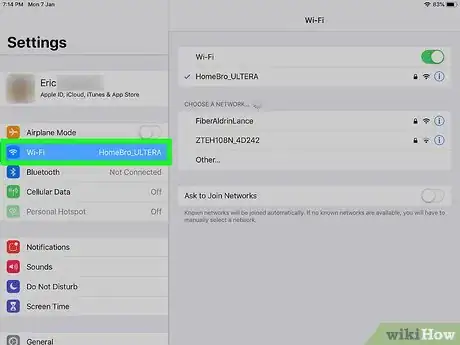
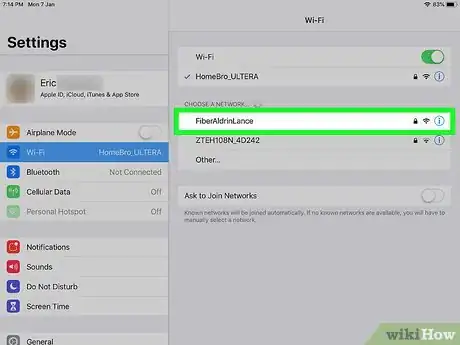
4Tap Wi-Fi. It's near the top of the menu.
- If it's not already, slide "Wi-Fi" to the "On" (green) position.
-
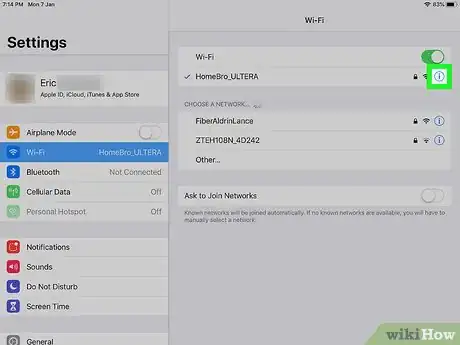
5Tap a Wi-Fi network. Select a network to which a printer is connected in the "CHOOSE A NETWORK..." section of the menu.
-
6Tap Settings. It's in the upper-left corner of the screen.
-
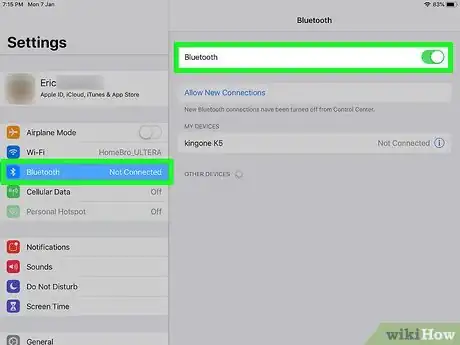
7Tap Bluetooth. It's near the top of the menu.
- If it's not already, slide "Bluetooth" to the "On" (green) position.
-
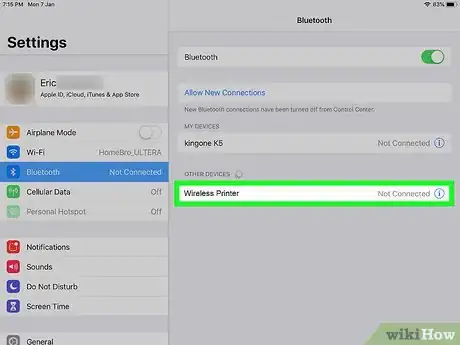
8Tap a printer. If there's a discoverable Bluetooth printer nearby, it will be listed in the "OTHER DEVICES" section of the menu.
Advertisement
Part 2
Part 2 of 2:
Printing a Document
-
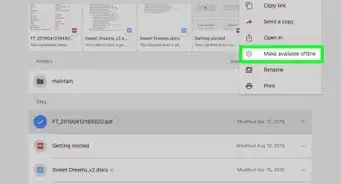
1Open a file to print. First open the app in which the document is stored, such as Word, Pages, or Photos, then select the document or file you want to print.
-
2Tap the "Share" button. In the document, look for a square icon with an upward-pointing arrow (most apps) or an ellipsis (...) that's either by itself (Pages, e.g.), next to a document icon (Word, e.g.), or vertical (⋮) as in Google Docs.
-
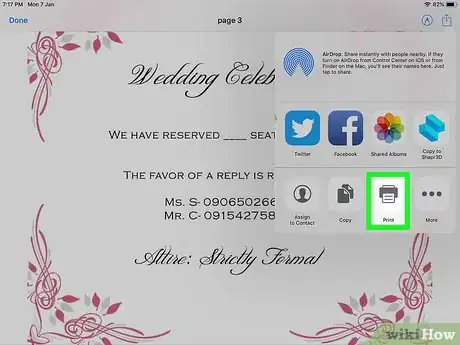
3Tap Print. It will appear in the menu options, usually next to a printer icon.
- In some apps, such as Word or Docs, you'll have to tap AirPrint, Print Preview, or both, first.
-
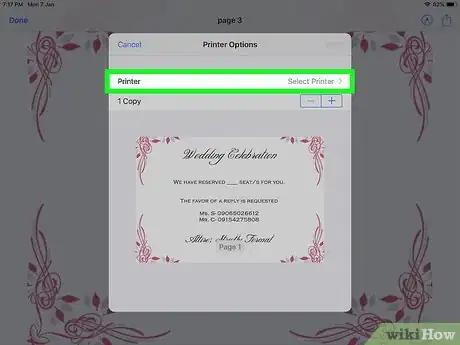
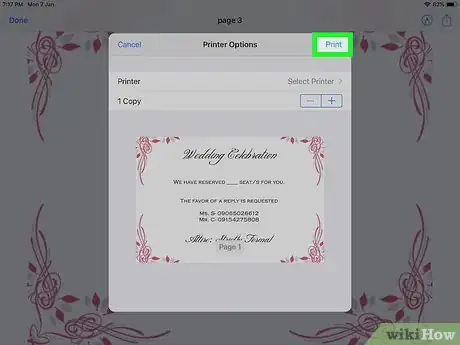
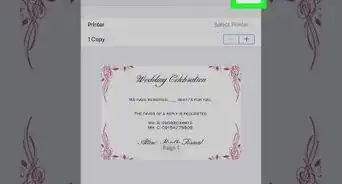
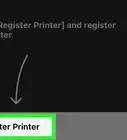
4Tap Select Printer. It's typically to the left of "Printer" in the menu.
-
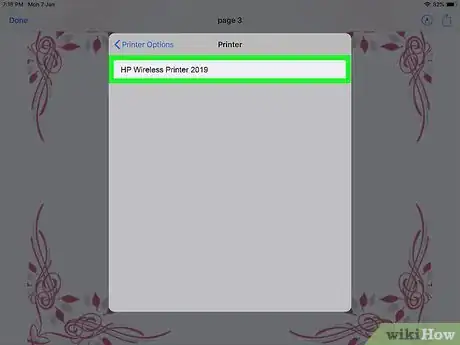
5Tap a printer. All available AirPrint printers will be listed. Hundreds of popular printer models, including HP, support AirPrint.
- The HP ePrint app for iPad will be retired after May 2017.[1]
-
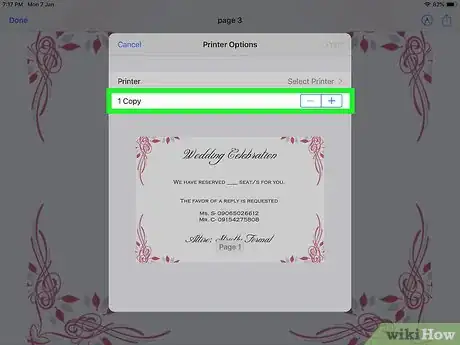
6Select the number of copies to print. Use + or - to increase or decrease the quantity.
-
7Tap Print. Your document will print from the selected printer.
Advertisement
Community Q&A
-
QuestionCan I print to file on an iPad Air?
 Community AnswerYes. If you have a wireless printer that connects via wifi, once you get your iPad on the same wifi as the printer, you can hit print and select the right printer.
 -
QuestionHow do I add my printer to my iPad?
 Community AnswerDepending on the type of printer it is, you can connect via USB, Bluetooth or WiFi. If you want your iPad to remember your printer via WiFi, your printer and iPad must be on the same WiFi network. When they are both on the same network, simply select "Print" on your iPad, then "Select Printer," and then choose your printer as it shows up on the list.
 -
QuestionCan I print from my iPad using a sub printer?
 Community AnswerYes, it will work if you manage to connect it. Try using a basic printer, as it's easier to connect to an iOS.
Advertisement
References
About This Article
Advertisement
