X
wikiHow is a “wiki,” similar to Wikipedia, which means that many of our articles are co-written by multiple authors. To create this article, volunteer authors worked to edit and improve it over time.
This article has been viewed 21,736 times.
Learn more...
The Windows XP boot CD that comes when you purchase your computer can be used as many times as you would like to reinstall or repair Windows XP. When you do a repair install. the documents and files will remain on the computer after everything has been done. Follow this guide to perform a repair install.
Steps
-
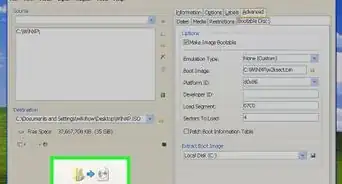
1Insert the Windows XP CD into your computer. If you no longer have a copy of the CD, contact your computer manufacturer for a replacement, or download an .iso from the internet that you can burn to a blank CD. Be aware of viruses, and know that you will still need to enter a valid Product Key to install.
-
2Make a note of your Product Key. It is useful to have this handy before you start the install process. This key is a 25-character code that you have to enter in order to install Windows. It can usually be found in one of a couple different places:
- Attached to the case your Windows XP CD came in, usually on the back.
- Attached to your computer. If it is a desktop then it is usually located on the back of the tower. For a laptop, it is on the bottom.
Advertisement -
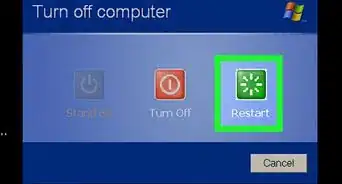
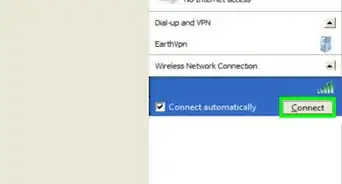
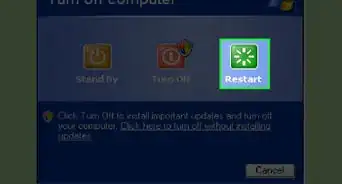
3Reboot your computer. Make sure that the Windows XP CD is inserted. Your computer needs to be set to boot from the CD drive first. In order to do this, you will have to enter the BIOS setup.
- To access the BIOS, hit the Setup button as soon as your computer’s manufacturer’s logo appears. The key is different from different manufacturers, but is generally either F2, F10, F12, or Del. The correct key will be displayed on the same screen as the logo.
- Once you are in the BIOS, navigate to the Boot menu. Set the 1st Boot Device as the CD drive. Depending on your BIOS and setup, this could also be called the DVD drive, the Optical drive, or CD/DVD drive.
- Save your changes and exit the BIOS. This will cause the computer to reboot.
-
4Start the installation. Once the manufacturer’s screen has disappeared, a message will appear that says “Press any key to boot from CD…” Press any key on the keyboard to start the install process. If you do not press a key, then the computer will boot from the hard drive as usual.
-
5Setup will load. Windows has to load drivers to start the setup process. This could take a few moments. Once it is complete, you will be greeted with the Welcome screen. Press Enter to begin a repair install. Do not enter the Recovery Console.
-
6Read the agreement. After you have gone over the license agreement, hit F8 to agree and continue. Setup will load a list of your Windows XP installs. Most users will only see one thing listed here.
-
7Select your previous installation. If you only have one install, it will be automatically highlighted. Press R to begin the repair process. Windows will begin copying files, and then reboot the computer automatically. It will then begin the repair install.
- You will be asked to confirm the date and time as well as a few other basic questions. Most of the time, the default option is acceptable.
-
8Enter the Product Key. Towards the end of the installation, you will be asked to enter the product key. Windows will check to make sure it is a valid key before proceeding.
- After installation, you will have to authorize your copy of Windows online or over the phone. The Product Activation wizard will appear when you log into your newly repaired copy. If you have an internet connection, then you should be able to authenticate your copy by clicking a button.
-
9Check your programs. Once the installation is complete, you will be taken to your repaired install of windows. Because certain system files were replaced, some of your installed programs may not function, and may need to be reinstalled.
- Some of your devices may need to have their drivers reinstalled. To see which devices are not installed properly, open the Start Menu and right-click My Computer. Select the Hardware Tab, and then click Device Manager. If there are devices with a yellow exclamation point, then they may need their drivers reinstalled.
- Your personal data and documents should be untouched with a repair install. Verify that everything is where it should be.


Advertisement


About This Article
Advertisement