This article was co-authored by wikiHow staff writer, Megaera Lorenz, PhD. Megaera Lorenz is an Egyptologist and Writer with over 20 years of experience in public education. In 2017, she graduated with her PhD in Egyptology from The University of Chicago, where she served for several years as a content advisor and program facilitator for the Oriental Institute Museum’s Public Education office. She has also developed and taught Egyptology courses at The University of Chicago and Loyola University Chicago.
Learn more...
Wondering how to change the batteries in your Honeywell thermostat? Luckily, it’s pretty easy with most models. The most challenging part is figuring out how to find and open the battery compartment. In this article, we’ll talk you through how to do that. We’ll also address other common issues, such as choosing the right batteries for your thermostat and knowing when the batteries need to be replaced.
Things You Should Know
- To find the batteries, pull the thermostat off the mount, flip open the faceplate, or open the battery compartment on the side of the unit.
- Most Honeywell thermostats take AA or AAA alkaline batteries.
- Your thermostat will usually display a low battery symbol up to 60 days before the battery dies.
Steps
Opening the Battery Compartment
-
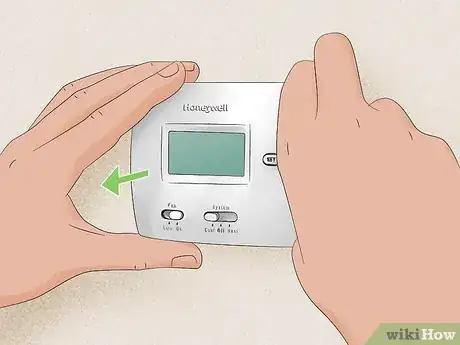
1Remove most models from the wall mounting plate. Many Honeywell thermostat models require you to take the thermostat off the wall to access the battery compartment. Typically, there is a mounting plate that is attached directly to the wall with a removable thermostat unit that you can unscrew or simply pull away from the mount. The batteries are generally located at the back of the unit (the part that faces the mounting plate).
- If you have a DT135 or T136, unscrew the screw at the bottom of the unit and pull the thermostat straight off the mount, then flip it over to find the battery compartments (located on the right and left sides of the unit).[1] X Research source
- For a Pro 3000 series unit, you don’t have to unscrew anything. Pull gently at the bottom of the unit to detach the thermostat from the wall mount. The battery compartments are at the top of the thermostat, on the back.[2] X Research source
- Other models that you can pull off the wall include the PRO 1000 series, the T1 Pro series, and the E1 Pro series.
-
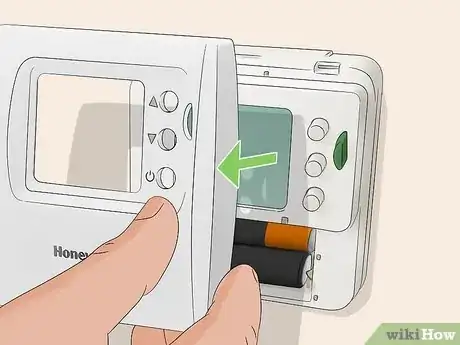
2Pull the faceplate up and out on a DT2 or DT2R. These Digital Room Thermostat units have a removable faceplate that covers the battery compartment. Pull the faceplate up and out from the bottom to remove it, but be careful not to pull the whole thermostat off the wall mount. The batteries are located at the bottom center of the thermostat.[3] X Research source
- When you’re done changing the batteries, fit the faceplate back onto the top of the unit and push it down and in to snap it back into place.
Advertisement -
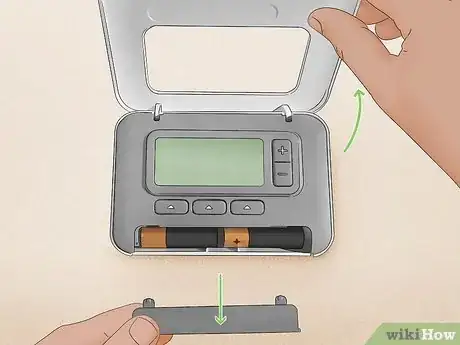
3Flip the faceplate open on a T3R unit. The T3 and T3R models of programmable thermostat have a faceplate that flips up from the bottom to expose the control buttons and battery compartment. You don’t have to actually detach anything from the thermostat or the wall. The batteries are located below the three buttons that are directly under the digital display screen.[4] X Research source
-
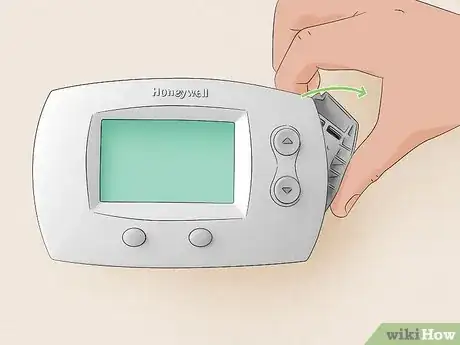
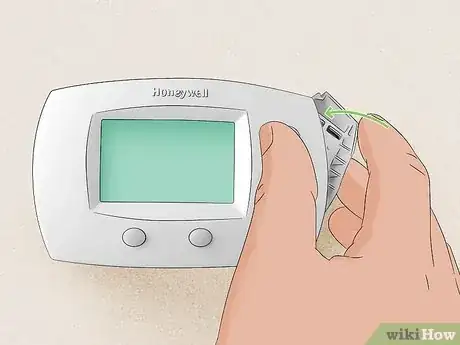
4Pull open the side compartment on a FocusPRO 5000 or 6000. These models have an easy-to-open battery compartment on the upper right side of the unit. Push down the tab at the top right corner, then pull the compartment out.[5] X Research source
-
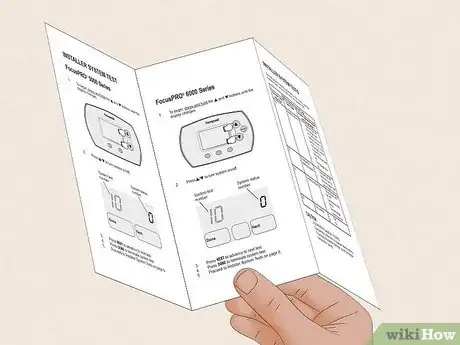
5Check the model number if you’re not sure what model you have. Not sure which type of Honeywell thermostat you have? If possible, take a look at your user manual, which should have both the model number and instructions for accessing your battery compartment.
- If you can’t find the manual or packaging that came with the thermostat, try one of the methods mentioned above to find the battery compartment. Since the model number is usually located near the batteries, you’ll probably find that at the same time!
Installing the Batteries
-
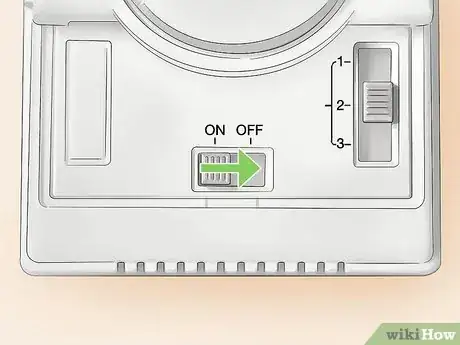
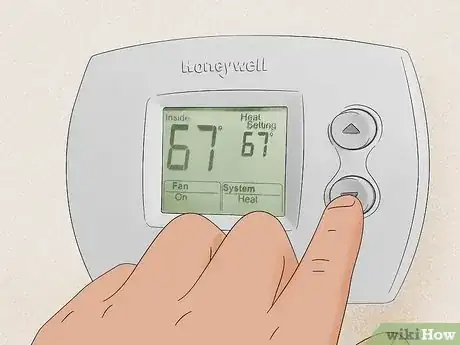
1Turn off the thermostat if possible. It’s generally a good idea to turn your unit off before replacing the batteries. Many Honeywell models have a slider switch, an on/off button, or arrow buttons that allow you to set the system to Off (as opposed to Heat or Cool). If you’re able to do so, switch off the thermostat before opening the battery compartment or removing the unit from the wall.
-
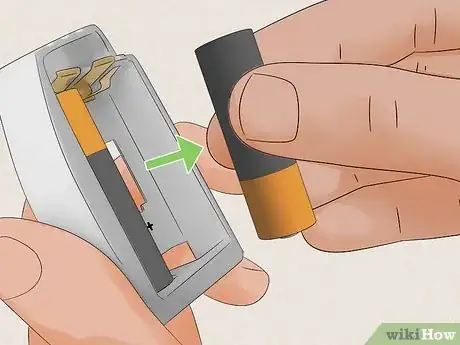
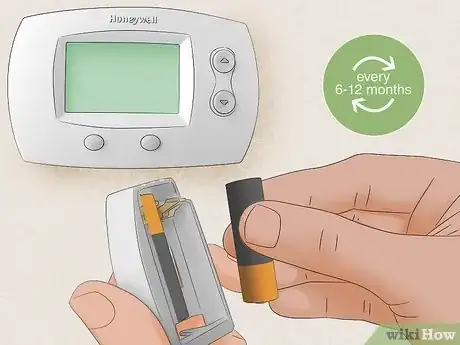
2Remove the old batteries and dispose of them. Pull the old batteries out and throw them away or recycle them, depending on your local regulations.
-
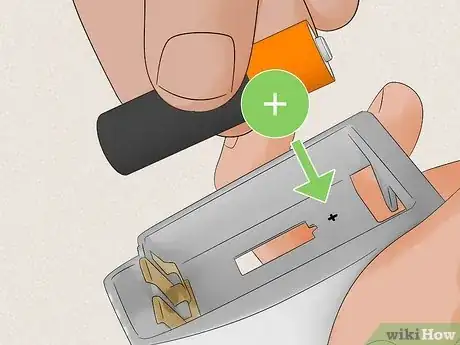
3Check the +/- orientation of the new batteries. Make sure the + and - ends on the batteries line up correctly with the + and - symbols in the battery compartment. If the thermostat doesn’t turn on after you install the new batteries, this may be the problem.
-
4Close the battery compartment. Put your unit back on the wall mount, close the face plate, or re-insert the battery compartment. Switch the thermostat back on if you turned it off.
-
5Reprogram the thermostat if necessary. Some models, such as the DT135, may need to be programmed again after you change the batteries.
- You may not need to reprogram all the settings. For instance, some models require the date and time settings to be reprogrammed after the batteries are changed, while other settings are stored in protected memory even if your unit loses power.
Choosing the Right Batteries
-
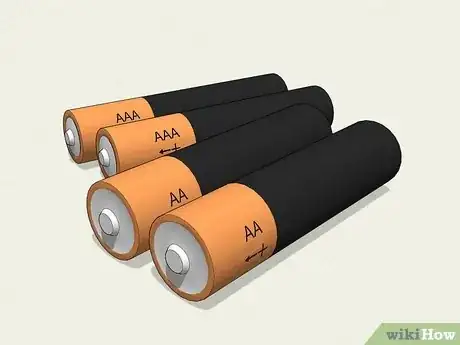
1Get AA or AAA batteries for most models. Almost all battery-operated Honeywell thermostats take AA (LR6) or AAA (LR03) alkaline batteries.
-
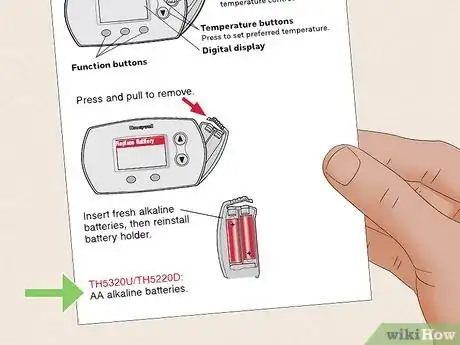
2Consult your user manual if you’re not sure. You should be able to find the battery requirements in the user manual or packaging that came with your thermostat. If you don’t have the manual or packaging anymore, check on or near the battery compartment itself. The type of required battery should be listed there.
Knowing When to Replace the Batteries
-
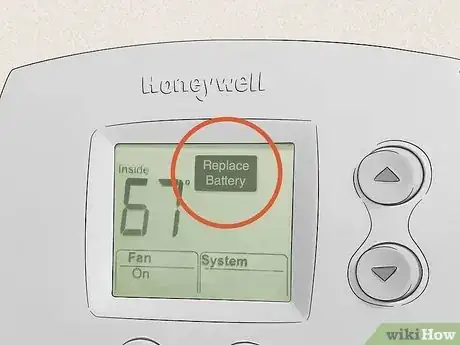
1Check the digital display if your thermostat has one. Many Honeywell thermostat models have a display that shows you the status of the batteries. Watch for a blinking battery symbol, a battery symbol with the text BAT inside, or a battery symbol with only one or two power bars inside to know if your battery is running low.
- Your thermostat may start displaying a low battery symbol up to 60 days before the batteries completely run out of power.
- Some units have different symbols to distinguish between a low battery and a critically low battery.
-
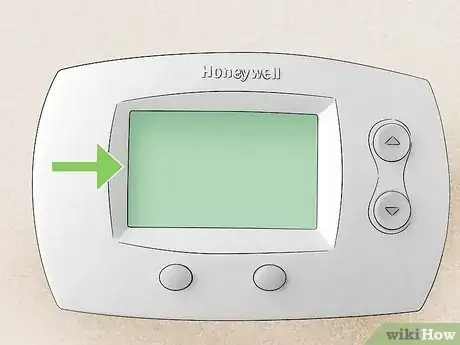
2Watch for a blank screen to know that the batteries are dead. When the batteries die, your Honeywell thermostat will typically turn off completely and the display screen will go blank.
-
3Aim to replace the batteries every 6 months to 1 year. The exact battery life of a Honeywell thermostat may vary depending on the model of the thermostat and the type of batteries you use. Typically, the batteries should last about a year.
You Might Also Like



References
- ↑ https://digitalassets.resideo.com/damroot/Original/10016/dt135%20user%20guide%20and%20instruction%20manual.pdf?_ga=2.186769647.612125947.1678565441-1408886046.1678565441
- ↑ https://digitalassets.resideo.com/damroot/Original/10014/69-1929EFS.pdf?_ga=2.91780889.2074249898.1678813181-263084727.1678565374
- ↑ https://digitalassets.resideo.com/damroot/Original/10016/dt2r%20user%20guide%20and%20instruction%20manual.pdf?_ga=2.190417260.612125947.1678565441-1408886046.1678565441
- ↑ https://digitalassets.resideo.com/damroot/Original/10016/t3r%20user%20guide%20and%20instruction%20manual.pdf?_ga=2.190417260.612125947.1678565441-1408886046.1678565441
- ↑ https://www.arpis.com/wp-content/uploads/honeywell_focuspro_th6110d_th6220d_th6320u_thermostat_manual.pdf
About This Article

