This article was co-authored by wikiHow Staff. Our trained team of editors and researchers validate articles for accuracy and comprehensiveness. wikiHow's Content Management Team carefully monitors the work from our editorial staff to ensure that each article is backed by trusted research and meets our high quality standards.
This article has been viewed 270,899 times.
Learn more...
The fork of a motorcycle connects the main frame to the front wheel and axle. The fork is what allows riders to change direction and also helps in braking and suspension. The fork itself consists of two tubes. Each tube requires a seal to keep the oil of the interior of the tube from leaking out. Fork seals should be replaced as soon as leaking oil is noticed. If the seal is left unchanged, the oil could leak onto the brake pads and ruin your motorcycle or you could run out of oil completely and ruin your motorcycle. Use these steps to replace your fork seals.
Steps
-
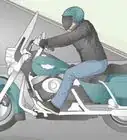
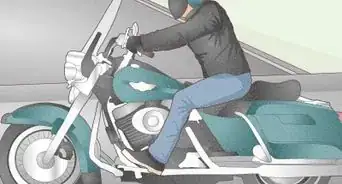
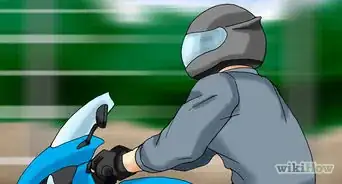
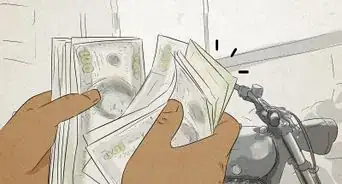
1Prepare the motorcycle for maintenance.[1]
- Loosen the 2 bolts that secure the fork legs to the frame and the caps upon each leg. Then loosen the brake caliper bolts and the whole front axle of the bike.
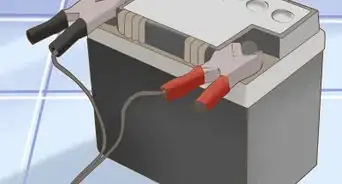
- Put the bike in gear and chock the rear wheel.
- Raise the front wheel off the ground as far as needed.
- Remove the brake calipers, fender, front wheel and any other hanging cables.
-
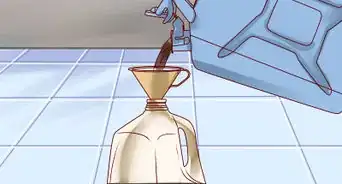
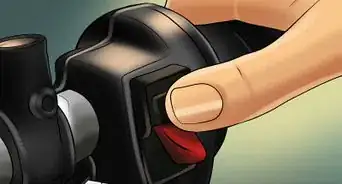
2Disassemble the fork.[2]
- Loosen the bolts further and pull downward on the fork while twisting.
- Remove the fork cap carefully. Because it is spring loaded, be careful not to stand in the way of the cap as you remove it.
- Take out the spring and let the oil drain into a bucket
- Free the damper rod by inserting a tool into the cavity to reach it.
- Memorize the assembly of the fork's springs, washers and spacers for easy re-installation later.
Advertisement -
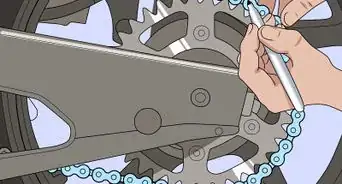
3Remove the old seal.[3]
- Wedge the dust seal from the fork leg.
- Find the fork seal itself. It is held into place by a clip within a groove.
- Pry the seal out carefully.
- Flush the area as you go to remove debris within the fork.
- Take the tube in 1 hand and the stanchion in the other. Use muscle to pull the 2 apart. You will see the seal coming out of hiding as you do this.
-
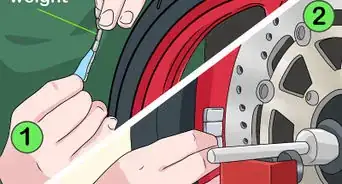
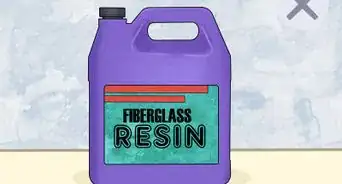
4Prepare the fork for a new seal.[4]
- Remove all rust and repair imperfections that led to the old seal's leakage.
- Soak a cloth with oil and work on the area where the seal rested.
-
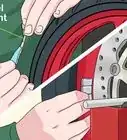
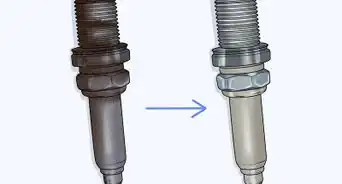
5Install the new seal.[5]
- Rub oil on the inner part of the new seal.
- Put the seal over the stanchion and slide it down into place.
- Set the seal with a seal driver. This will tap the seal into place gently but firmly.
-
6Put the fork back together.
- Situate the clip and dust seal back onto the fork. Place the damping rod back inside.
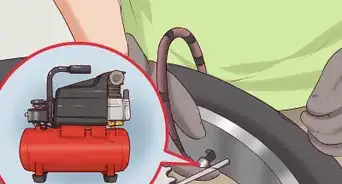
- Pour new oil into the fork, measuring the height as necessary.
- Re-install the spring and screw on the fork cap. Tighten the bolts.
-
7Repeat the process on the other fork leg.
-
8Reassemble your motorcycle's front end.


Community Q&A
-
QuestionHow much oil goes in the front fork?
 Community AnswerIt varies from bike to bike. Check your owner's or service manual for specific measurements. It is usually around 500 ml per fork.
 -
QuestionWhen the article says repeat the process on the other leg does it mean the ones at the back or the one at the front on the other side?
 Community AnswerThe one on the other side, since there are two forks at the front of each motorcycle. The rear suspension is usually a spring, not a fork.
 -
QuestionIs it necessary to replace both fork seals if only one starts leaking?Community AnswerNo, but it's probably worth it so you don't have to disassemble the front end again in case the second starts leaking.
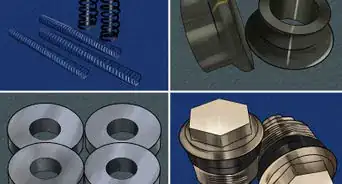
Things You'll Need
- Motorcycle
- Sockets
- Ratchets
- Fork oil
- Wrenches
- Floor jack or lift
- Oil container or bucket
- Seal drivers
- Rags
- New seals


References
- ↑ https://www.motorcycle.com/how-to/how-to-replace-fork-seals-3442.html
- ↑ https://www.motorcycle.com/how-to/how-to-replace-fork-seals-3442.html
- ↑ https://www.motomatter.com/wp-content/uploads/2019/03/how-to-replace-regular-fork-seals-2.jpg
- ↑ http://blog.pro-x.com/step-by-step-guide-to-replacing-fork-seals-in-your-dirt-bike
- ↑ https://www.motomatter.com/wp-content/uploads/2019/03/how-to-replace-regular-fork-seals-2.jpg
- http://www.motorcycle.com/how-to/how-to-replace-fork-seals-3442.html
About This Article

To replace fork seals, start by loosening the 2 bolts securing the fork legs to the frame and the fork leg caps. Next, loosen the brake caliper bolts and front axle before putting the bike in gear and chocking the rear wheel. Then, raise the front wheel and remove the brake calipers, fender, front wheel, and other hanging cables. Disassemble the fork and remove the old fork seal. To prepare the fork for the new seal, rub away all rust and imperfections with an oil-soaked cloth. Then, put the new seal over the stanchion and tap the seal down with a seal driver. Reassemble the fork by replacing the damping rod inside the fork, and putting the clip and dust seal back on the fork. Pour new oil into the fork, reinstall the spring and screw on the fork cap, and tighten the bolts. Repeat disassembling and reassembling the fork on the second fork leg. Then, reassemble your motorcycle’s front end and hit the road! For more detailed information on how to replace fork seals, see below.