This article was co-authored by Yaffet Meshesha. Yaffet Meshesha is a Computer Specialist and the Founder of Techy, a full-service computer pickup, repair, and delivery service. With over eight years of experience, Yaffet specializes in computer repairs and technical support. Techy has been featured on TechCrunch and Time.
This article has been viewed 60,800 times.
Computers have become a necessary part of everyday life, and what makes a computer especially useful is the power to save virtually anything digital to it. This is done by saving data to a hard drive. Everything from students work and personal memories to medical files and bank account info is saved on computer hard drives. When getting a new computer, you lose all of your files on your last computer. With this instruction set, you will learn how to reuse your old hard drive in order to keep all your important documents and files. Keep in mind that some prior computer knowledge is required for this instruction set, as well as prior information about computer hardware.
Steps
Removing Hard Drive
-
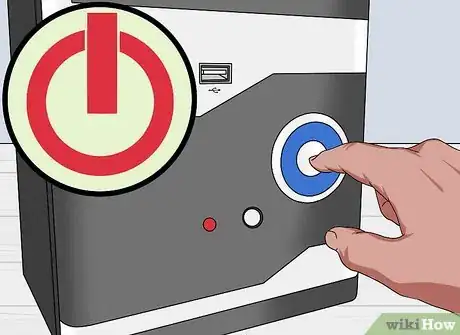
1Power down the computer. Be sure that the power source of the computer is in an open switch mode. In the case of a laptop, this power source is the battery. In the case of desktop computers, it maybe wise to leave the computer plugged in if your grounding device is connected to the case of the computer.
-
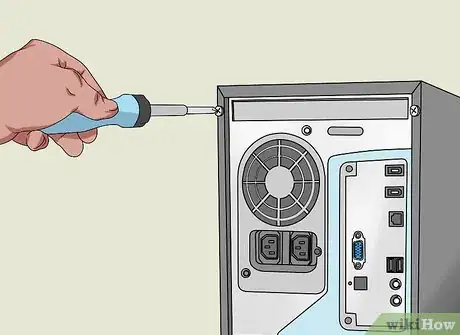
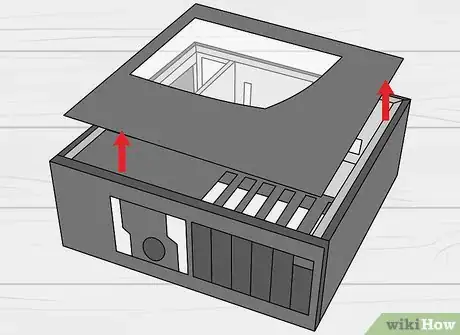
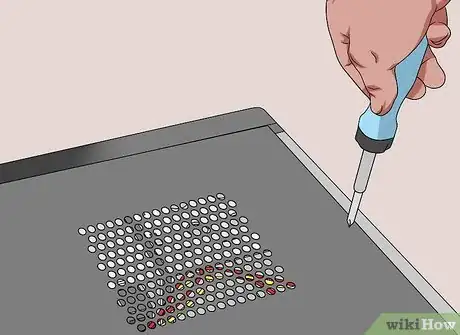
2Open the computer case. Most computers cases can be opened by removing screws that hold the case together.Advertisement
-
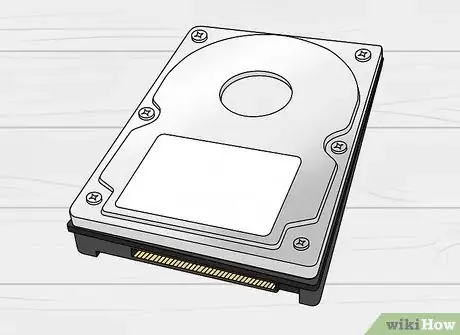
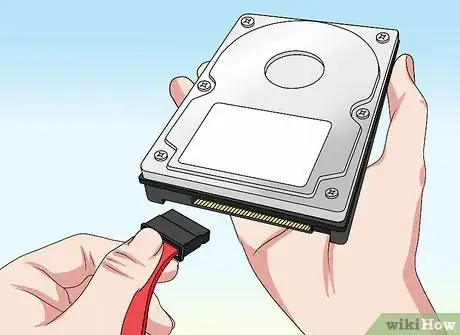
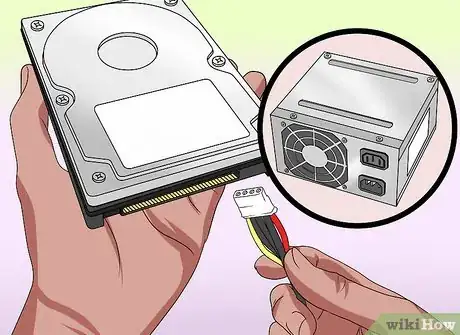
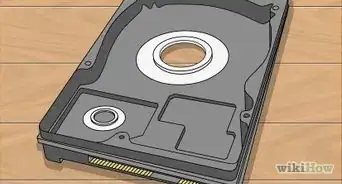
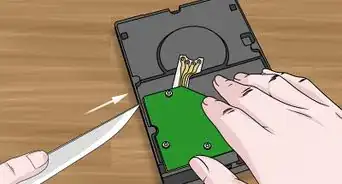
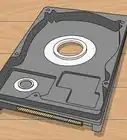
3Remove the hard drive from the used computer. After the portion of the case is removed that harnesses the computer components, the Sata and power supply cables must be disconnected. After they are removed, the hard drive may physically be removed from the case.
-
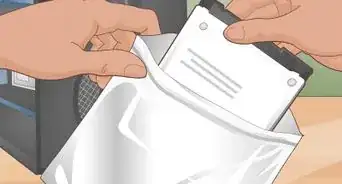
4Carefully store the hard drive. It is very important to store the hard drive in a safe place for both long and short storage. Hard drives and other computer components are sensitive to static electrical discharge, vibration and electromagnetic fields among other risks.
Installing Hard Drive
-
1Power down the computer. Be sure that the power source of the computer is in an open switch mode. In the case of a laptop, this power source is the battery. In the case of desktop computers, it maybe wise to leave the computer plugged in if your grounding device is connected to the case of the computer.
-
2Open the computer case. Most computers cases can be opened by removing screws that hold the case together.
-
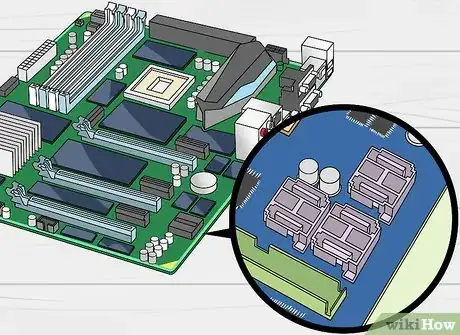
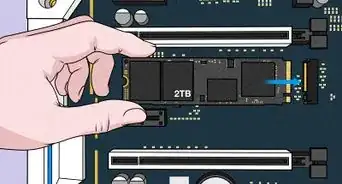
3Locate an empty Sata port on the motherboard of the computer. After the computer case is open, prepare the installation of the hard drive by locating an empty port on the motherboard.
-
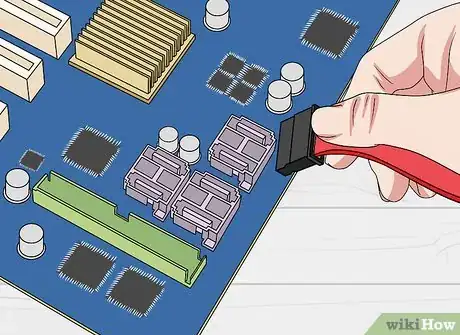
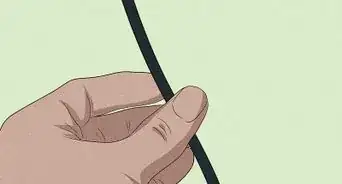
4Connect the Sata cable to the empty port. This will be used to transfer data from the CPU to and from the computer’s processor.
-
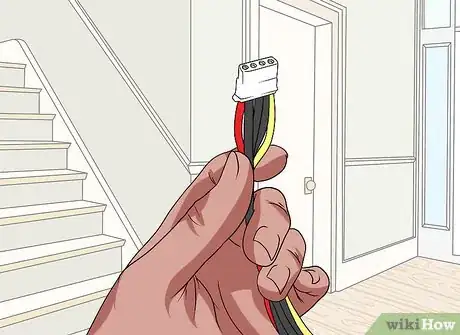
5Locate a spare power supply cable connected to the power supply of the computer. After the Sata cable is connected to the port, locate an available power supply cable connected to the power supply of the computer.
-
6Connect the hard drive to the motherboard with the Sata cable. Use the Sata cable to connect the hard drive to the motherboard of the computer.
-
7Connect the hard drive to the power supply of the computer. Use the spare power supply cable to do this.
-
8Close computer case. After the hard drive has been stored in a secure location inside the computer, close the computer case and reinstall any screws or fixtures used to hold the case closed.
-
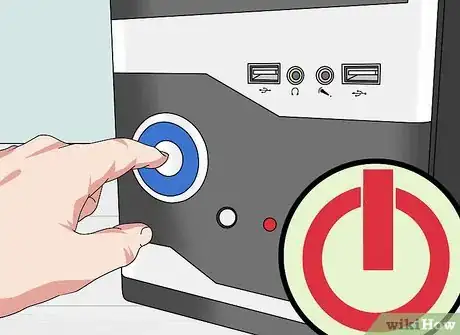
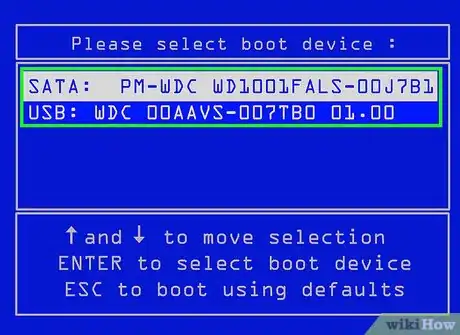
9Check the bootable drives to ensure successful install. After the computer has been closed, power on and check the bootable drives. This will require interaction with the computers interface before the loading of windows. If the install was successful, the newly installed drive will appear in the hard disks section of the bootable drives. It is important to note that booting from this drive is not possible. This step is to verify the bios of the computer sees the drive functioning properly.
Formatting Your Hard Drive (Optional)
-
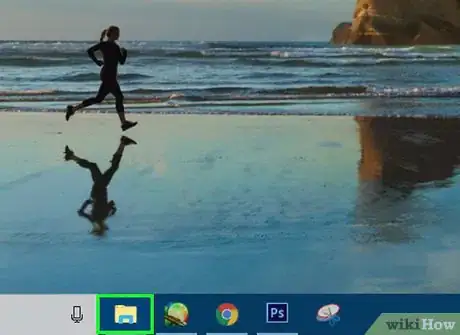
1Open File Explorer. This can be done with right clicking the start button on the taskbar, or pressing the window key and the e key simultaneously.
-
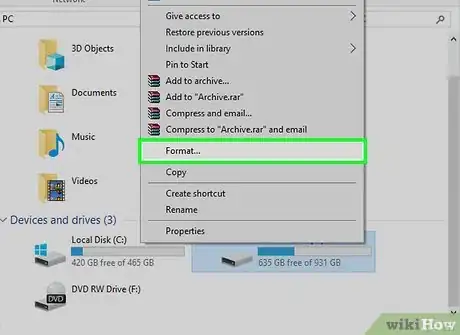
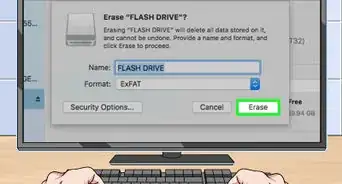
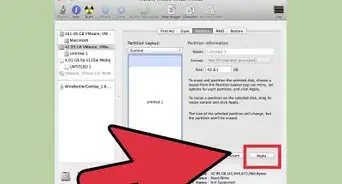
2Right click the hard drive and select the format option. This will begin the process of clearing all stored data from the drive and restoring it to factory settings.
-
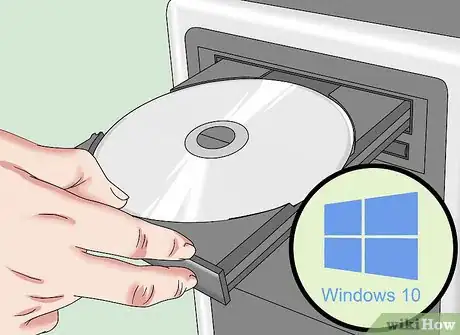
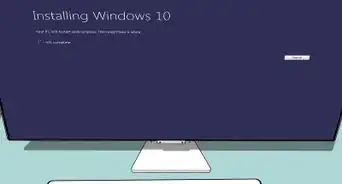
3Load new operating system on hard drive. Insert a CD ROM with an operating system loaded on it. Check your bootable drives the same way that you checked to insure that your hard drive was installed correctly. Now Press the CD ROM option and follow the operating systems instructions from there.
Community Q&A
-
QuestionOnce the hard drive is removed, can any info be taken from the PC?
 Community AnswerYes. Any data saved or cached on the PC before the hard drive was removed will be accessible. This can be prevented by erasing it.
Warnings
- Make sure that the grounding device is connected to a source of ground.⧼thumbs_response⧽
- Always turn power supply off before working on a PC.⧼thumbs_response⧽
- Formatting your hard drive will erase all data on it, so make sure you are committed to formatting. If you choose to format, you must have an operating system on a disk to load on your computer afterwards.⧼thumbs_response⧽
- Always wear a grounding device while working with computer components.⧼thumbs_response⧽
Things You'll Need
- Computer Hard Drive
- Working Computer
- Screwdriver
- SATA Cable
