X
wikiHow is a “wiki,” similar to Wikipedia, which means that many of our articles are co-written by multiple authors. To create this article, 24 people, some anonymous, worked to edit and improve it over time.
This article has been viewed 464,199 times.
Learn more...
This is an article regarding swapping hard drive platters. This is not a procedure for the technically inept or faint hearted. The following carries no guarantees, and definitely voids and nullifies any existing warranty. It may be best to try swapping the controller board before going to a platter swap. This is less destructive, and you require an identical drive for either process anyway.
Steps
-
1Know that this is only a last resort. You have tried everything else, your data is not extremely important, and/or your cash flow restricts the use of a professional service.
-
2Set up a clean work environment. You can not make a super clean environment at home but use some common sense, and do the best you can. Keep air flow to a minimum.Advertisement
-
3Assemble and layout your tools.
-
4Use powder-free latex gloves.
-
5Ground yourself! If you don't know what is, or how to do it, ask Google.
-
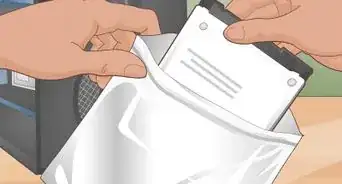
6Remove the cover of your dead drive. If the cover doesn’t just lift off, look for more screws! There are screws under labels.
-
7Once the cover is off, inspect the platters. If they are scratched, scorched, warped, or otherwise damaged, stop you are done!
-
8Set the cover back on - if the platters are physically damaged chances are you will not be able to recover any data. You can still try if you like.
-
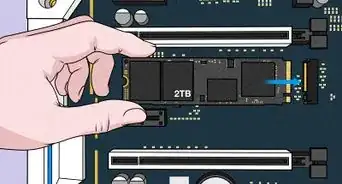
9Purchase a new HDD with the same model number and firmware version.
-
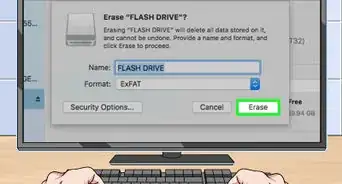
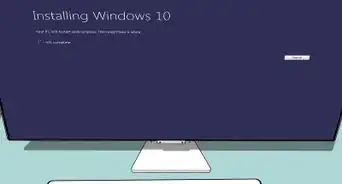
10Test the new HDD. Make sure you can read and write data to and from it.
-
11Remove the cover from your donor HDD.
-
12Remove the platters from the donor HDD. This is your chance to learn how they are assembled, if you slip and damage parts you can get a new donor. NOTE: if you are dealing with multiple platters they cannot be removed without the proper equipment, because misalignment of the platters will destroy any chance of recovering data. You need a platter removal tool. The next steps are only if you are dealing with a single platter.
-
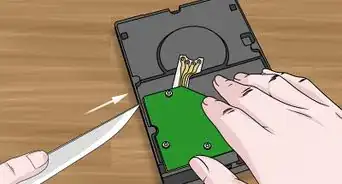
13Remove the platter from your dead HDD.
-
14Reassemble the donor drive with dead HDD’s platters inside (make sure all the platters are aligned in the same way towards each other as they were in the old drive).
-
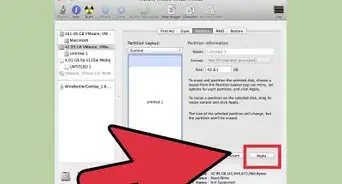
15Mount the donor drive.
-
16Quickly copy your data. You might only get one or two chances to read from the HDD. It might make some horrible noises.
-
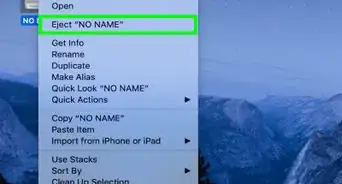
17Unmount the HDD and discard it. Continued use of the HDD is ill-advised.


Advertisement
Community Q&A
-
QuestionHow about speed 5400 or 7200?
 Community AnswerThat is how fast your hard drive is. If it's 5400 it won't be able to read and write files as fast as a 7200.
 -
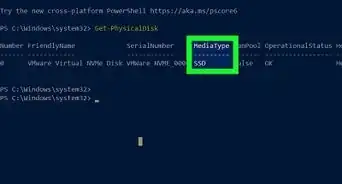
QuestionDo the WWN, DCM, DCX, and model number all have to match to swap hard drive disks?
 Community AnswerYes, this is ideal. It's unlikely to work without all of these matching up.
 -
QuestionIs there any problem if the new hard drive's storage is less than the old one?Community AnswerThe drive only needs to be big enough to hold your operating system, but if the new drive is smaller, you'll have less room for your own data files. For old fashioned hard drives, the highest storage sizes (like 4 TB, terabyte) qualify as "new technology" and tend to be less reliable than smaller drives (like 1 TB). Today, there's no reliable drive, whether old technology or new SSD (solid state drives). There used to be high reliability drives, so the consumer is being played for a fool. Back up your data onto a few different external devices, then you can keep your new, little drive from filling up. Hard drives start misbehaving when they're more than 2/3 full.
Advertisement
Warnings
- This will void any existing warranty.⧼thumbs_response⧽
- Hard Drives are assembled in hermetically-sealed clean rooms, free of any dust. A single speck of foreign material introduced onto a platter will destroy the drive most of the time. If this does happen, try a can of air and spray it off, but do not wipe or use chemicals.⧼thumbs_response⧽
- In most cases, this will also void your ENTIRE computers warranty, read the warranty very carefully⧼thumbs_response⧽
Advertisement


About This Article
Advertisement