X
This article was co-authored by wikiHow Staff. Our trained team of editors and researchers validate articles for accuracy and comprehensiveness. wikiHow's Content Management Team carefully monitors the work from our editorial staff to ensure that each article is backed by trusted research and meets our high quality standards.
The wikiHow Tech Team also followed the article's instructions and verified that they work.
This article has been viewed 130,055 times.
Learn more...
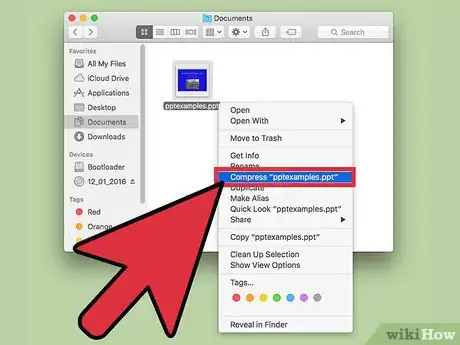
To zip a PowerPoint file, open the file's location→ Right-click on the file→ Click on "Compress".
Steps
Method 1
Method 1 of 2:
Mac
-
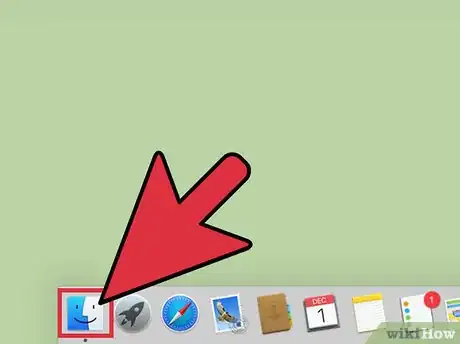
1Click Finder. Finder is a blue icon with a smiling face at the bottom of your screen.
-
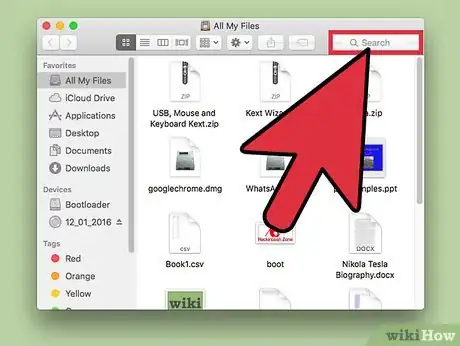
2Click on the Search Bar. It is located in the upper-right hand in Finder.Advertisement
-
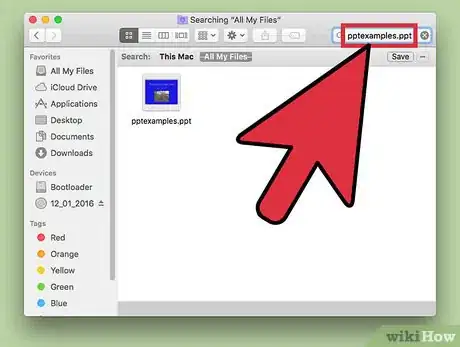
3Type in the name of the PowerPoint file you want to zip.
-
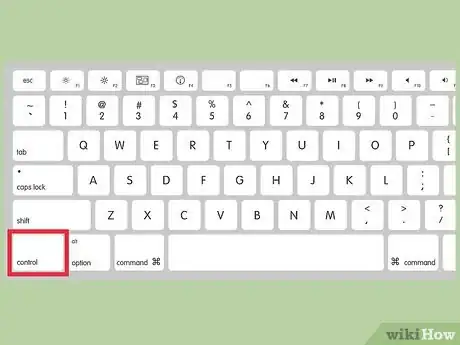
4CTRL+Click on the file.
-
5Click on "Compress [your_filename]".
-
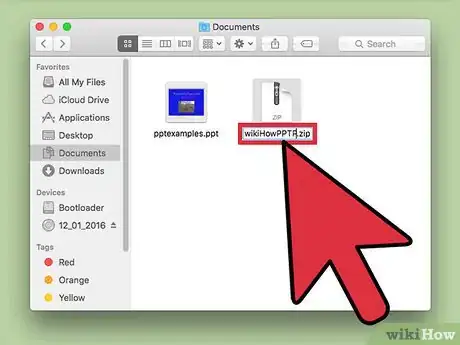
6Enter a new name (optional). Normally, two files cannot share the same name. However, since your original Powerpoint file and new compressed file are two different types of files, they can share the same name.
-
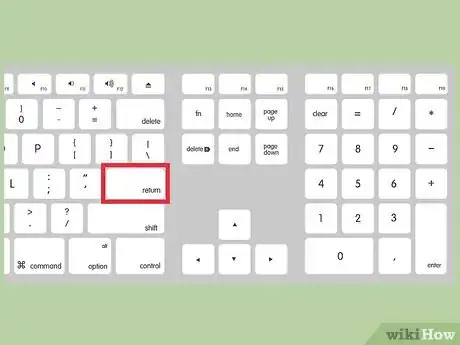
7Press Return.
Advertisement
Method 2
Method 2 of 2:
Windows
-
1Click Start. It is located in the lower-left corner of your screen.
- In Windows 8, press Windows. It is on the bottom-left of your keyboard and looks like a window.
-
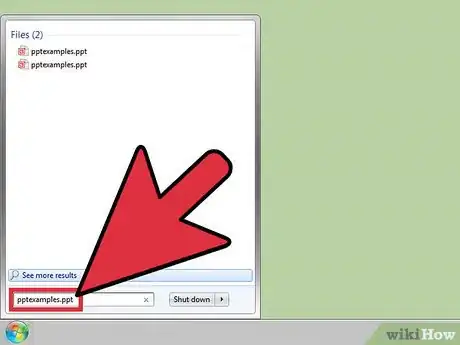
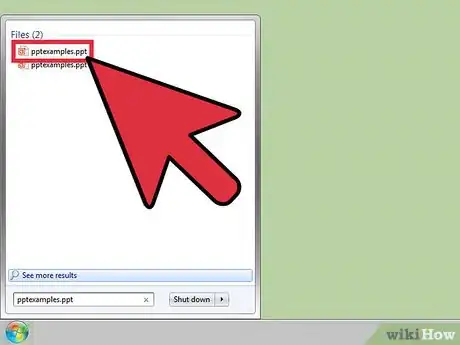
2Type in the name of the PowerPoint file you want to zip.
-
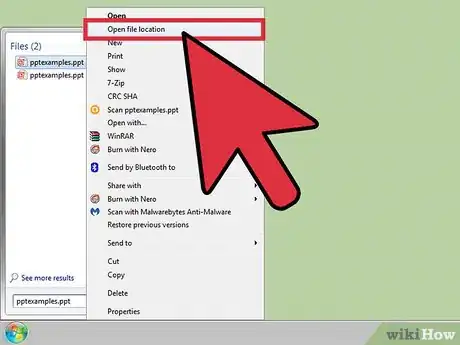
3Right-click the file.
-
4Click on "Open File Location".
-
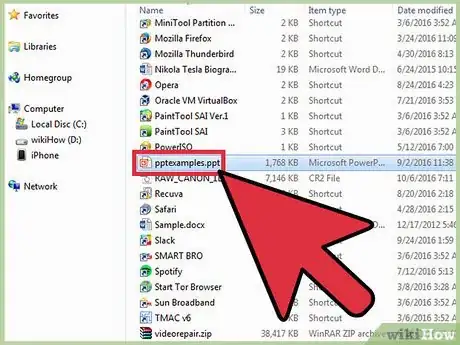
5Right-click the PowerPoint file.
-
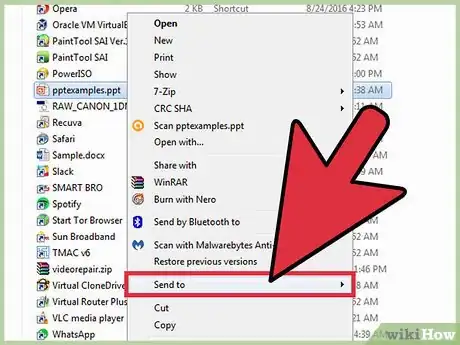
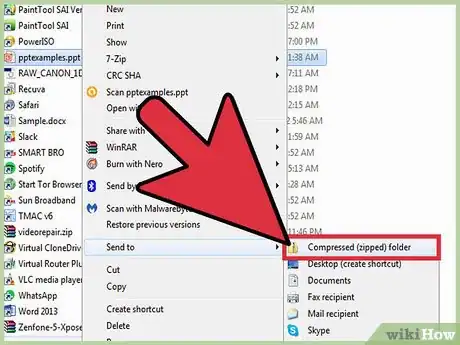
6Hover your mouse over "Send To".
-
7Click on "Compressed (zipped) Folder".
-
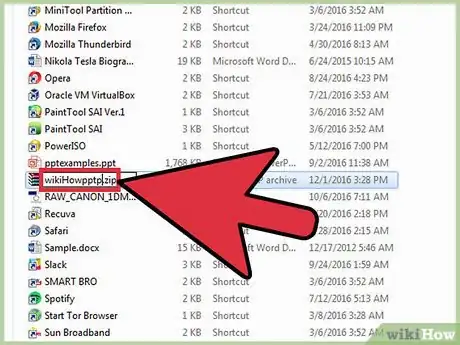
8Enter a new name (optional). Normally, two files cannot share the same name. However, since your original Powerpoint file and new compressed file are two different types of files, they can share the same name.
-
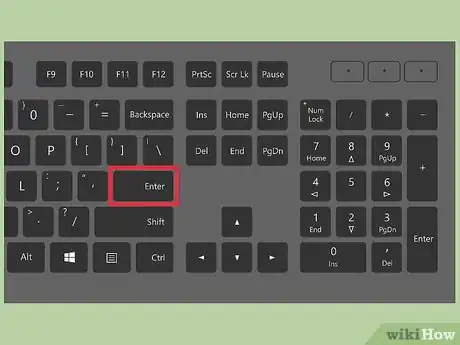
9Press Enter.
Advertisement
About This Article
Advertisement
