wikiHow is a “wiki,” similar to Wikipedia, which means that many of our articles are co-written by multiple authors. To create this article, 18 people, some anonymous, worked to edit and improve it over time.
The wikiHow Tech Team also followed the article's instructions and verified that they work.
This article has been viewed 204,193 times.
Learn more...
While technically a lens defect, darkening towards the corners in a photograph is an effect that many people find desirable; possibly due to the fact that nearly all cameras of a certain vintage did this in a very pronounced way. Done properly, it can bring the viewer's attention to the most important part of your photograph (such as a person). The effect is easy enough to duplicate with GIMP, the foremost open-source photo editing software.
Steps
-
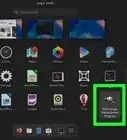
1Open your photograph in GIMP (File ->> Open).
-
2Add a new, black layer. Bring up the Layers dialog with Ctrl+L. Click the "New Layer" button at the bottom left. Enter a name for it (we'll use "Vignette" in our example). Set "Layer Fill Type" to "Foreground color" (this assumes that your foreground colour is set to black, which it usually is). Hit "OK".Advertisement
-
3Make it a soft light layer. In the Layers dialog, click on your "Vignette" layer to select it, and select Soft light from the "Mode" drop-down box. You will notice your whole image darkening noticeably. This is fine.
-
4Add a layer mask to your new layer. Right click on your "Vignette" layer and go to Add Layer Mask. In the dialog that pops up, you want "Initialize Layer Mask to" set to "White (full opacity)". Click "Add".
-
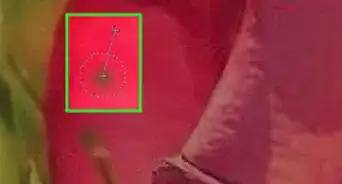
5Loosely select some area around the center of your frame. Use the freeform select tool (press F to bring this up) and draw a selection somewhere around the primary point of interest in your photo. This does not need to be exact (and it might even be better if it is not).
-
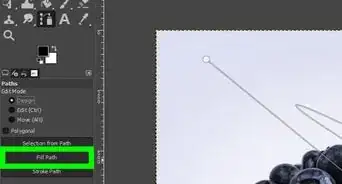
6Fill this area with black. Use your bucket tool (Shift+B) and click within the selection to fill it (this is assuming, again, that you have your foreground colour set to black). You'll notice that the area within the selection has gone back to normal; this is because black areas on the layer mask (which we are editing) make the layer transparent.
-
7Deselect your selection with Select -> None.
-
8Blur your layer mask. Go to Filters -> Blur -> Gaussian Blur. In the dialog that comes up, you want "Radius" set to a very large amount; a tenth of the longest edge of the photo is not too much. The larger the radius, the more subtle the effect will be. For our small 683x1024 photo, we used a radius of 159 pixels, which may not have been enough. Hit "OK". You'll notice that the sharp edges that used to exist at the borders of your selection have gone.
-
9Change the opacity of the "vignette" layer. Click on your "Vignette" layer to select it (if it isn't already selected), and then slide the opacity slider towards the right until the effect is subtle enough. Our example used an opacity of about 50%, but what you use is up to your judgment. Too many photographs using a pseudo-vignette effect overdo it hugely. Don't do this!
-
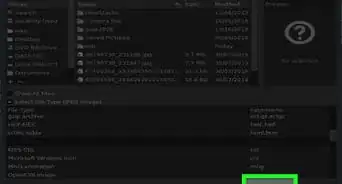
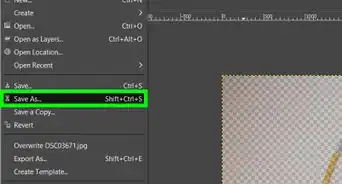
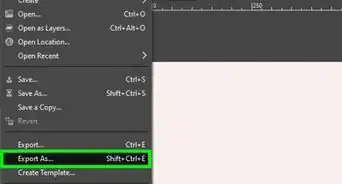
10You can now save your image in a format of your choice (JPEG is best for photographs). You may also want to save one version of it with the extension ".xcf", which will allow you to later edit your image in GIMP (while retaining layers, layer masks and so forth), in case you notice a problem.


Things You'll Need
- The GIMP, which can be downloaded and installed for free.
- Any photograph; this technique may work best for people and animal photographs, but you will probably find other creative ways to use this.