wikiHow is a “wiki,” similar to Wikipedia, which means that many of our articles are co-written by multiple authors. To create this article, 27 people, some anonymous, worked to edit and improve it over time.
The wikiHow Tech Team also followed the article's instructions and verified that they work.
This article has been viewed 728,611 times.
Learn more...
Mac OS X allows you to burn, or write, CDs without installing any special software. You can burn data CDs to store large amounts of files, audio CDs to play in a stereo, or you can burn images of other discs to a CD. Follow this guide to burn your disc quickly and correctly.
Steps
Burning an Audio CD
-
1Open iTunes. Create a new playlist by clicking File, then hovering the mouse over New. Select Playlist from the menu that appears.
- You can rename the playlist by clicking on the playlist name in the right frame after creating it. The playlist name will be the name of the CD, and will display when you insert the CD in a compatible reader.
-
2Add songs to your playlist. Click and drag desired songs onto the playlist. You can also add an entire album at once by clicking and dragging on its cover image.
- A standard audio CD can accommodate a max of 80 minutes of playback, meaning that your playlist should run at around 1.2 or 1.3 hours maximum. (This can be found at the bottom of the window.) Since this is an imprecise way of measuring, some 1.3-hr playlists will be shorter than 80 minutes and some will be longer. (You will find out for sure when you try to burn.)
Advertisement -
3Rearrange the playlist order if desired. There is a dropdown menu above the entries in your playlist, below the title. Select the method that you would like to sort the playlist. To put the songs in the order you want, click Manual Order and then click and drag the songs around inside the playlist.
-
4Insert a blank CD. Click File, then select Burn Playlist to Disc. If the playlist is too long, you will be given the option to spread it across multiple discs. You can do this if desired or cancel the burn and modify the playlist.
- If you’re not sure how to open the CD slot, go to Controls in the iTunes toolbar and click Eject Disc. This should open it regardless of whether or not there’s anything in there.
- You usually need to use a CD for audio discs. There are DVD audio players, but they are quite rare.
-
5Choose your burn settings. In iTunes 10 or earlier, the burn will begin automatically. In iTunes 11, you are given the option to adjust your burning preferences before the burn process begins.
- You can adjust the burn speed. Higher is faster, but very high speeds may cause disc errors on older systems or cheap CDs.
- You can choose whether or not to place a gap between songs.
- You can select your format. Audio CD is the most common and will work in virtually any CD player. MP3 CDs require special players to run. Only do this if you’re sure your player is compatible and all the songs on your playlist are MP3s (and not AACs, for example).
-
6Click Burn when ready. The iTunes display will show the progress of the CD burn. iTunes will play an alert sound when the burn process is complete.


Burning a Data CD
-
1Insert a blank CD-R or CD-RW into the CD drive. A CD-R can be written to once, and then becomes read-only. A CD-RW can have data added and deleted.
- These steps work for burning data DVDs as well as CDs, as long as your computer supports burning DVDs.
-
2Choose the Open Finder option. When you insert a blank disc, you are typically asked how you would like to handle it on the computer. This option will open the Finder so you can easily drag and drop files when you select the CD
-
3Look for the icon of the blank CD that appears on your desktop. It will be labeled “Untitled CD”. Double-click it to open the CD Finder window.
-
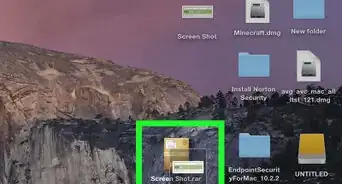
4Drag and drop the desired folders and files onto the CD. Rename any files or folders that you want before you start the burn process. Once they are burned to the CD, you cannot change the names.
-
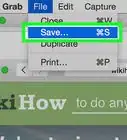
5Initiate the burn. Click File and then select “Burn Untitled CD”. You will be given the opportunity to name the CD. This name will appear whenever the CD is inserted into a computer.
-
6Click Burn after naming the CD. The files will then be saved onto the CD. This process can take anywhere from a minute to almost an hour depending on the size of the files you want to burn.
- To reuse a CD-RW disc, erase all of the data on the disc and then repeat the burn process.


Burning a Disc Image to a CD
-
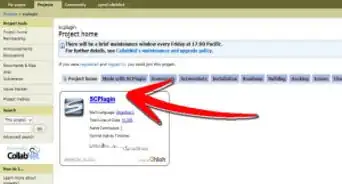
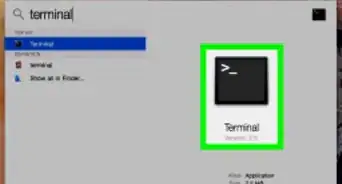
1Open the Disk Utility. This can be found in the Utilities folder in your Applications. A disc image is a direct copy of a CD or DVD that is burned onto a blank CD or DVD. The burned disc will then act exactly like the original disc.
-
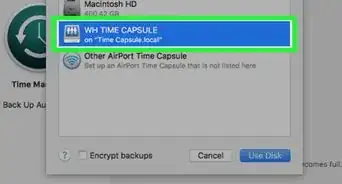
2Insert a blank disc. Depending on the size of the image, insert either a CD or DVD. CD images are typically around 700 MB, DVD images can be as large as 4.7 GB.
-
3Add the disc image file. Find your disc image file on your computer. The file should be in ISO format. Drag the ISO file into the sidebar of the Disk Utility window.
-
4Burn the disk. After you drag the file into Disk Utility, click on the image in the sidebar, and then click the Burn button at the top of the window.
-
5Set your burn options. Once you click Burn, click the arrow button in the corner of the Burn window to open the burn options. Make sure that “Verify burned data” box is checked. Click Burn to start the burning process.[1]


Community Q&A
-
QuestionHow do I make multiple copies of the burned CD?
 Community AnswerDownload iTunes, import your CD to iTunes, create a playlist. Drag those songs inside of the playlist, remove the CD and replace it with a blank CD to be burned. Select playlist option "burn to disc." The only way to burn multiple copies at the same time is to have multiple disc drives.
 -
QuestionWill this CD only work on Macs and PCs?Community AnswerNo. As long as you're burning an audio CD, it should be accessible anywhere.
-
QuestionDoes this count as a master CD?
 Community AnswerNot at all. Mastering is a more involved process of refining the sound.
Warnings
- Though selecting Audio CD should, in theory, make your songs playable in any CD-player, note that not all disc types are playable in any CD-player. (Some won’t accept CD-RWs, for example.)⧼thumbs_response⧽
- A CD that has been badly scratched or ruined may not properly register on your computer. Make sure the CD is clean before inserting it.⧼thumbs_response⧽
- Depending on the CD and the files, these steps may not create a product that is usable on PCs.⧼thumbs_response⧽


References
About This Article
1. Open iTunes.
2. Add songs to a playlist.
3. Insert a blank CD.
4. Click File.
5. Click Burn Playlist to Disc.
6. Choose your burn settings.
7. Click Burn.