This article was co-authored by wikiHow staff writer, Jack Lloyd. Jack Lloyd is a Technology Writer and Editor for wikiHow. He has over two years of experience writing and editing technology-related articles. He is technology enthusiast and an English teacher.
The wikiHow Tech Team also followed the article's instructions and verified that they work.
This article has been viewed 56,106 times.
Learn more...
This wikiHow teaches you how to prompt your iPhone's number to appear in iMessage if you have a new number, as well as how to select an email address as the point from which to send your messages instead of using your phone number. Unfortunately, you cannot use a phone number other than the one which belongs to your iPhone in iMessage.
Steps
Resetting Your Phone Number
-
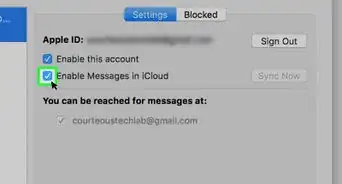
1Understand when to use this method. Resetting your iPhone's phone number is only necessary when the phone number displayed in the iMessages section is incorrect. If your iPhone is already sending iMessages from your phone number, skip this method.[1]
- You can try setting an email address as the place from which iMessages send if you don't want other people to see your phone number for iMessages.
-
2Open your iPhone's Settings. Tap the Settings app icon, which resembles a grey box with gears on it.Advertisement
-
3
-
4
-
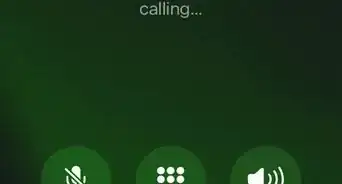
5Turn off your iPhone and wait for 10 minutes. Press and hold your iPhone's Power button on the right side of the housing, then swipe right the Power switch on the "slide to power off" track. Once your iPhone turns off, wait for at least 10 minutes before proceeding.
- You can also press the Power button 5 times in order to bring up the power menu.
-
6Turn back on your iPhone. Once 10 minutes have passed, press and hold your iPhone's Power button until you see the Apple logo appear on-screen, then release the button and wait for the iPhone to turn back on.
- If you use a passcode, you'll need to enter it before you can proceed.
-
7
-
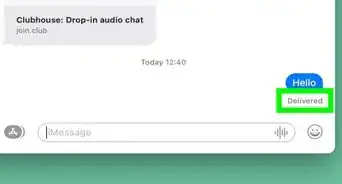
8Check your iPhone's current number. Once iMessage is active, you can check your current iMessage phone number by tapping Send & Receive at the bottom of the screen and ensuring that the phone number at the top is your current number.
- If you still don't see your iPhone's number here, repeat this method. Make sure you wait for at least 10 minutes before turning back on your iPhone.


Changing the iMessage Send Location
-
1
-
2
-
3Tap Send & Receive. You'll see the option at the bottom of the screen.
- Depending on the size of your iPhone's screen, you may first have to scroll down to see this option.
-
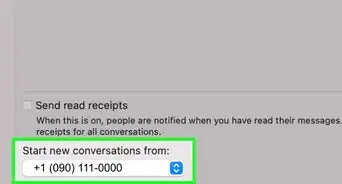
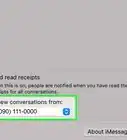
4Review the "START NEW CONVERSATIONS FROM" section. This section is near the bottom of the page; it lists each address from which you can send an iMessage.[2]
- At minimum, you will see one email address and one phone number here. The email address is your Apple ID email address.
-
5Select an email address. Tap the email address from which you want to send iMessages. This will ensure that, when you send an iMessage, the recipient of your iMessage will receive it from your email address and not your phone number.
- If the person on the other end of the message has your phone number in their contacts or can't receive iMessages, this method won't mask your number.


Warnings
- Standard SMS rates will apply to the SMS that's sent when you re-enable iMessage.⧼thumbs_response⧽